Useful Information:
The Instruction Cards measure almost exactly 48cm x 7.6cm (480mm x 76mm).
Thanks to http://segamadebaddecisions.wordpress.com/ for the info.
Useful Information:
The Instruction Cards measure almost exactly 48cm x 7.6cm (480mm x 76mm).
Thanks to http://segamadebaddecisions.wordpress.com/ for the info.
A few guys at the shmups forums were playing with this. Looks better than filters to me.
Note: Use the HLSL option mame has had for the last few versions, can add all manner of CRT effects to your LCD display, pincushion, scanlines, phosphor right down to convergence displacement.
Code Below
Just gathering some information for the 2 Xbox’s I want to RGH. My newer slim model will be setup with a duel NAND so I can still boot it to a retail NAND to play on live. My other older fat Xbox will be for my arcade cabinet. I am going to strip it down to just the metal basket so I can mount it to the back board to slide it into the arcade cabinet.
Xbox 360 Slim
I went ahead and ordered a few items so I can get started on these boxes.
Now the waiting game.
I am in the process of making a dedicated Xbox 360 that will reside in my Astro Cab. This Xbox 360 will be JTAGed and will have a 1TB HDD internal for game storage. I am still trying to figure out what front end I will use and would like to see if I can get a vertical theme since all games I will be playing will be tate.
Hardware Needed:
More to come.
I have not been working on any gaming related projects for almost a year other than actually playing games. I have tried to juggle my gaming projects and my music electronic projects and its just did not work out. So what got me here today? I am in need of some shmups playing real bad.. I miss it so much and really wanted to get my Xbox 360 hooked up to my Astro Cab to play some tate shmups. I will post my notes as I build this and hope it will help me keep my thoughts together.
Publishers:
アトラス Atlas
彩京 Psikyo
エス・エヌ・ケイ SNK
セガ Sega
トレジャー Treasure
カプコン Capcom
ニンテンドー or 任天堂 Nintendo
ライジング Raizing
Games:
怒首領蜂 Dodonpachi
怒首領蜂 大往生 Dodonpachi
エスプガルーダ ESP Galuda
エスプガルーダII ESP Galuda II
エスプレイド ESP Ra.De
斑鳩 Ikaruga
鋳薔薇 Ibara
虫姫さま Mushihime Sama
雷電 Raiden
雷電Ⅲ Raiden III
雷電ディ-・エックス Raiden DX
ライデンファイターズ Raiden Fighters (note: phonetic)
雷電プロジェクト Raiden Project
雷電伝説 Raiden Trad (Densetsu?)
I got a temporary amp to test the stock 3″ speakers that came with the Sega Astro City and I was not impressed at all. In fact, it sounded terrible. So I decided to find some inexpensive replacements and turned to Parts-Express for that. Here are a few different models I am looking at.
The amp I got to drive these speakers is a Sega Naomi Amp.
I know the replacements need to be at the least 3″ and 4 Ohm. The stock speakers are 15 Watt RMS speakers.
Peerless 830986 3″ Full Range Woofer
Copped this from the Neo-Geo forums.
[spoiler title=”Tutorial” open=”0″ style=”1″]
first step, the amp
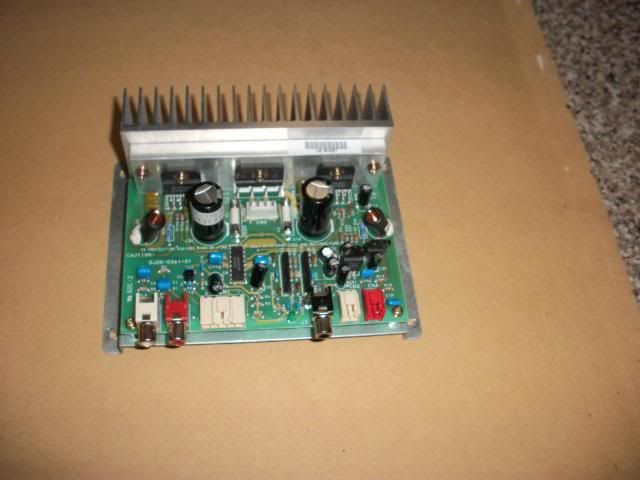
2, connect the transformer as shown in the pic.
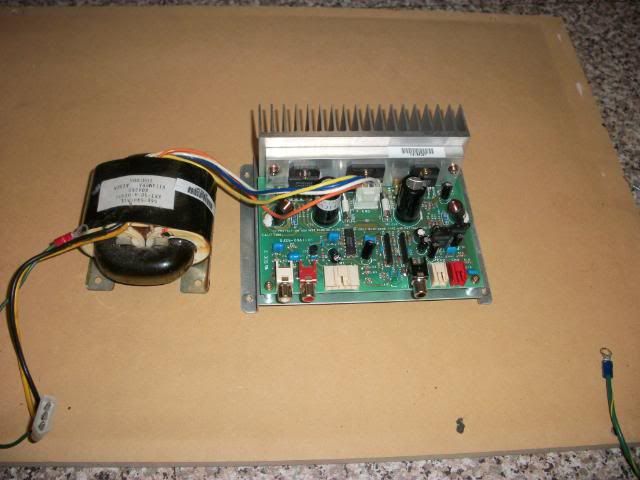
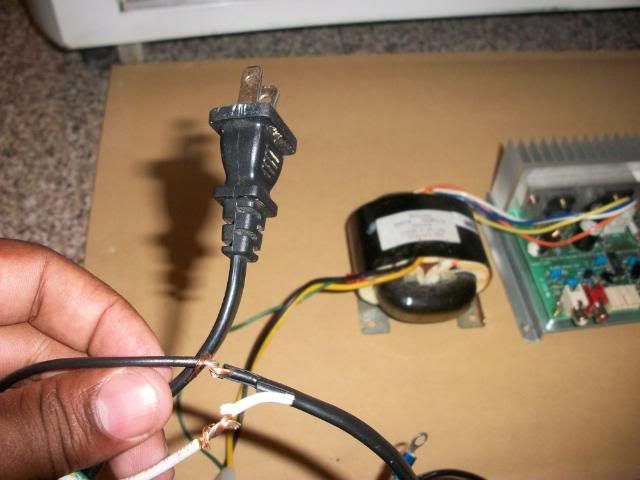
3, connect this white, black, and green cables to the cable that comes out of the transformer.
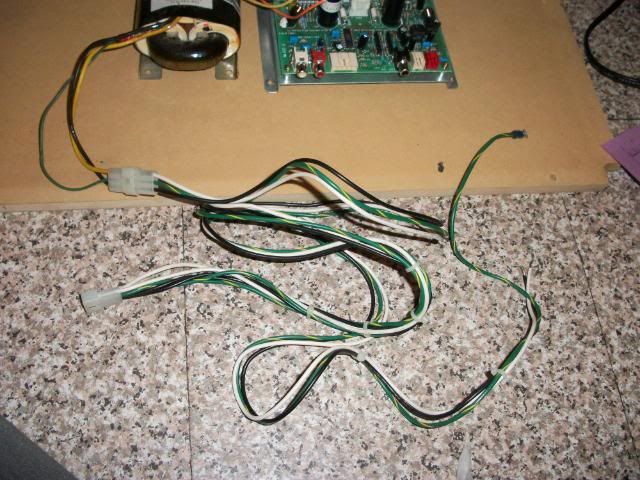
4, this are the ends of the white, black, and green cables. Those ends need to be connected to your arcade PSU.
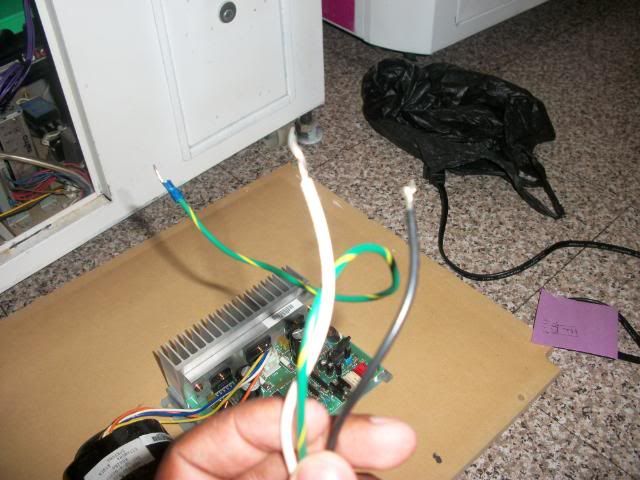
Today I needed to test the AMP, so I had to connect the white and the black cables to a regular AC plug to power the amp.
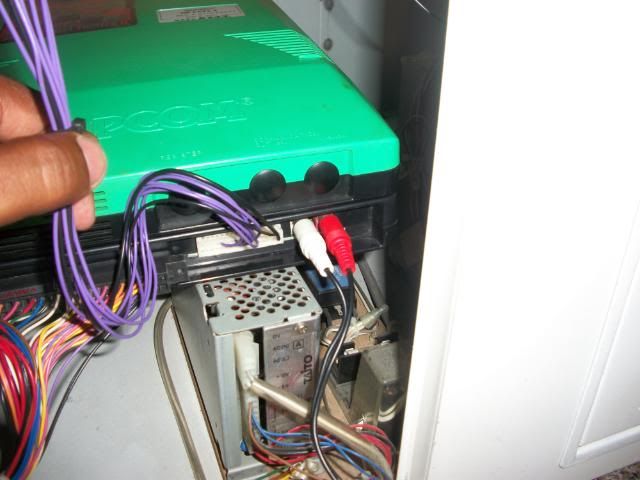
5, connect the Audio Left (white) and right (red) cables to the amp
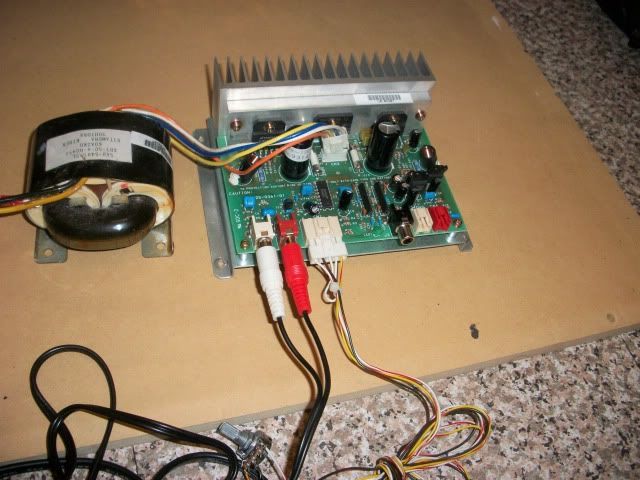
6, and then to the PCB board
7, then connect the volume pot molex to the amp. (left hand side next to the audio plugs). volume pot not pictured, I forgot.
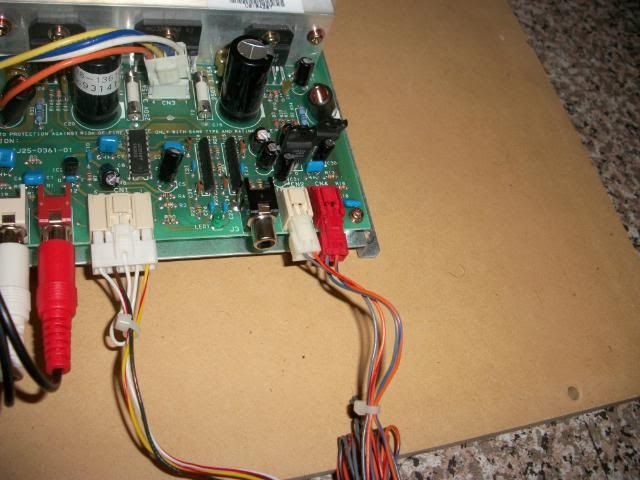
8, connect the audio left and right molex to the amp. (right hand side white and red molex)

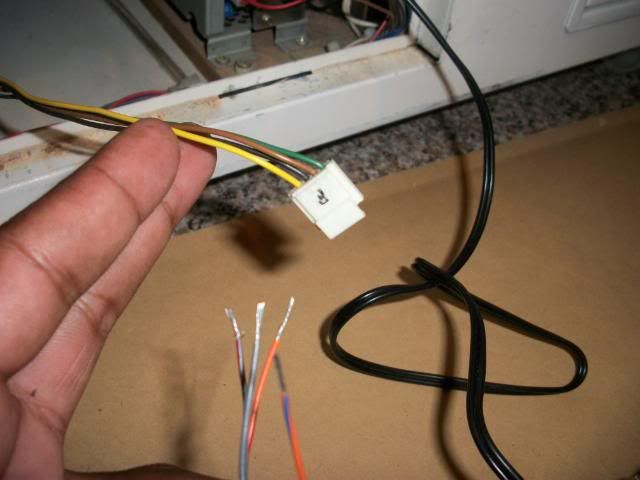
9. there are 4 end cables from the 2 audio molex, 2 from the white molex (left audio) and 2 from the red molex (right audio) they need to be connected to your cab Stereo plug, in my case was the “F” molex in my Egret II. this one
picture of the cables and the molex:
this is a diagram of the Egret II connector (got the pic from some of Kernow post, thanks!)

and the ends of the red and white audio molex are as follow: WHITE (left audio) Grey is L+ and Orange is L-, and RED (right audio) Grey is R+ and Orange is R-
10, next thing you need to do is go to your ARcade pcb setting and set it to stereo, and make sure you put YOUR CAB in stero, (there should be a switch, at least mine has one switch for Mono and Stereo)
I think thats about it. Power on your cab, if the amp is connected to your cab PSU, it should turn on automatically and be ready to work. Hope it helps.
[/spoiler]
I just wanted to archive this incase is ever removed.