Console

Neo SD Loader

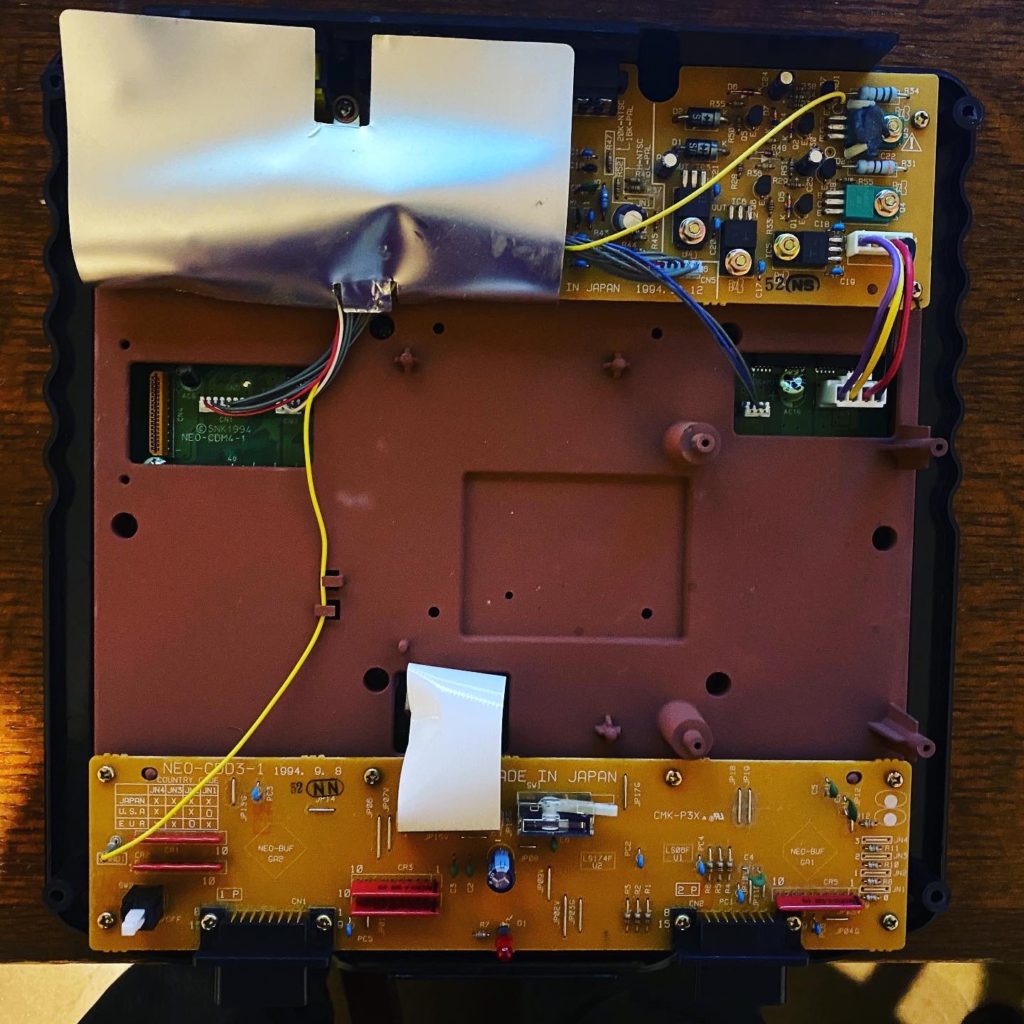
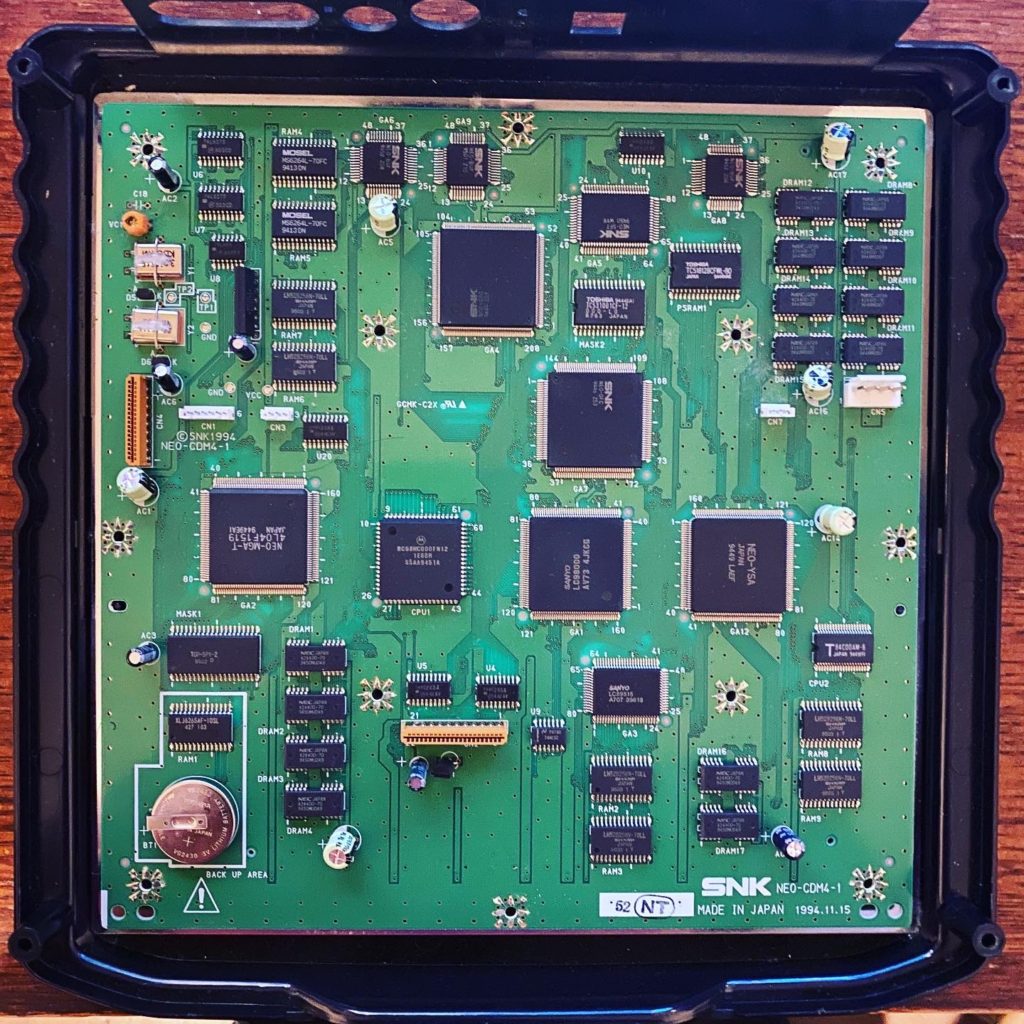
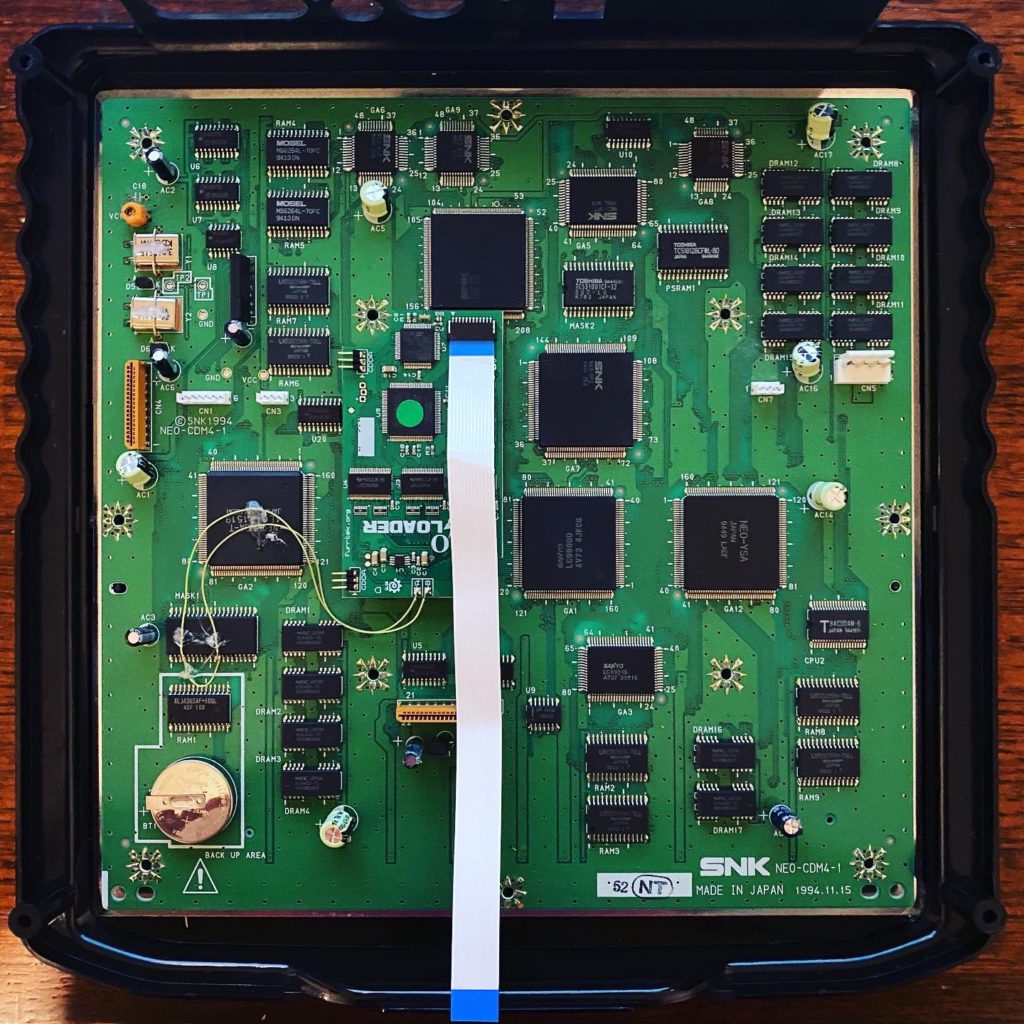
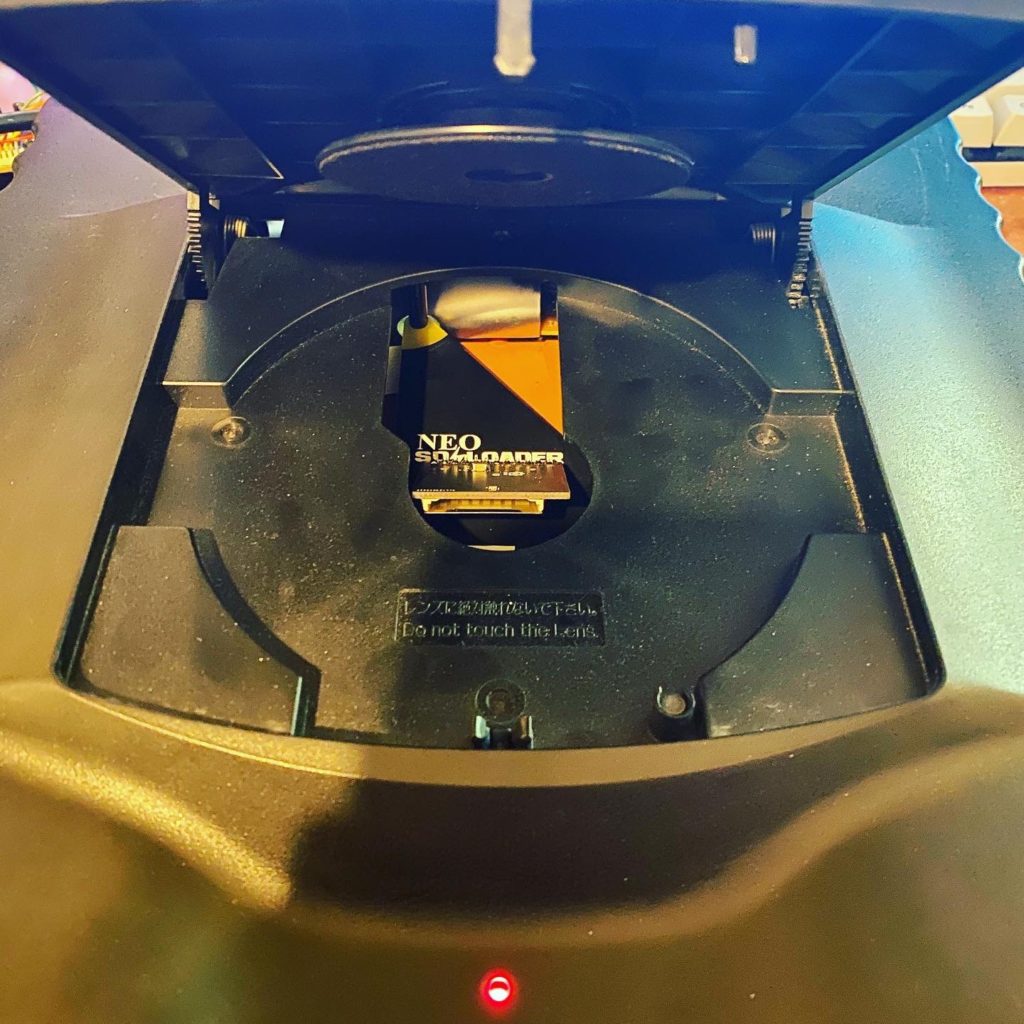
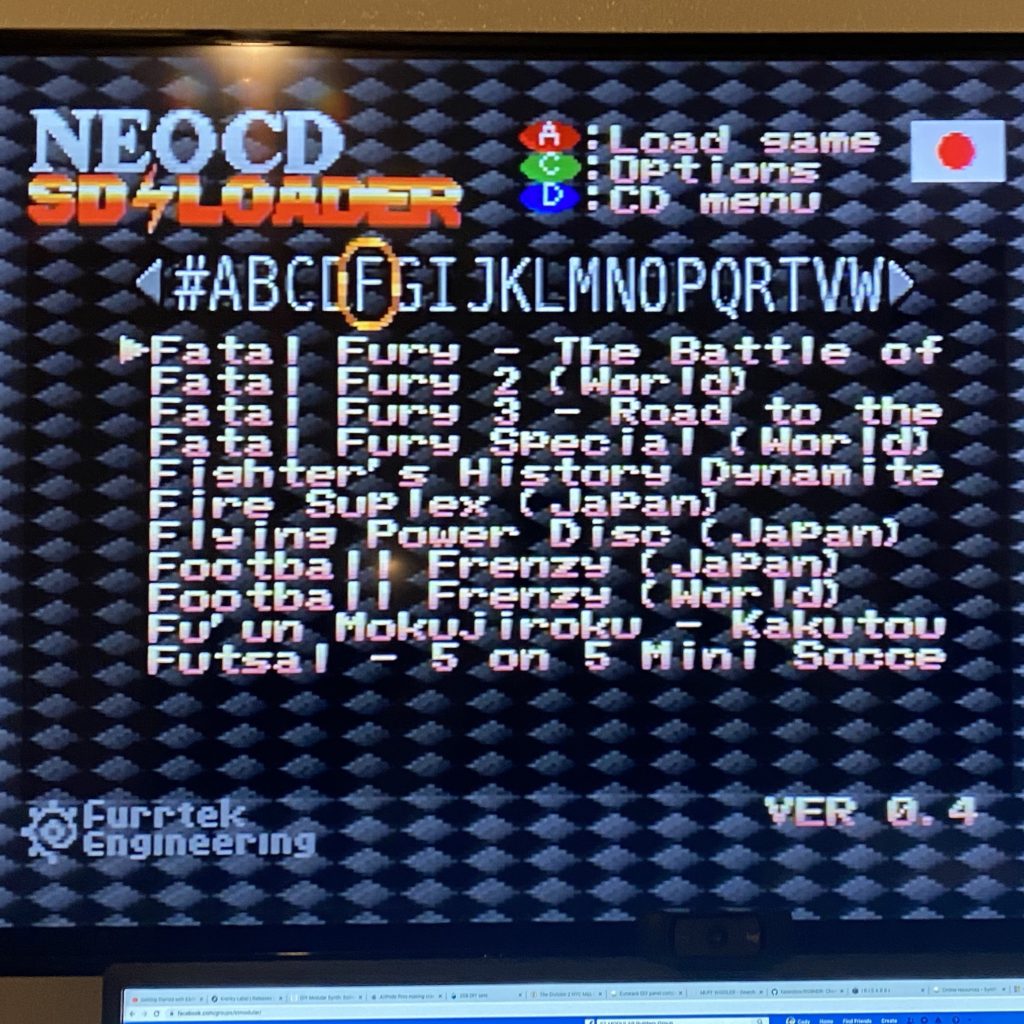
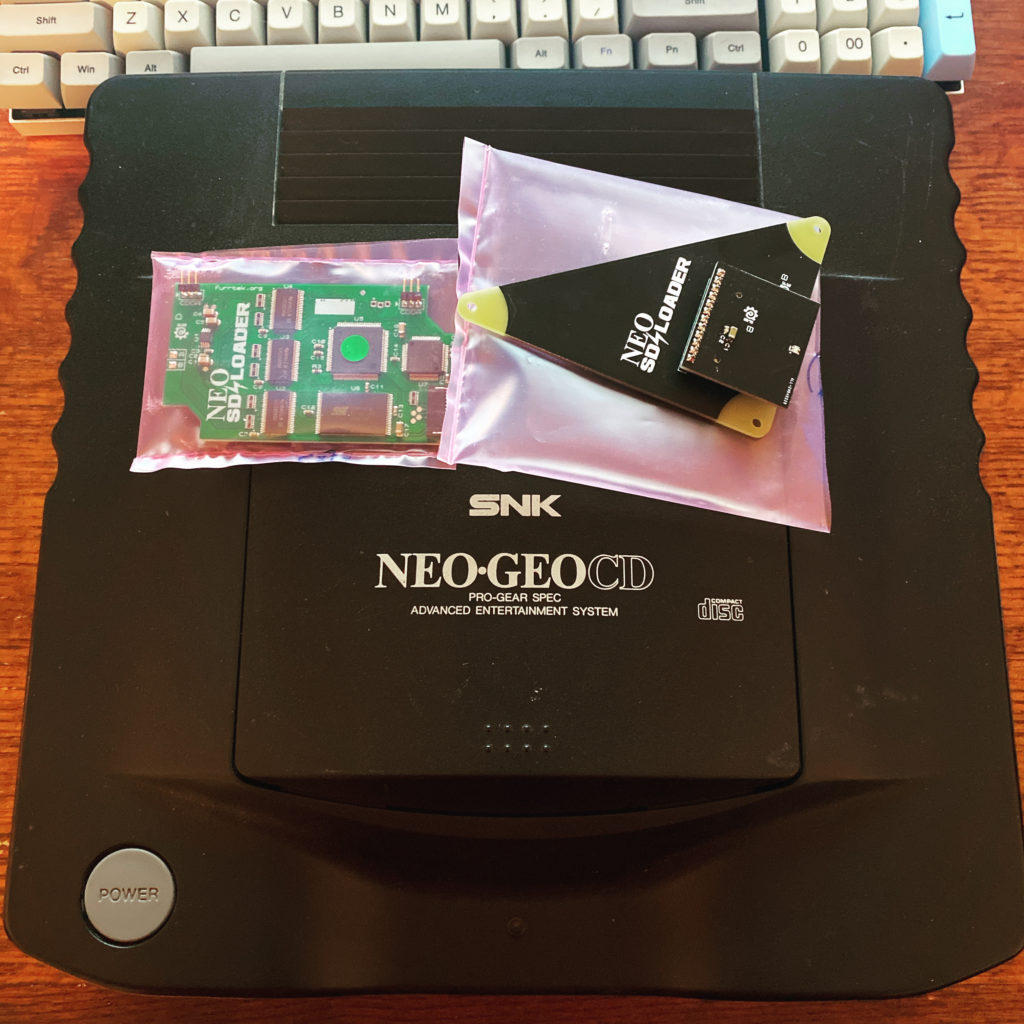
CD emulators are getting more popular as we are seeing them for Saturn, Dreamcast and Sega CD, to name a few. Why not one for the Neo-Geo CD? The Neo-Geo CD top loader is known for being notoriously SLOW when loading data off of the CD due to its 1X read speeds. This is a shame since there are some decent games that never made it on the AES/MVS platform. The Neo SD Loader was exactly what I needed to solve this problem. It has a slick interface/frontend to choose what ISO to start and speeds up the read times to 4X, a HUGE difference. This was a pretty straight forward mod, but there was a pin of a SMD IC that needed to be unsoldered and pulled away from the board. So this might not be for the unexperienced with SDM soldering.

Pop the cover off!
Down to just the main board
Used a little hot glue to hold the wires in place
Mouth open and ready for an SD card!
Lets play!

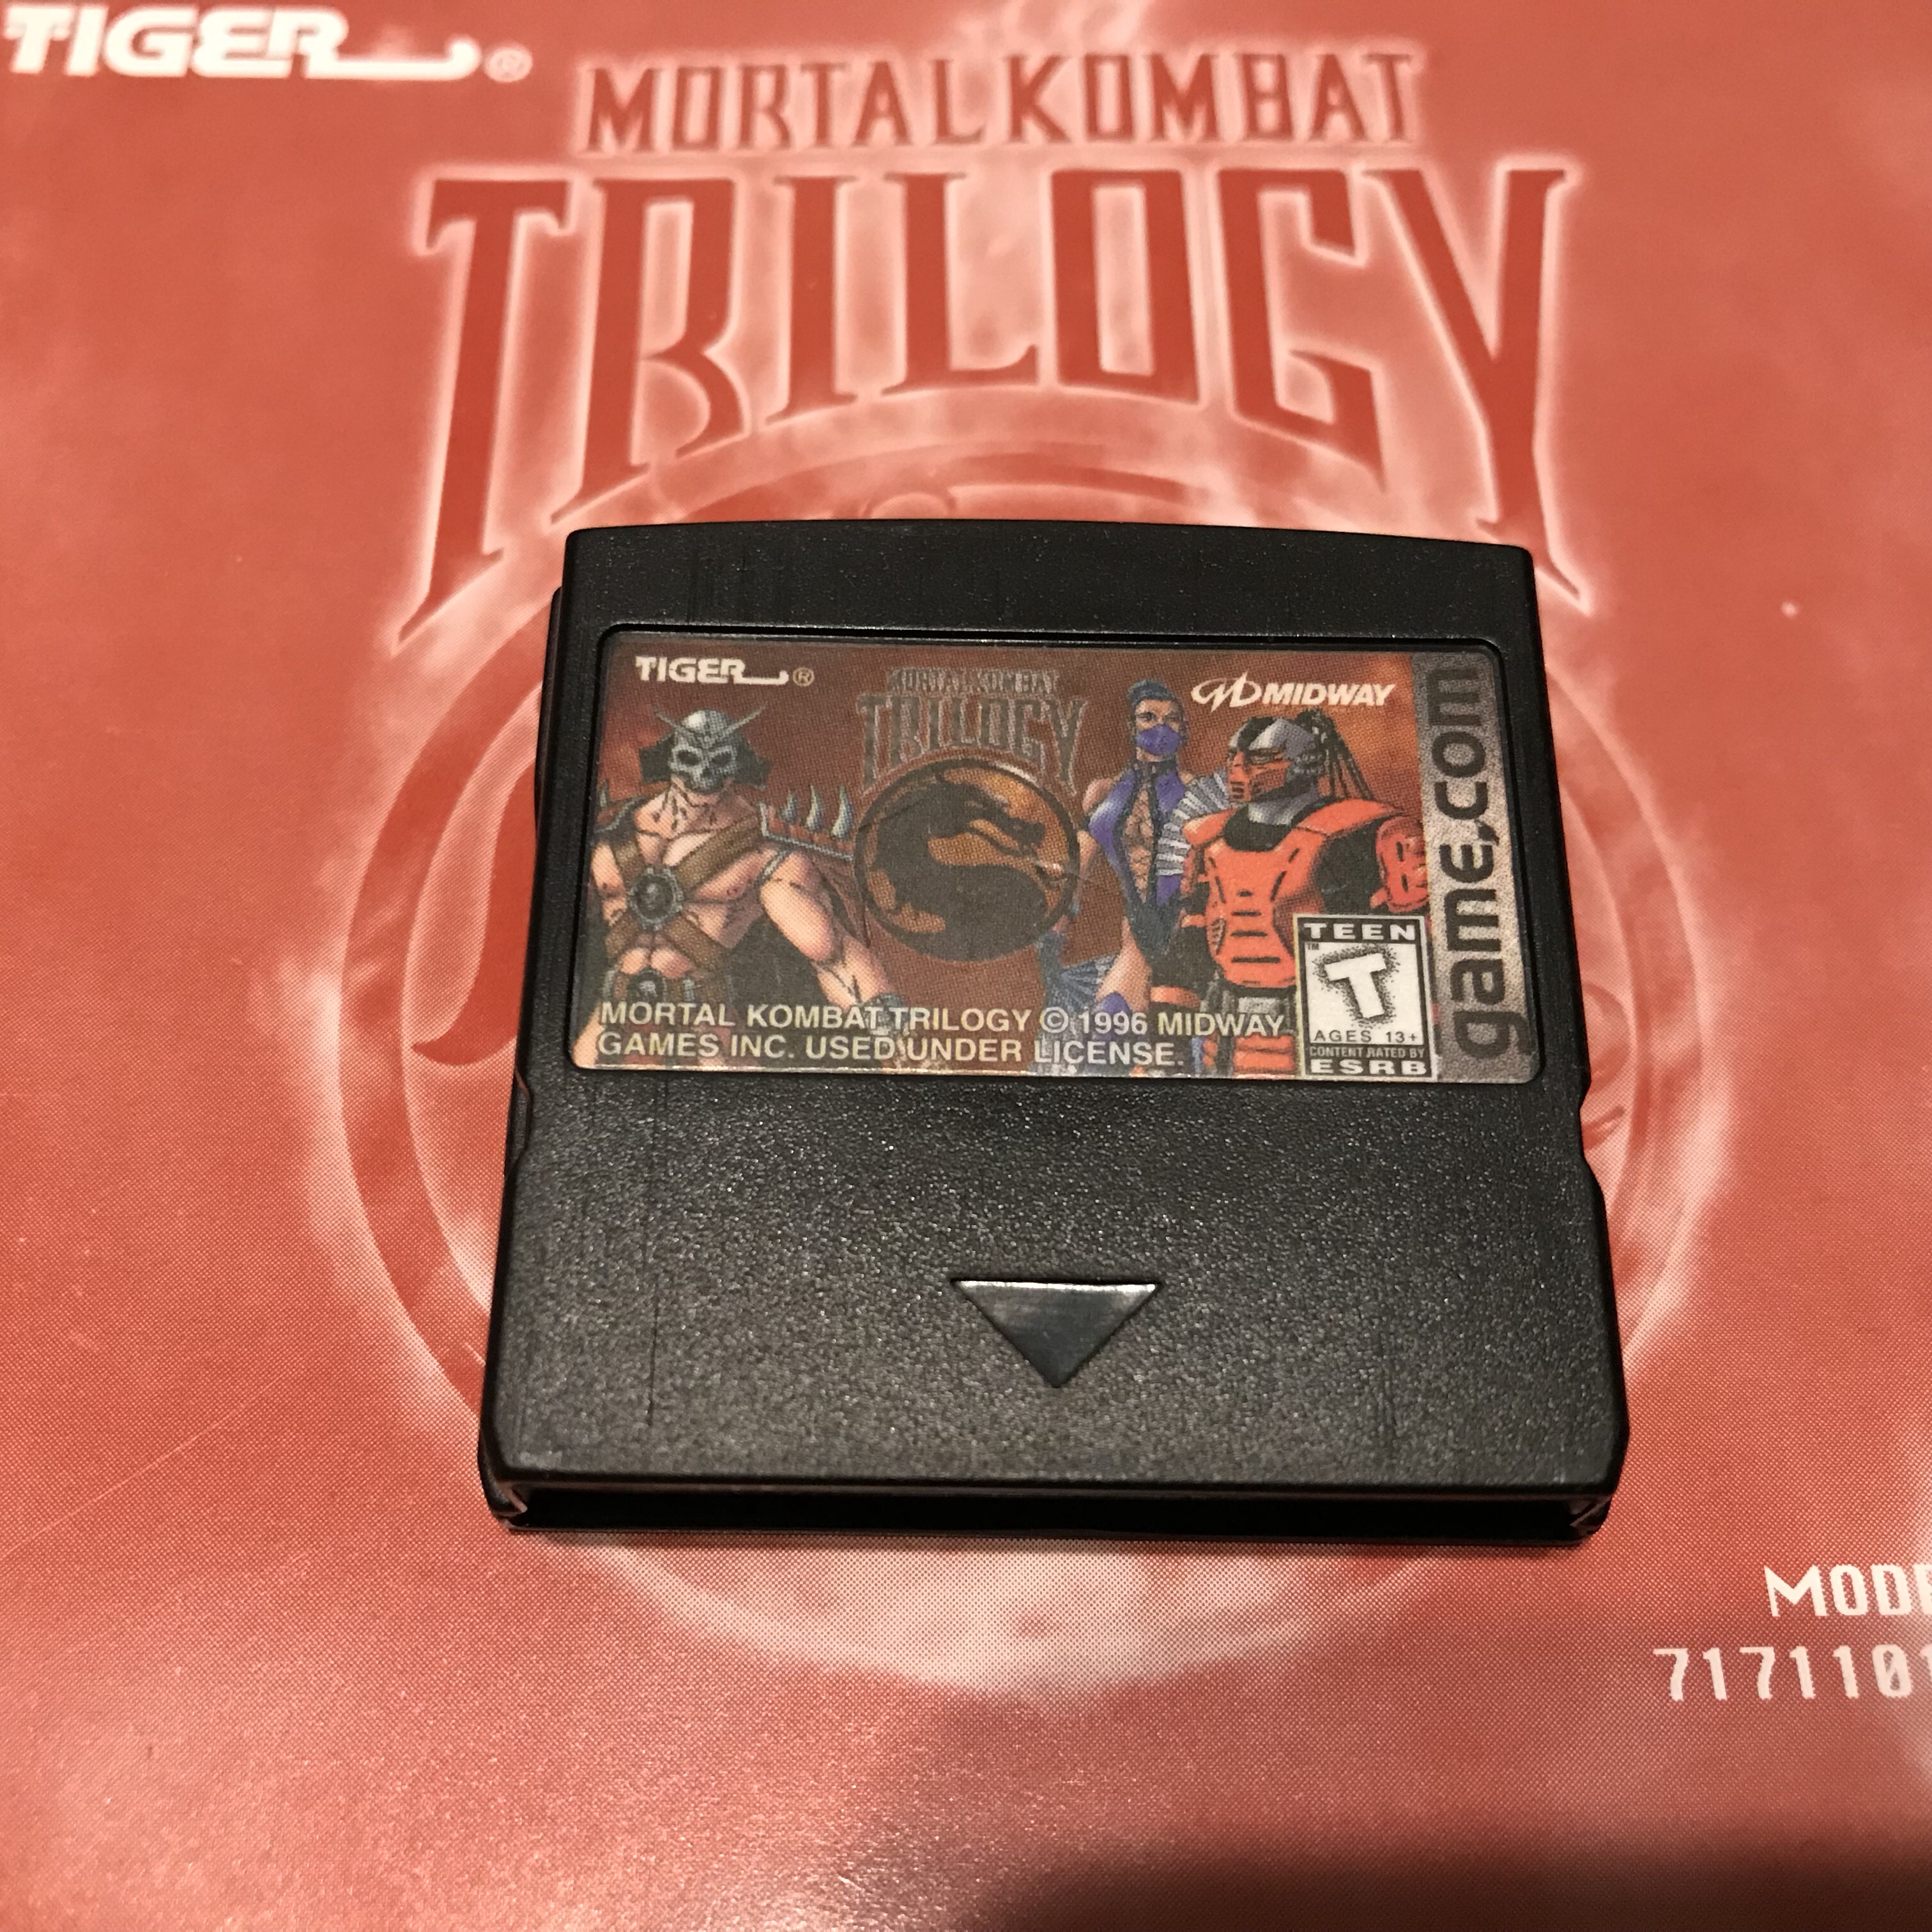
Tiger game.com

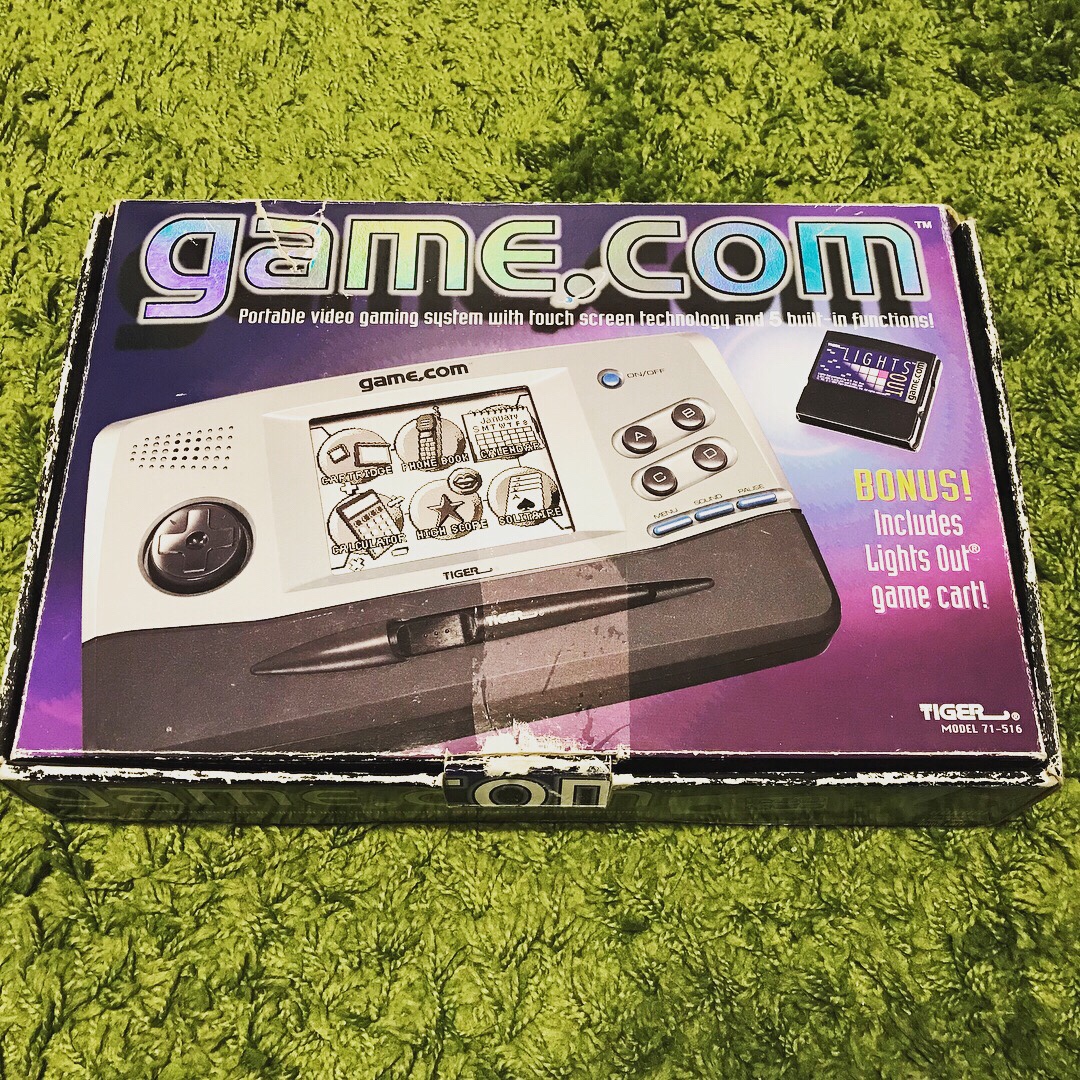
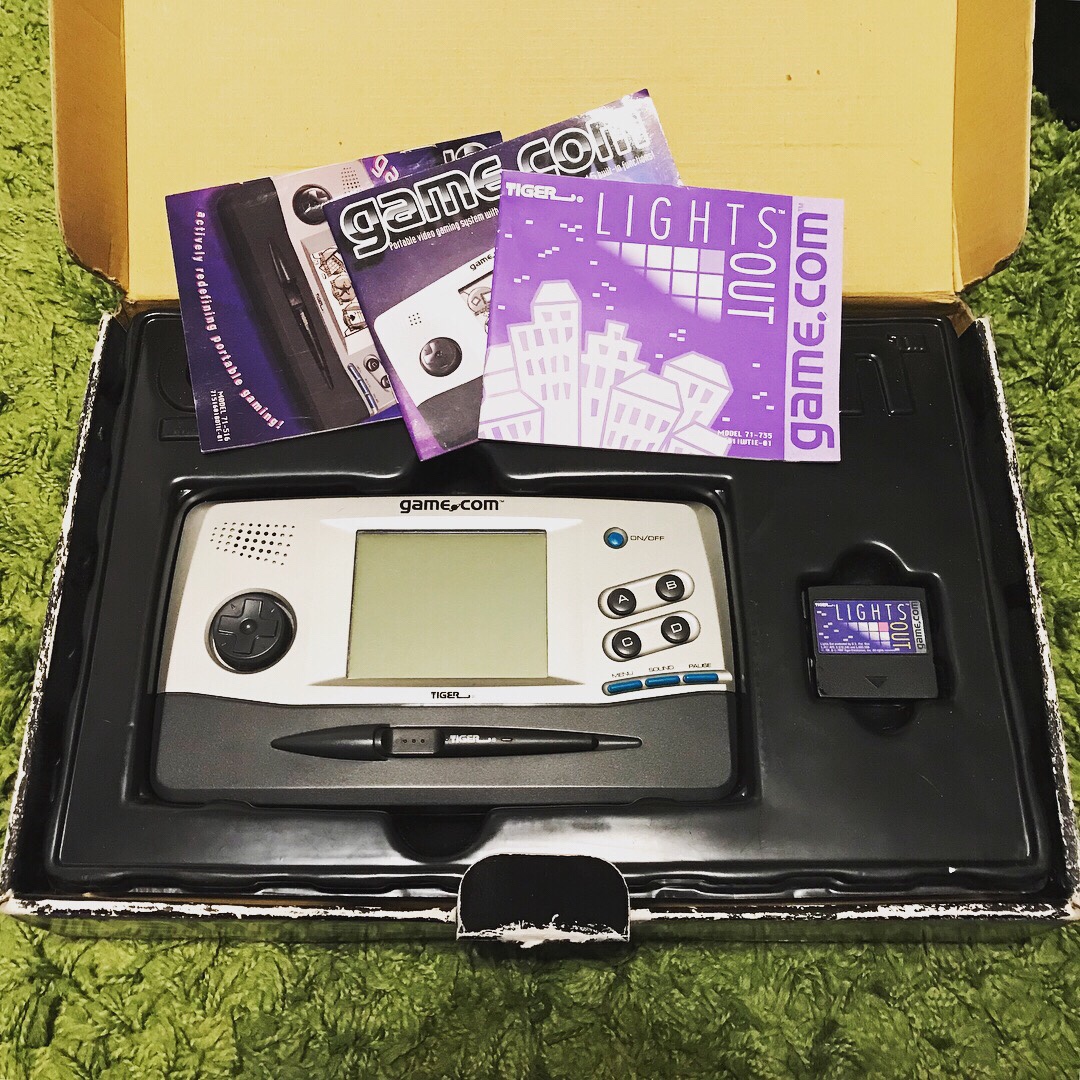
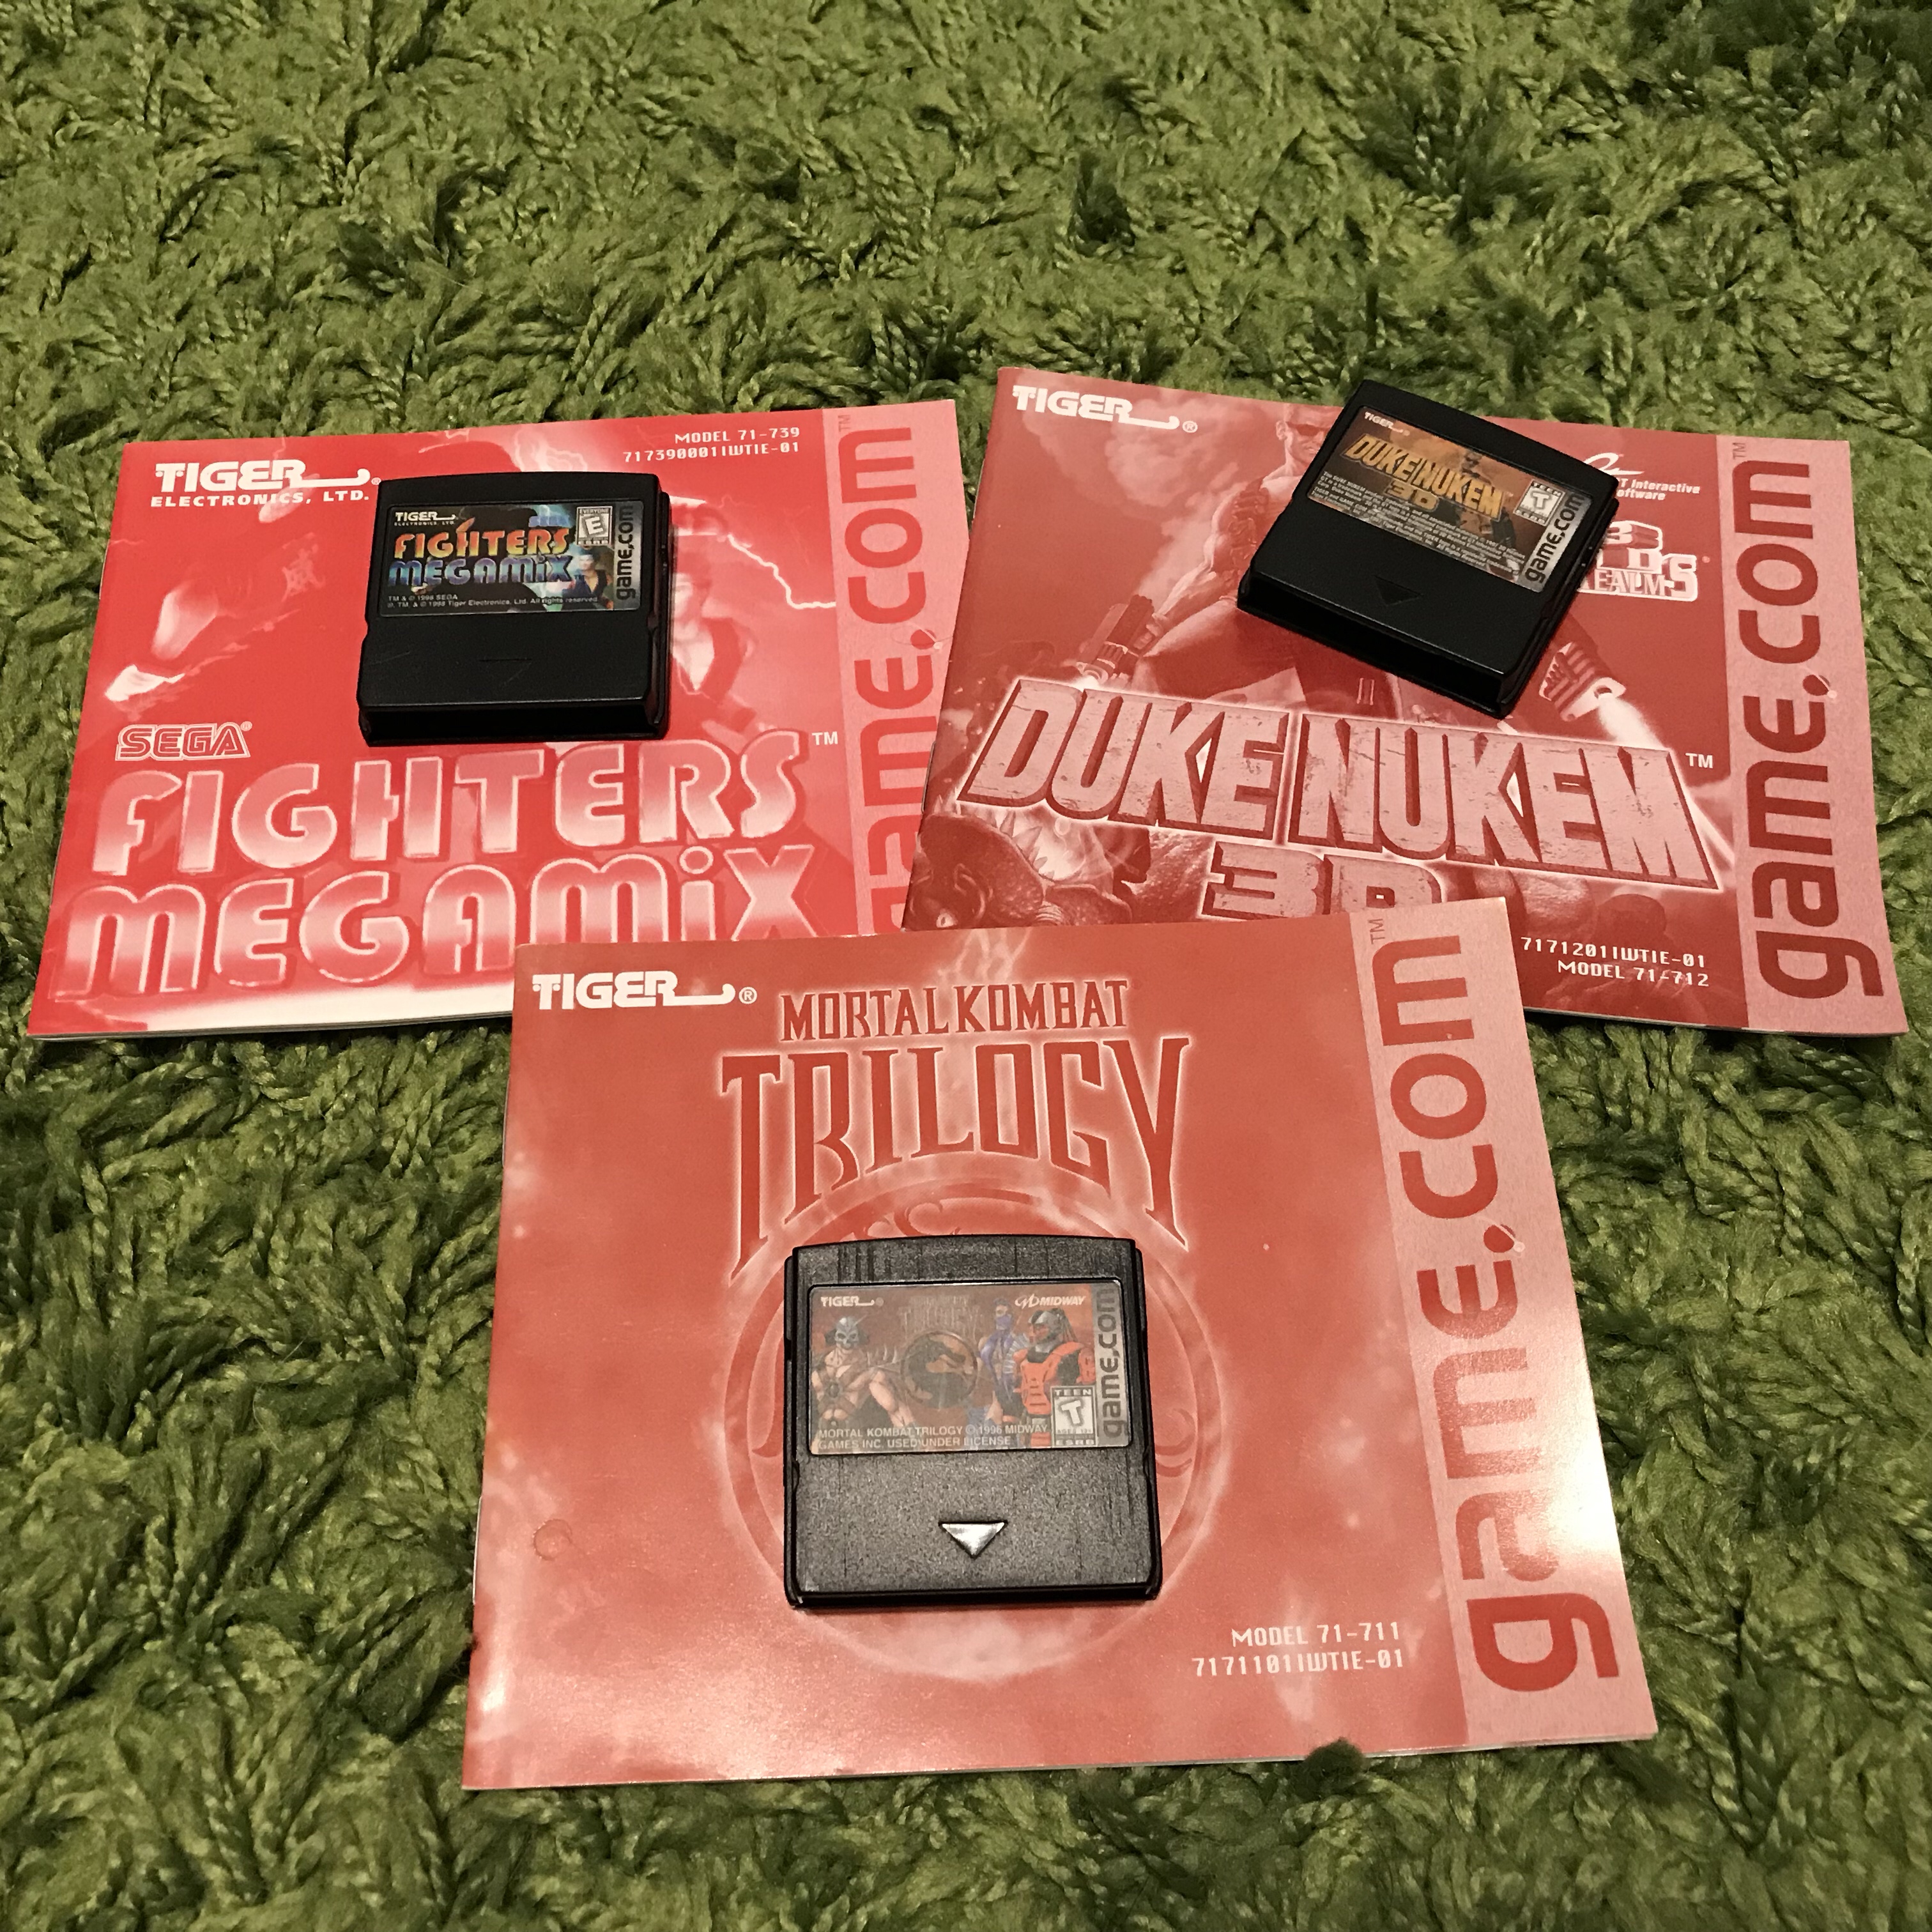
Here is a hot mess of a system for you. In 1997, this system was supposed to “change the gaming world as we know it”. I picked this up cheap on eBay a few months ago and as you can see by the photos, the box is a bit of a wreak, but intact. The seller must have found some more games for it since it was supposed to only come with the packed in Lights Out but they threw in 3 other games + manuals. The Game.com will live on, siting on a shelf.


“Broken” Xbox One launch model for cheap

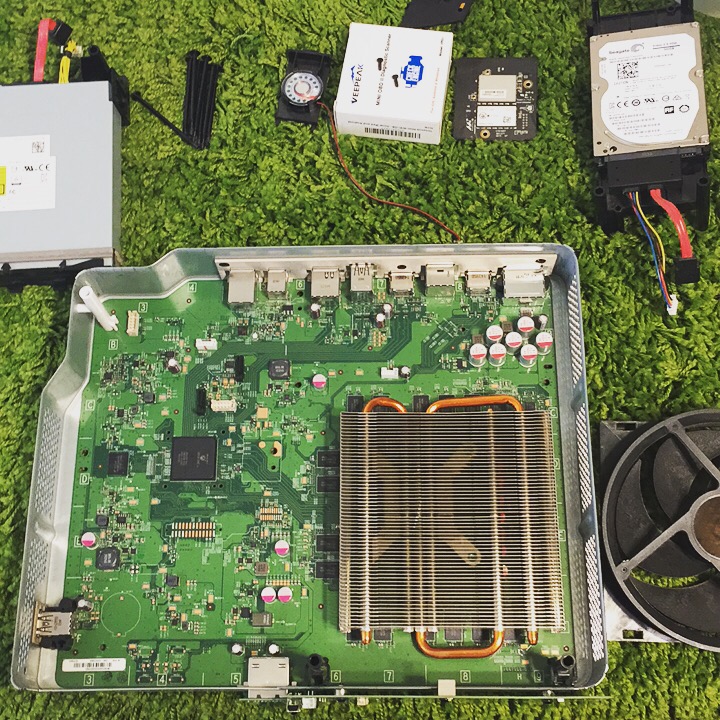
Recently I picked up a “broken” Xbox One from eBay for $69.99 from a pawn shop seller. I noticed in the photos that all the warranty stickers were in place and the unit did not look like it had been opened or worked on. The description of the problem was “The Xbox One will boot to dashboard and then reboot constantly”. I was not able to hear the fan kicking on so my first thought was it was overheating and powering off. I decided to take it apart and take a look around to see if there was anything obvious. After opening it up and giving it a quick clean up, I could not find anything blatantly wrong with it.

I put the system mostly back together and powered it up with no HDD and was able to see the fan kick on (It was just really quiet) and got the typical error for missing hard drive. But the most important thing was, it did not reboot.. hmm, could it be something with the HDD?

I tossed in a 2TB HDD and followed this tutorial and never looked back.

So all in all it was a corrupted OS and just needed to be re-initialized. Time to check out some of the Xbox One exclusives.

PS4 HEN Test

I got to do some game testing on my firmware 4.55 PS4 last night. I acquired a couple PKG files to test with and used my ESP8266 to enabled HEN. I copied over the PKG files to a ExFAT formatted USB drive and plugged it into the PS4. I then went to Settings>Debug Settings>Game>Package Installer and installed all packages.

Excuse the crappy photo of the TV

I am now FINALLY able to play PT. All the packages I installed worked without issues except Burnout Paradise Remastered since its needs firmware 5.05 to run.

Side note: I own all the retail games I installed/tested from PKG’s, just thought I should add that. PT is only a demo obviously.

ESP8266 & The PS4

There has been a bunch of development with the PS4 homebrew scene the last 2 weeks. The PS4’s Homebrew Enabler (HEN) is removed every time the PS4 is restarted and needs to be reapplied. There is was to do it from internet, local PC, smartphones and from a ESP8266 device. I found the ESP8266 to be the most consistent way of applying the HEN to the PS4.

I picked up the ESP8266 from Amazon for just under $9.

What you will need:
PS4 on firmware 5.05 or lower. (I am curently on 4.55 myself. I am waiting for 5.05 HEN/MIRA to be more stable before it update)
ESP8266 with 4mb flash, linked above
MicroUSB cable
ESP-Host found at Github
ESPTool

Here was my install process on a Windows 10 machine:

  • Install Python 2.7 Get it here
  • Put Python and scripts in your PATH (c:\Python27;c:\Python27\Scripts) Google it if you are unsure how to do this
  • Download get-pip.py and run “python get-pip.py” from a CMD promt
  • Once Python and PIP are installed, open a CMD window and run “pip install esptool”
  • Download ESP-host BIN file that matches your PS4 firmware (esphostmulti455.bin in my case)
  • Plug in your ESP8266 to your computer VIA the MicroUSB cable
  • Open a CMD windows and run “python esptool.py –port COM3 write_flash 0x00000 esphostmulti455.bin” Use your full path to your esphostmulti455.bin file

Once flash is done, plug the ESP8266 into a USB port on your PS4 and go to Settings>Network>Setup Internet Connection>Use Wifi>Easy
Connect to the SSID PS4-WIFI (If you do not see the PS4-WIFI network then your ESP8266 is not working properly.
To run the exploit go to Settings>User’s Guide
Select HEN or HEN+VR and you will be notified when the script is complete.

Update: nodemcu-pyflasher – This tool might be better for flashing since python & PIP are not needed.

Switch madness

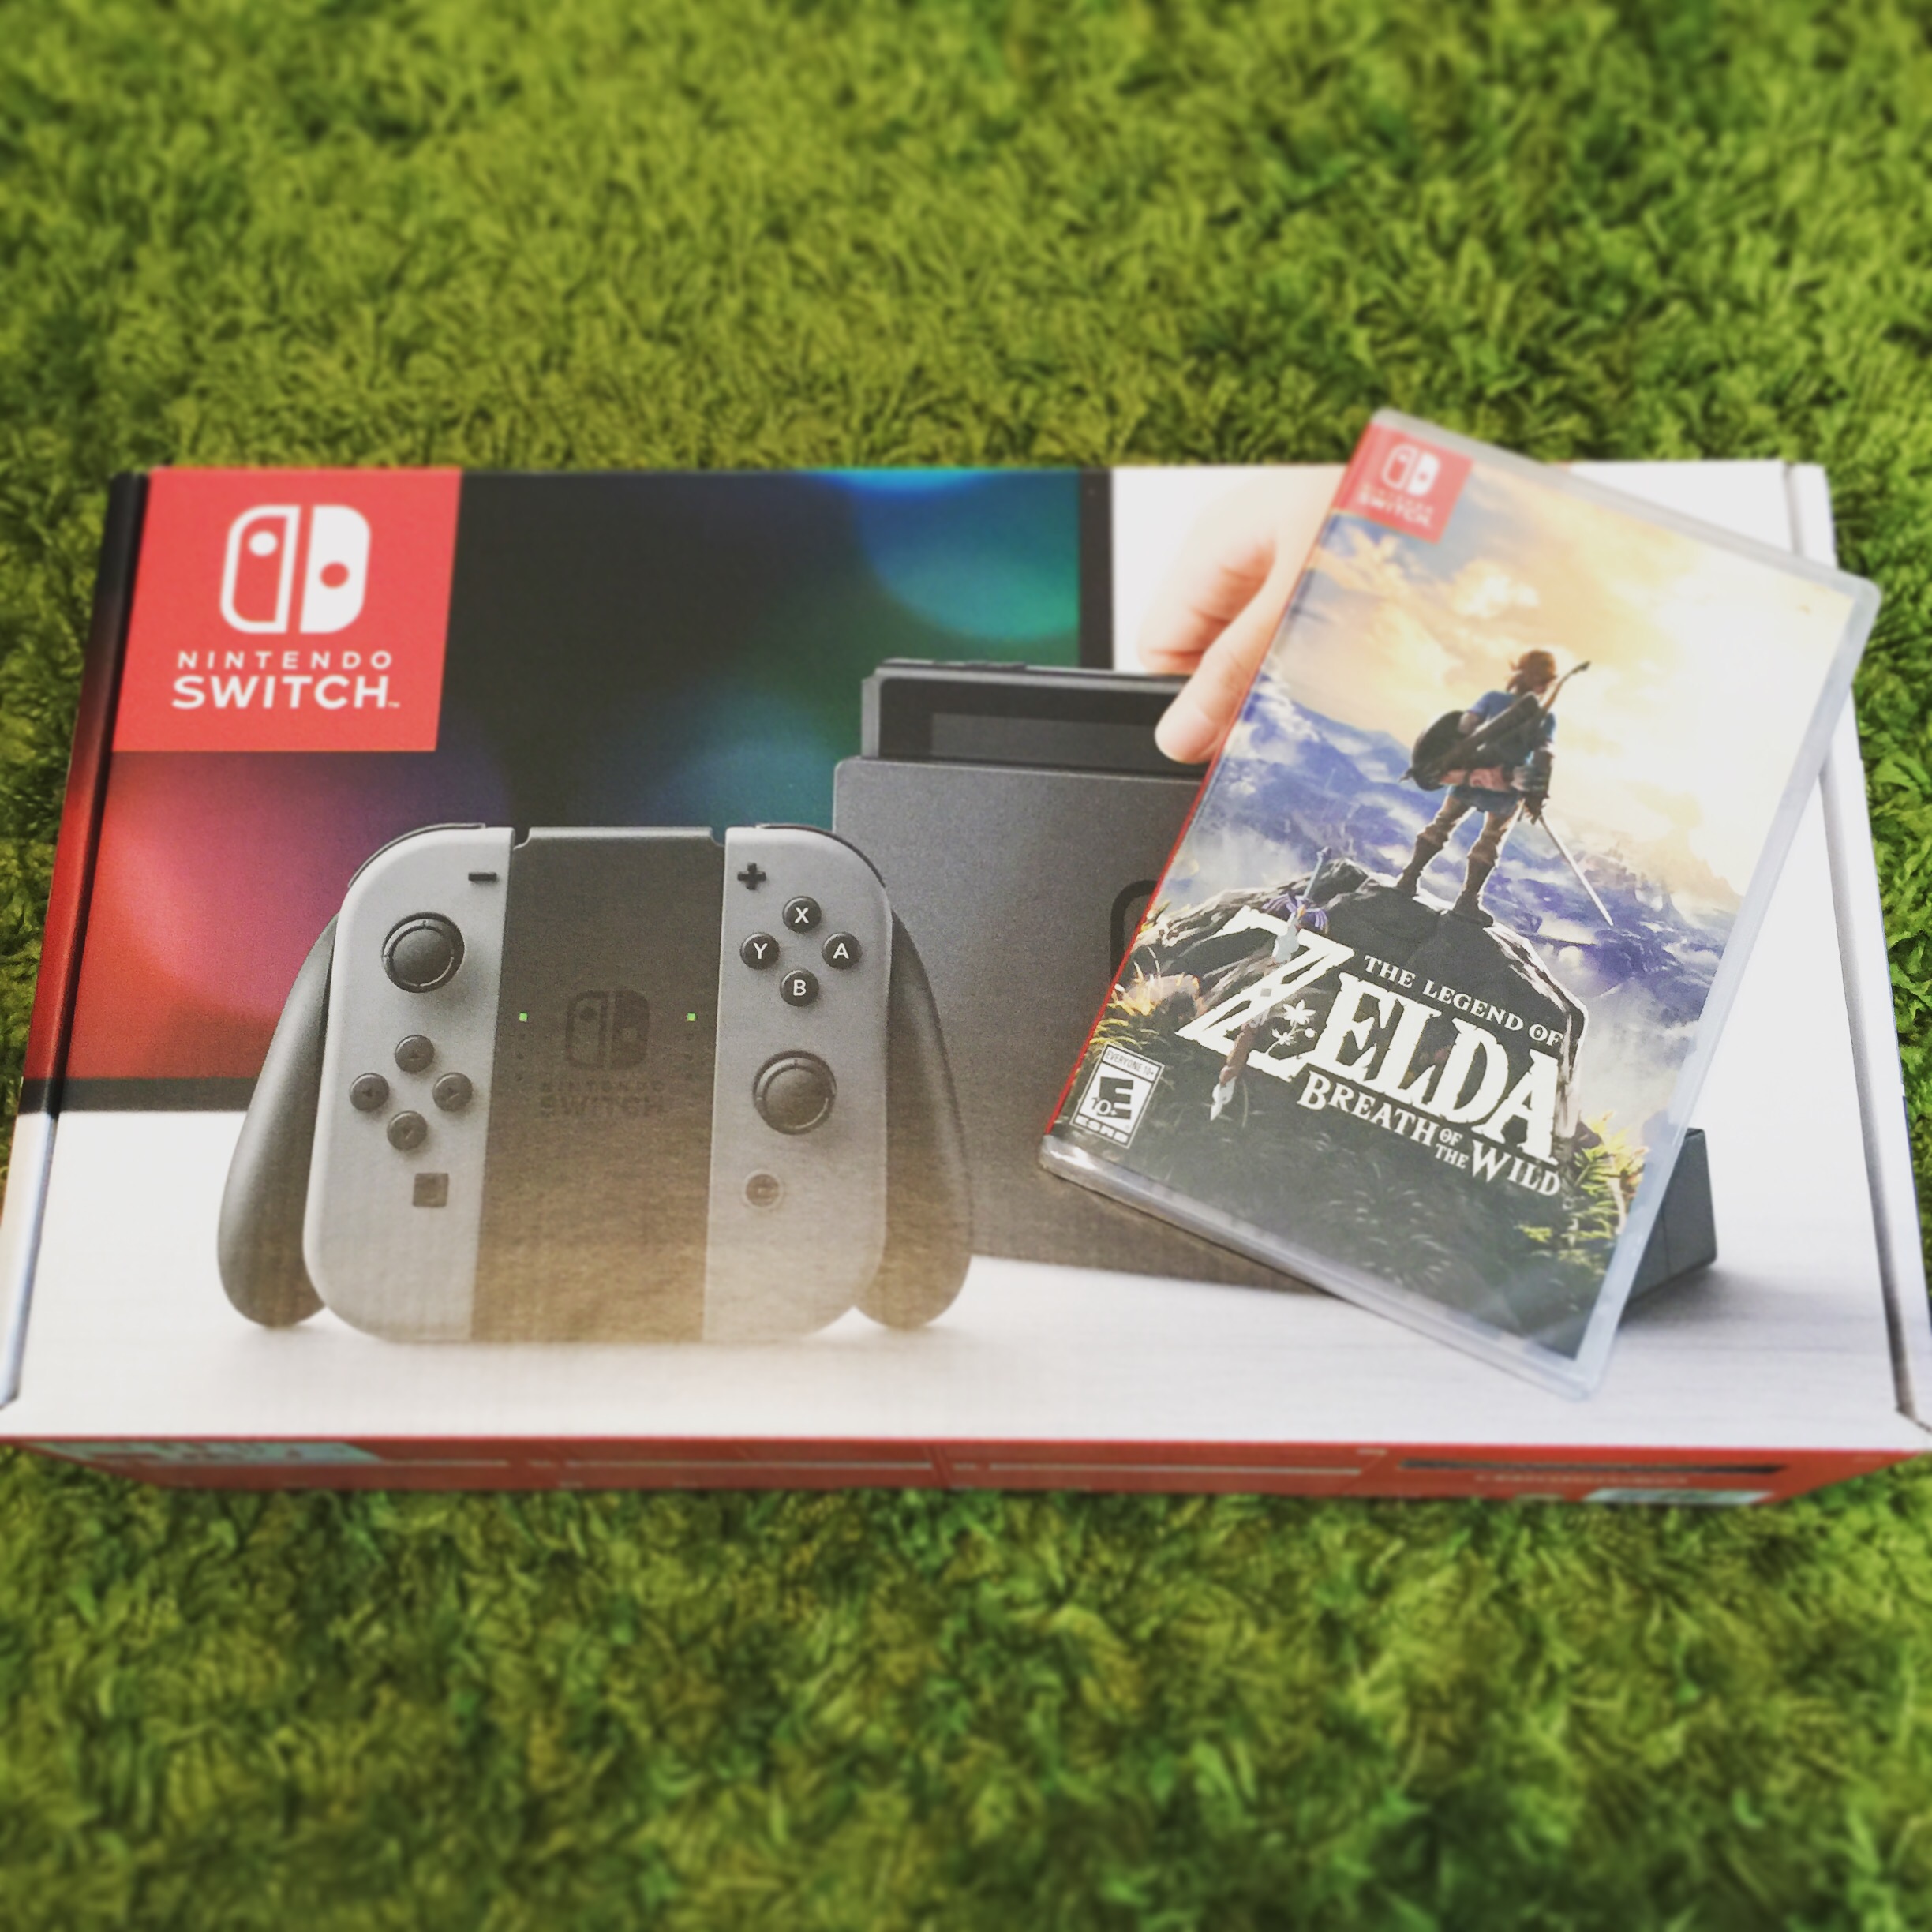
Thanks to Target for being on the ball with their pre-orders. I received mine on launch day (3/3/17) at 1:00PM and had plenty of time to get familiar with it. I only picked up Zelda: Breath of the Wild since I figured that would hold me over until more titles get launched.

So far I am super impressed with the hardware. It feels “expensive”,sturdy and durable. Feels more like an adult console and not “Fisher Price” like the Wii U gamepad.

ED64 (Newer Version)

I was first looking into Everdrive flash carts but the price of the things really blur my vision. I decided to look at some clones and knock offs first. I saw on Amazon a company selling a ED64Plus which is a clone of the older Everdrive-64. There was a version of this ED64 that had a pass-through port on the top to piggyback a N64 cartridge. This was to use to get around the CIC chip by using the CIC chip from the original N64 cart you piggybacked. These newer version without the pass-through can play N64 ROMs straight from the SD card and does not need an external CIC IC.

There is a really great write up on the older version over at NESWORLD.

On with the pics:

Here is the package

img_0890

Front of the cart

img_0953

Gut shot 1

img_0950

Gut shot 2

img_0951

Back of cart

img_0952

Menu system with custom background and games added. Everything is looking good.

img_0892

Impression:

Overall I am very happy with it and glad I went this route for the N64. We will see what the long term use is like but as for now, its a winner.

Dreamcast HDD mod

When I first heard I could add a IDE hard drive to the Sega Dreamcast, I thought it would be amazing to have access to all the games with out needing to change a disc. The mod is pretty straight forward but can be intimidating if your not comfortable soldering small pads.

What can you do with this mod?

You can use a boot CD with DreamShell loaded on it that will spin up and detect your ATA HDD. Keep in mind that not all games work with DreamShell. Its not a 100% solution to playing all Dreamcast games, but for what it does do, it does it well.

Images supported (ISO / CSO / CDI / GDI)

Dreamshell works best with optimized GDI images. Google around for some tutorials for this as it is a little more in depth than I want to go in this post.

On to the mod:

I went with the 40 Pin ATA cable since it is what I had on hand. This is a non ultra ATA cable and is easy to strip and soldier. You can also use the 44 Pin ATA cable for use with 2.5″ IDE hdds. You can actually supply the power for the HDD with that. If I was to do this all over again, I would go with the 44 pin cable and a 2.5″ HDD or a SD adapter.

I took apart the Dreamcast and removed the motherboard. I then printed out the wire pinout guide for reference. Someone online said to use a sharpie and mark every 10th wire to help keep your count correct. It is easy to be overwhelmed with 40 small wires. I then stripped the 40 pin IDE cable to individual wires about 4 inches back  and stripped and tinned each wire. I also hit all the pads on the Dreamcast with a bit of new soldier.
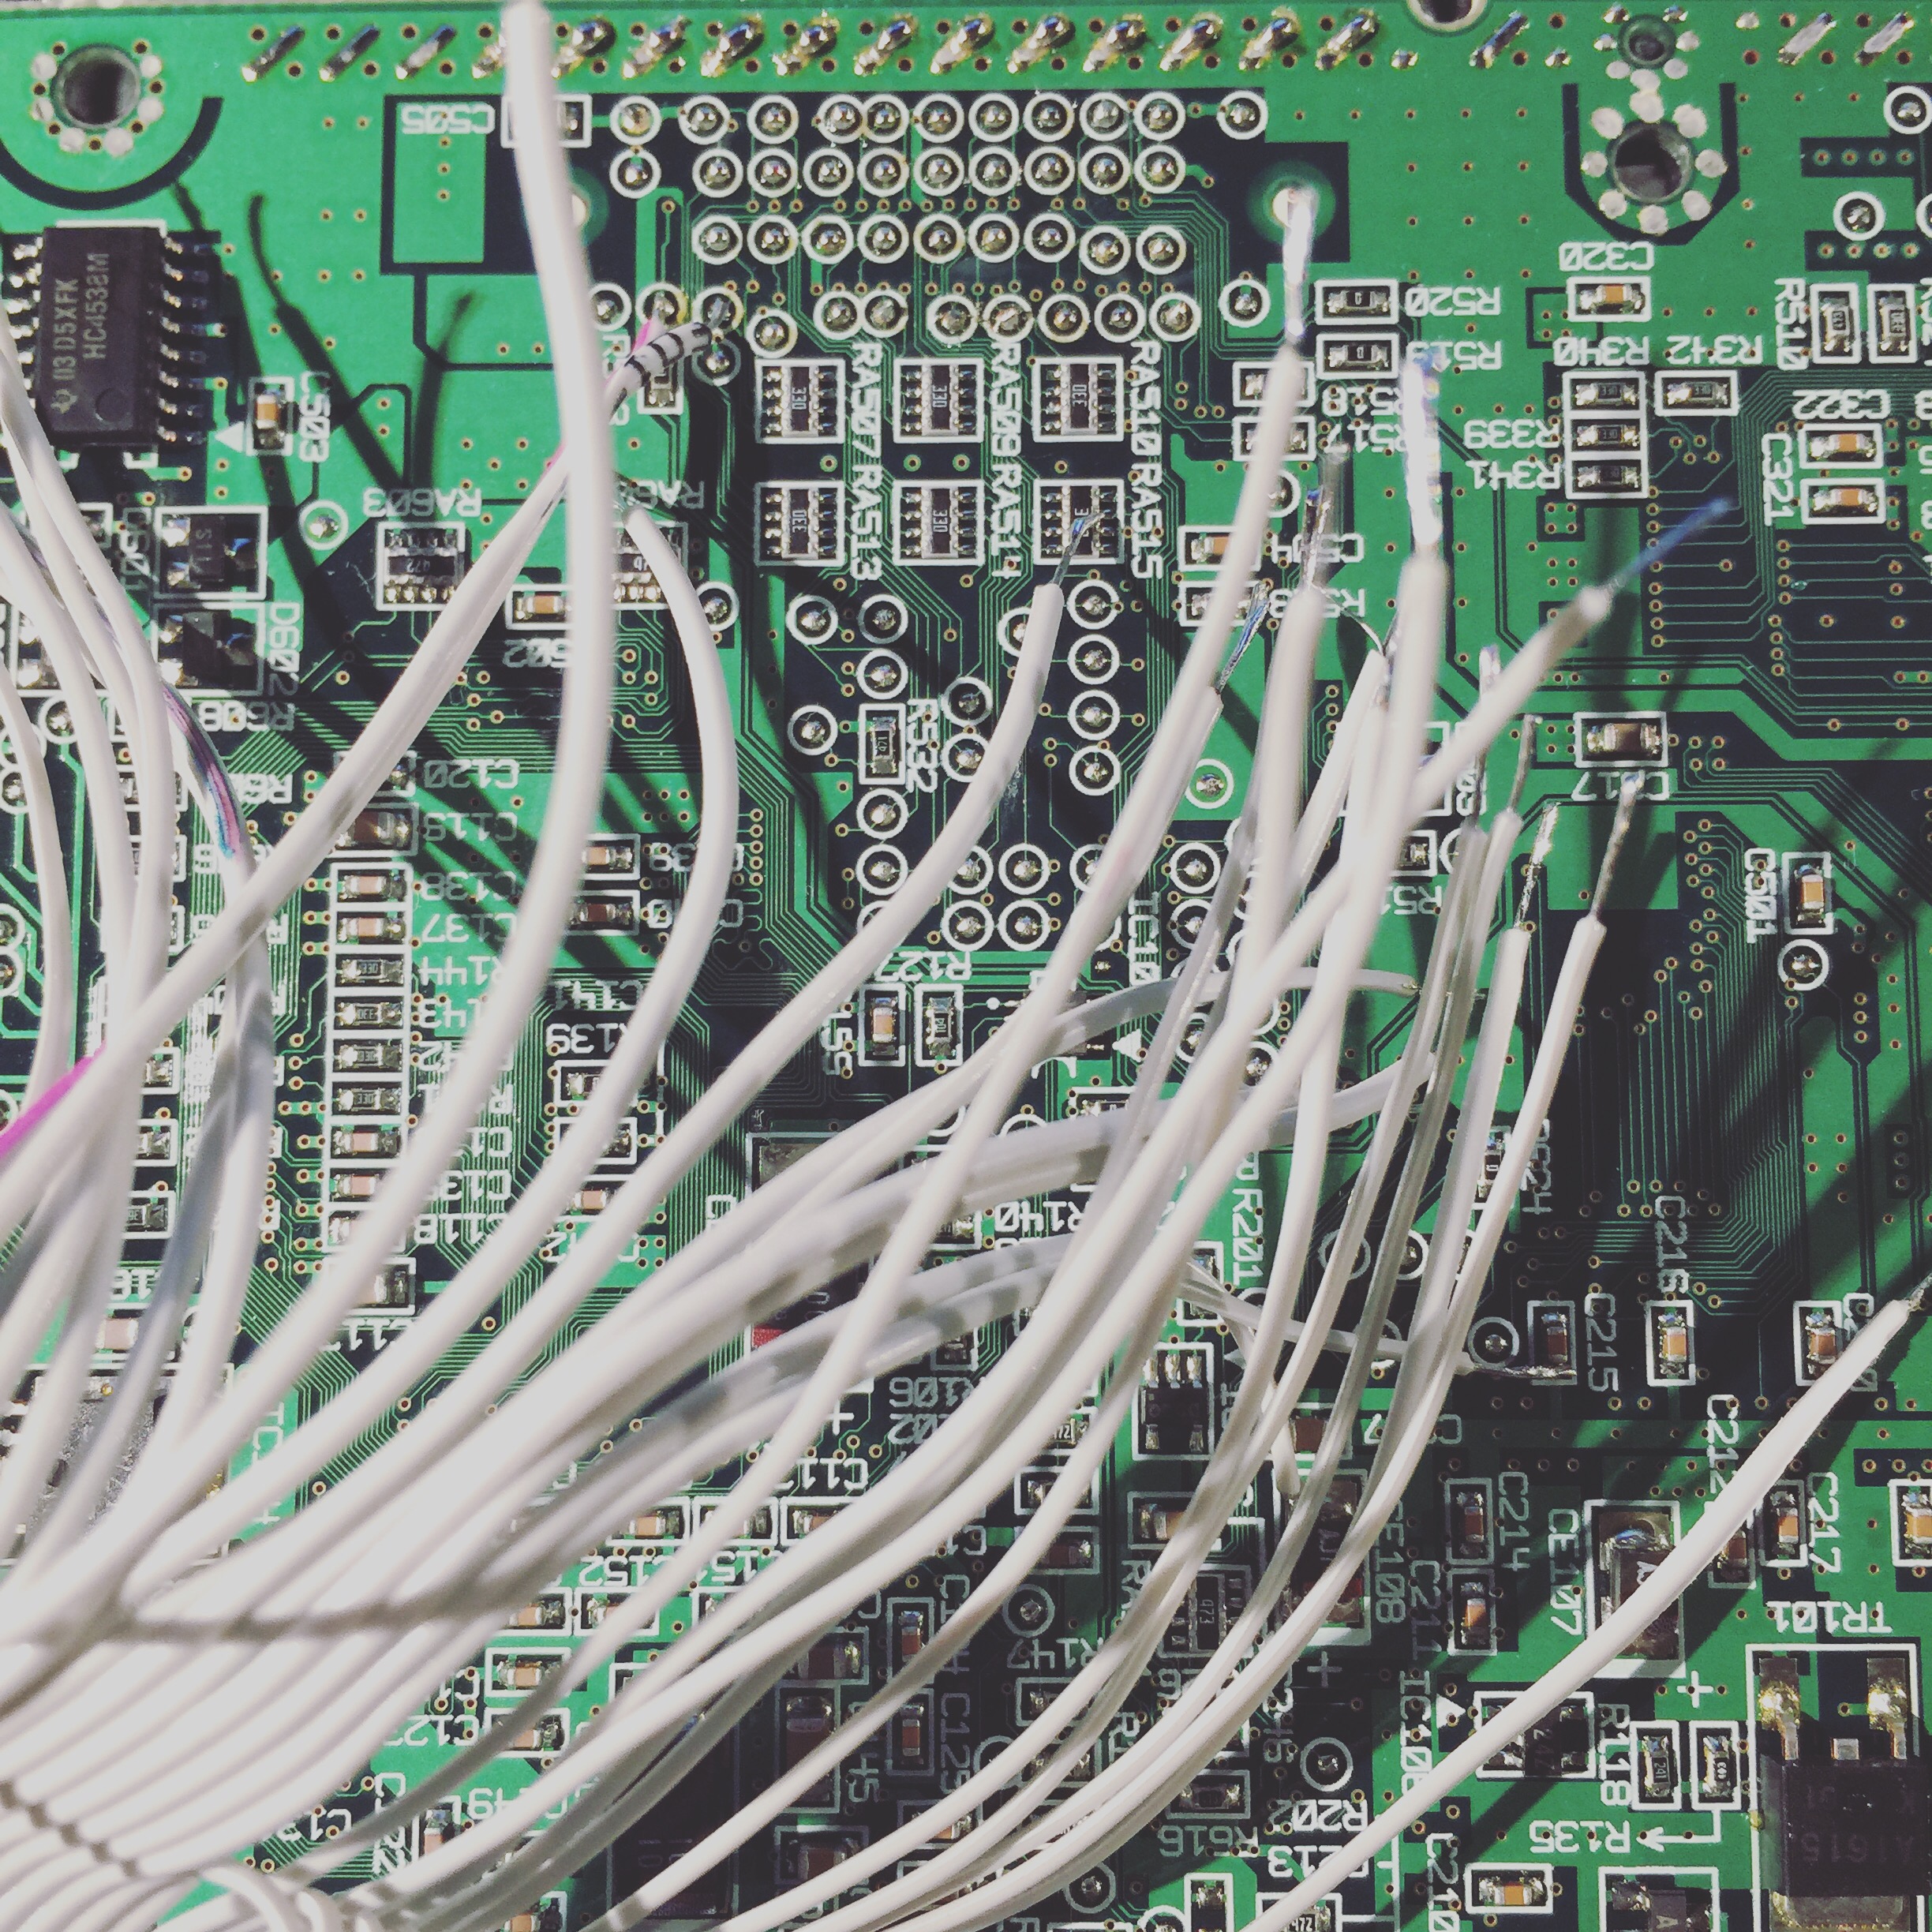
I stared soldering with the bottom row and worked my way from left to right and up. When I finished a row I then used a hot glue gun to hold the wires in place to the board and to keep them out of the way. It looks crazy but if you take your time its not that bad.
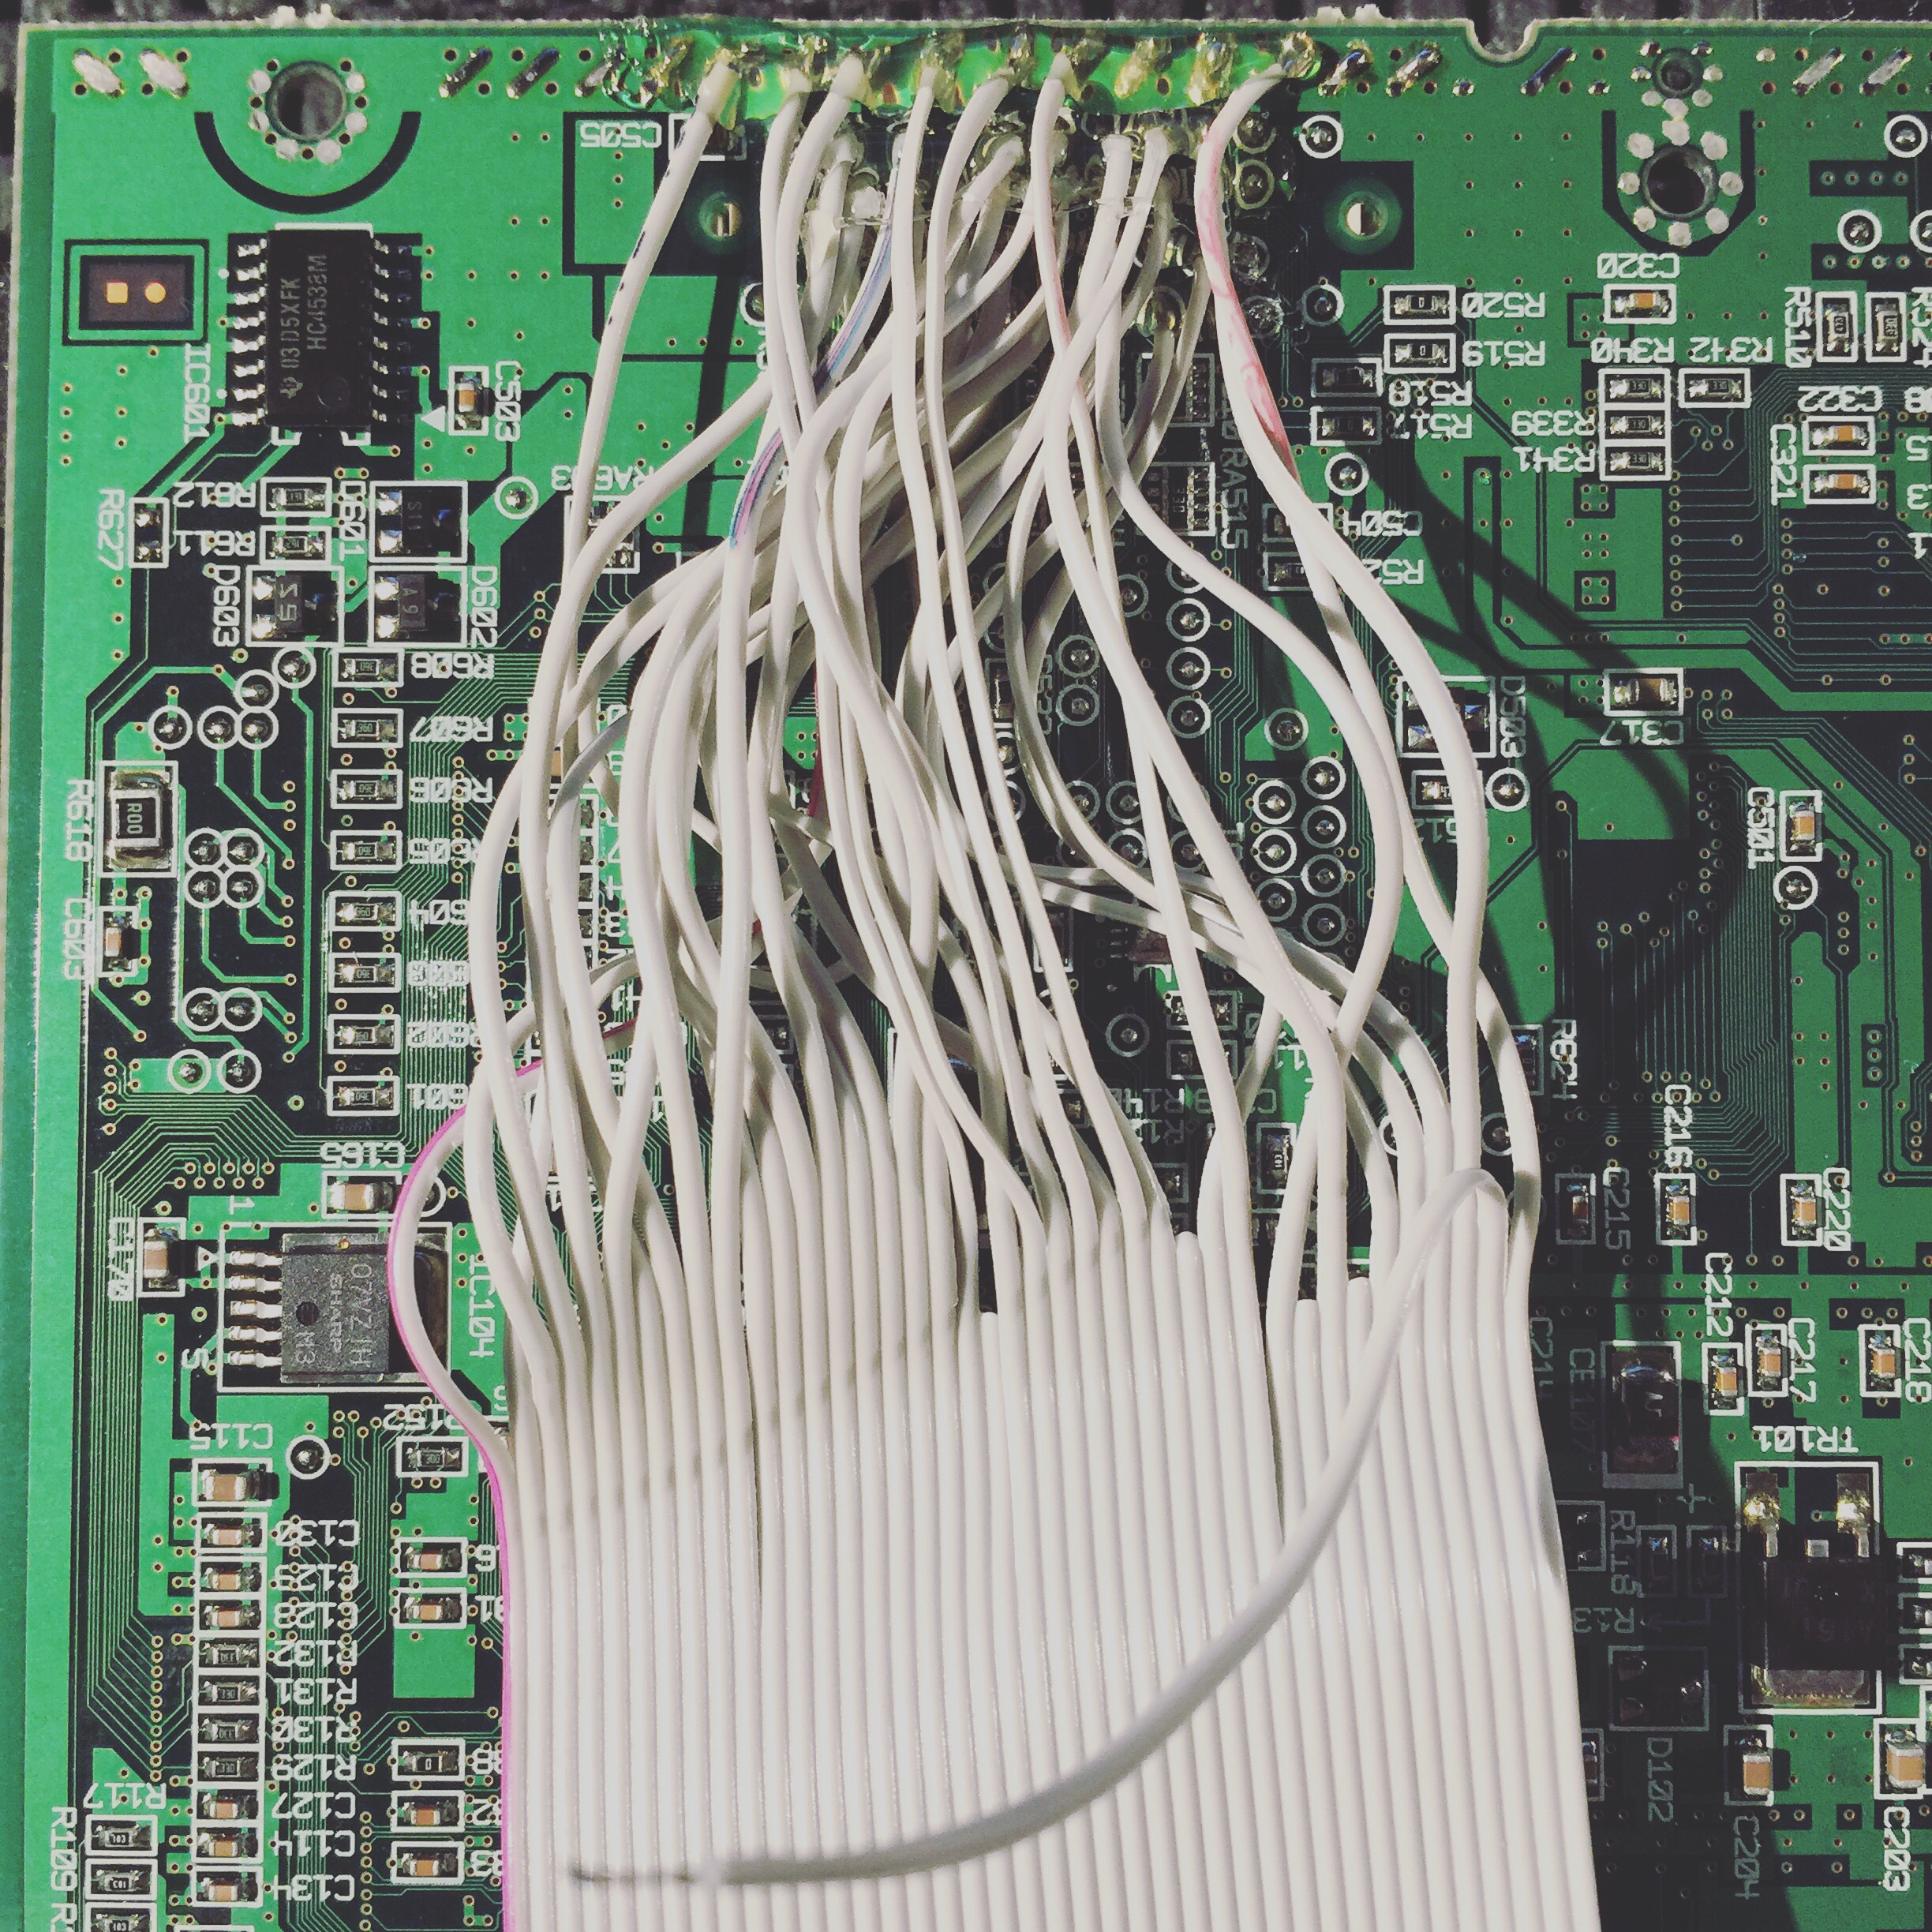
When done I then assembled the Dreamcast and hooked up the IDE HDD and used an external power source for the drive. I booted the Dreamshell CD and did a quick HDD test and it all looks good so far. I tossed a couple games on it to test and it seems like its good to go.
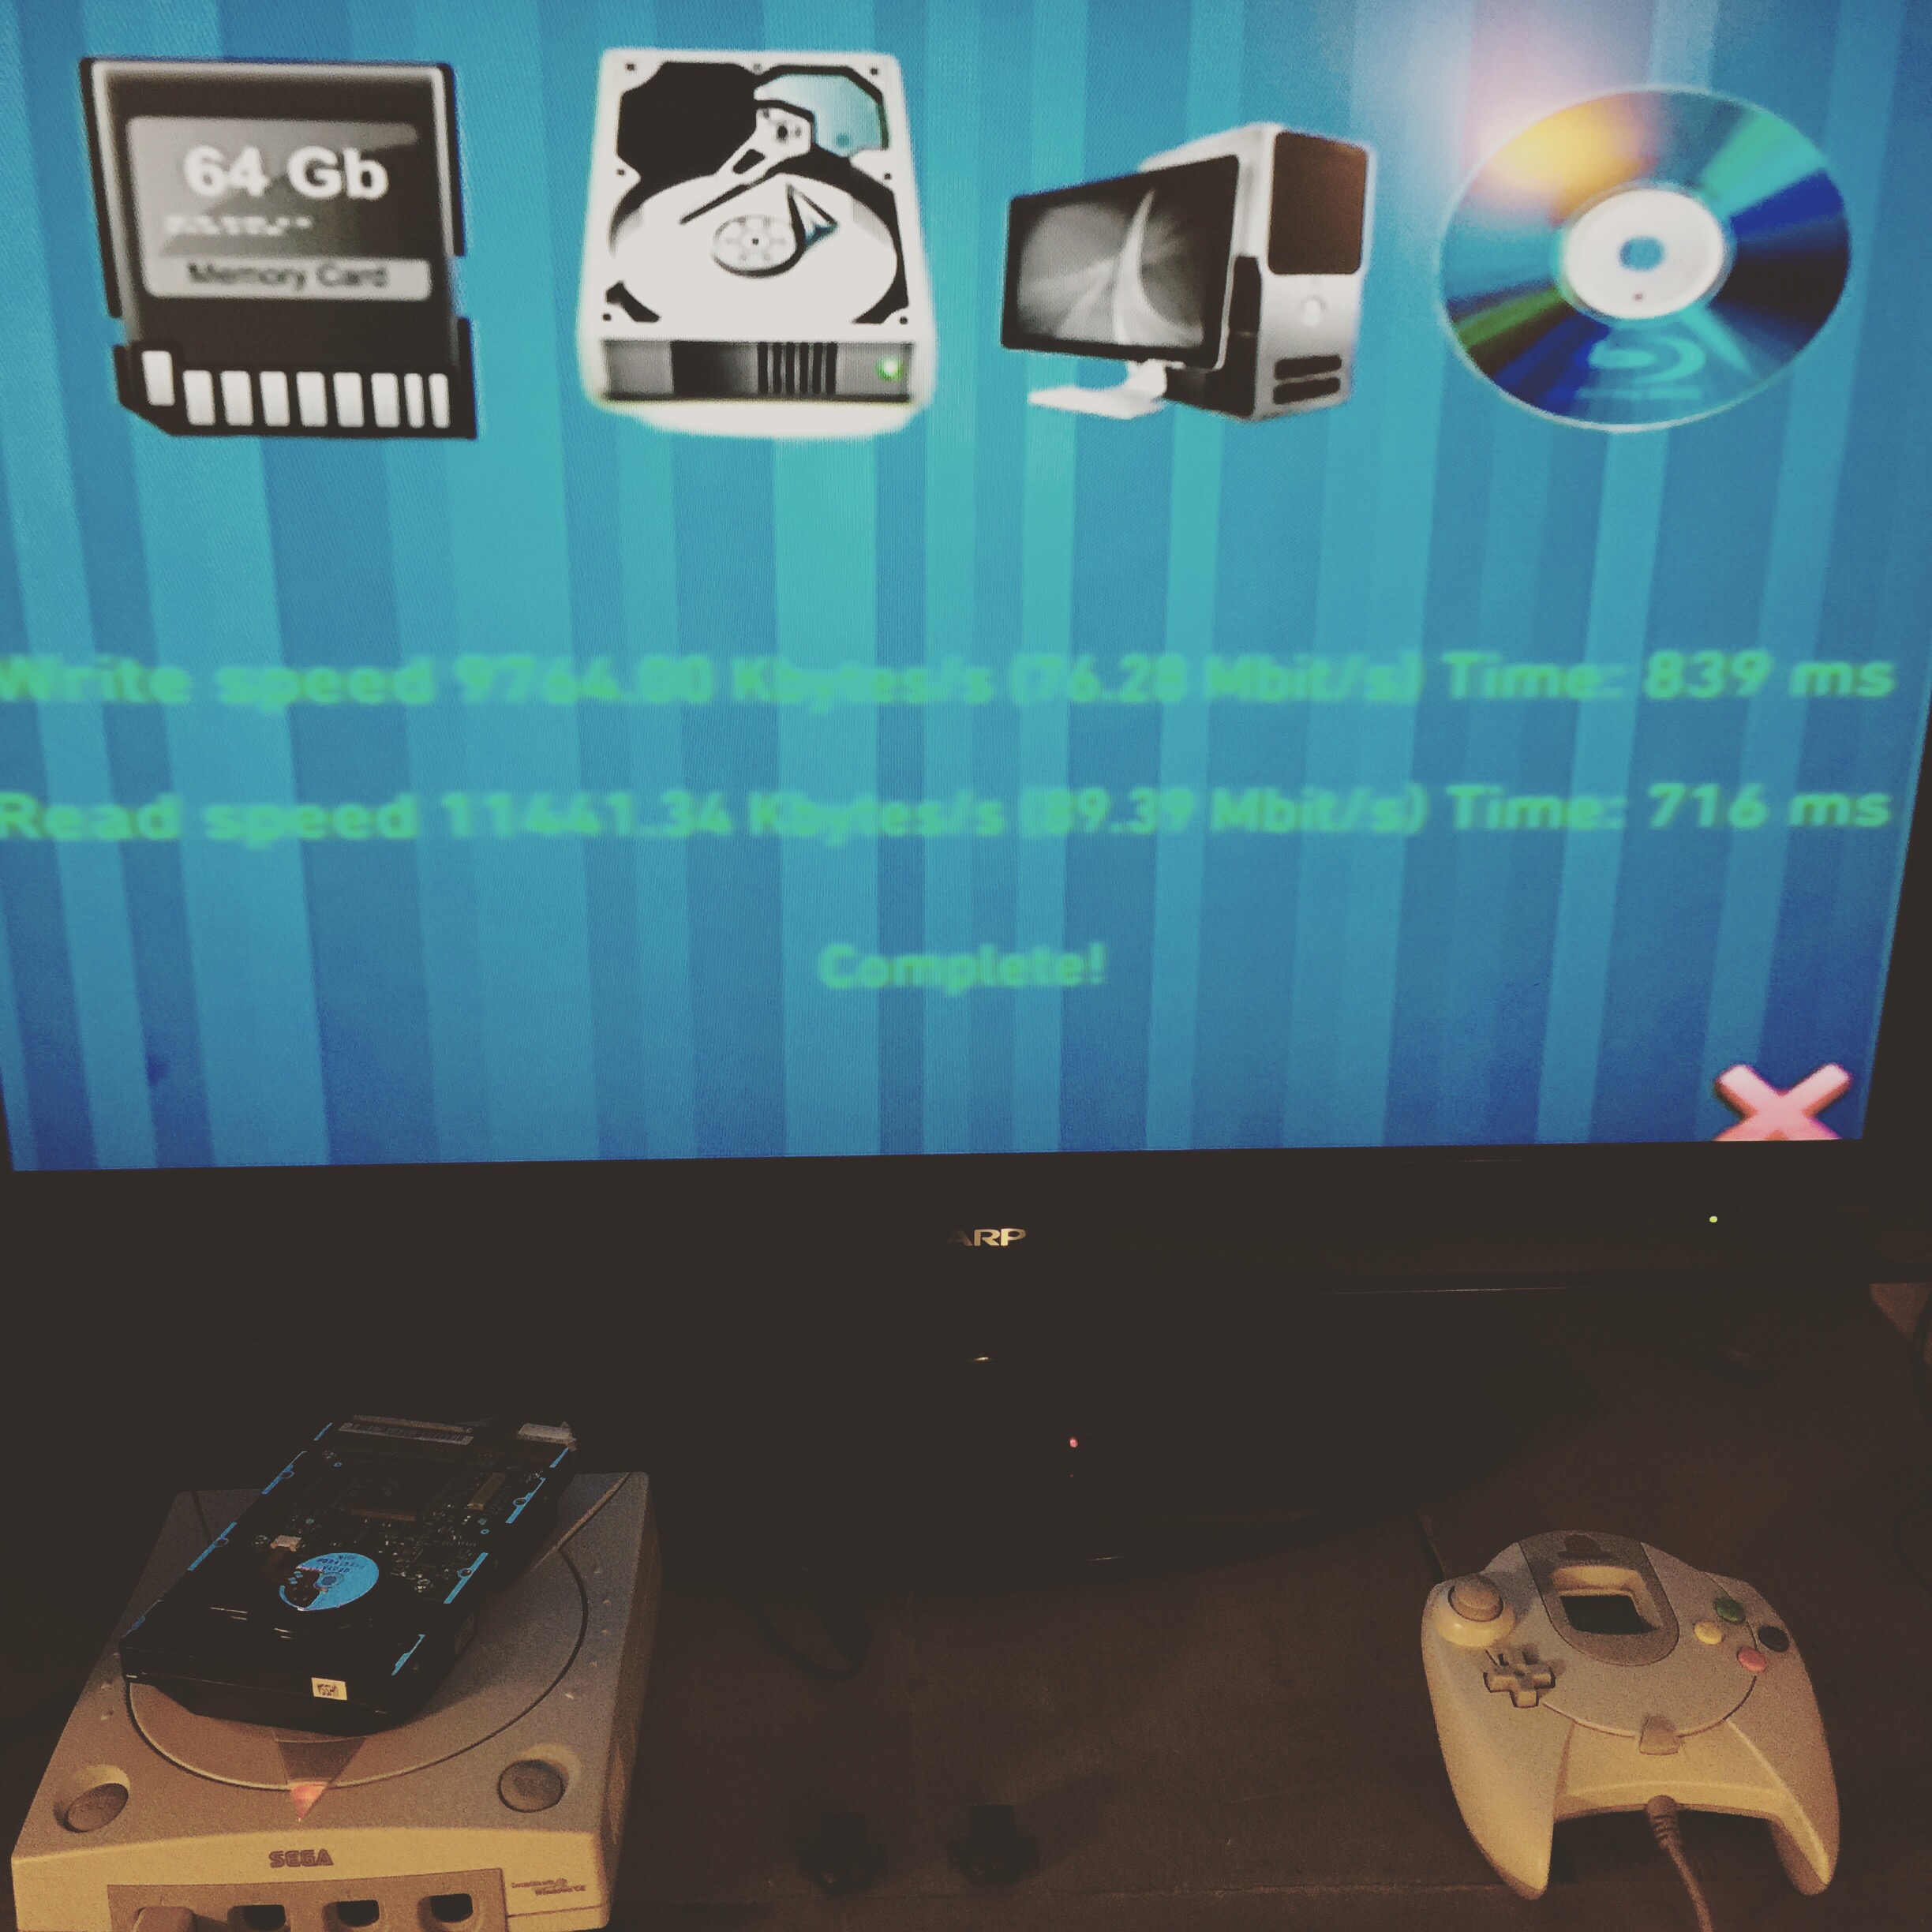
Next I will most likely install a SD to IDE 44 pin adapter.

What else can be done?

You can piggy back a new BIOS chip flashed with a custom bios that will let you boot Dreamcast from the HDD.
A SD/Compact Flash to IDE adapter can be used also

Final Thoughts:

I think this is a great option if you want to have a few of the supported games on SD/CF or IDE and have the soldering skills. If you want a better game compatibility, I would go with a Dreamcast ODE / CD emulator. The GDEMU is the best option as of writing this. Supports SD card and CDI images.
2016 Clean Up

I have been so busy with other hobbies that my retro/current gen consoles have taken a back seat. I really wanted to get a good inventory of my collection as of today and start thinning down my doubles/triples of some things. This week I have started pulling out all my modded consoles and did any needed updates on the software etc. Here is a quick list of what I have been working on:

Nintendo Wii – This has not been powered on for about 2 years. I decided to update the softmod to the latest. I started by updating to 4.3U, BootMii and Homebrew Channel. I installed a 64gb SD and configured the newest version of WiiFlow.

Sony Playstation 2 – This is a softmoded PS2 and needs a bit of updating. Looks like Free McBoot was updated this month (Free MC Boot v1.95). Updated and tested with Open PS2 Loader v0.9.3 and had no issues. I used a IDE to SATA converter and installed a 1TB HDD. I moved all my ISO’s from my old 250GB to the 1TB.

Sony Playstation 3 – Installed CFW 4.78 and Multiman 4.78 and ran a few tests without issues. I upgraded the external 2TB HDD to a 4TB HDD and added a bunch more games.


Console to JAMMA testing

This has been on my list of “things to do” for some time. I wanted a EASY way to hook up various consoles to my Sega Astro City cab and play vertical shooters. Many of the console based vertical shooters have a screen rotate option in the settings menus which makes the arcade experience ever more real at home.

Hardware I used:

  • JAMMA fingerboard
  • Ultracade Universal Video Converter
  • Akishop PS360+ multi-console PCB

This is my test setup, once I verify it working (which I did) I will make a more permanent solution. I am working on a wire harness to really clean this up.

I used to have just a Sega Dreamcast in my cabinet but now I can use many others due to the PS360+ console compatibility.