Author: cdeschenes

Turbo EverDrive

Growing up, I never had a TG-16 but I had a buddy that did. It has some titles that get over looked quite often. I loved playing Military Madness back in the day and the Bonk games are really not that bad. I came to the conclusion that I really like playing these games on an actual system and not emulated. Looks like Everdrive to the rescue. I picked up the Turbo Everdrive and tossed a microSD in there and started playing. This card is built like a tank and fits in to my TG-16 perfectly.

img_0938


img_0967


img_0968

Playstation Vita VPK Notes

How to install the UPDATES:

1. Install game vpk
2. Copy update zip contents to the game folder
3. Make a GameTitleIDfolder in ux0:Patch/ folder in vitashell (ex: ux0:Patch/PCSE00000)
4. Copy the update zip contents to the new folder you just created in ux0:Patch/
5. Start the game, now it should not say to update your game and should detect the latest version.

How to install the DLC:

Copy the ADDCONT_PLAIN folder into root of ux0 for each item you want! e.g ux0:/addcont_plain/PCSE00000/*

Errors:

0XFFFFFF means low storage.

Sega Saturn ODE (Phoebe) 

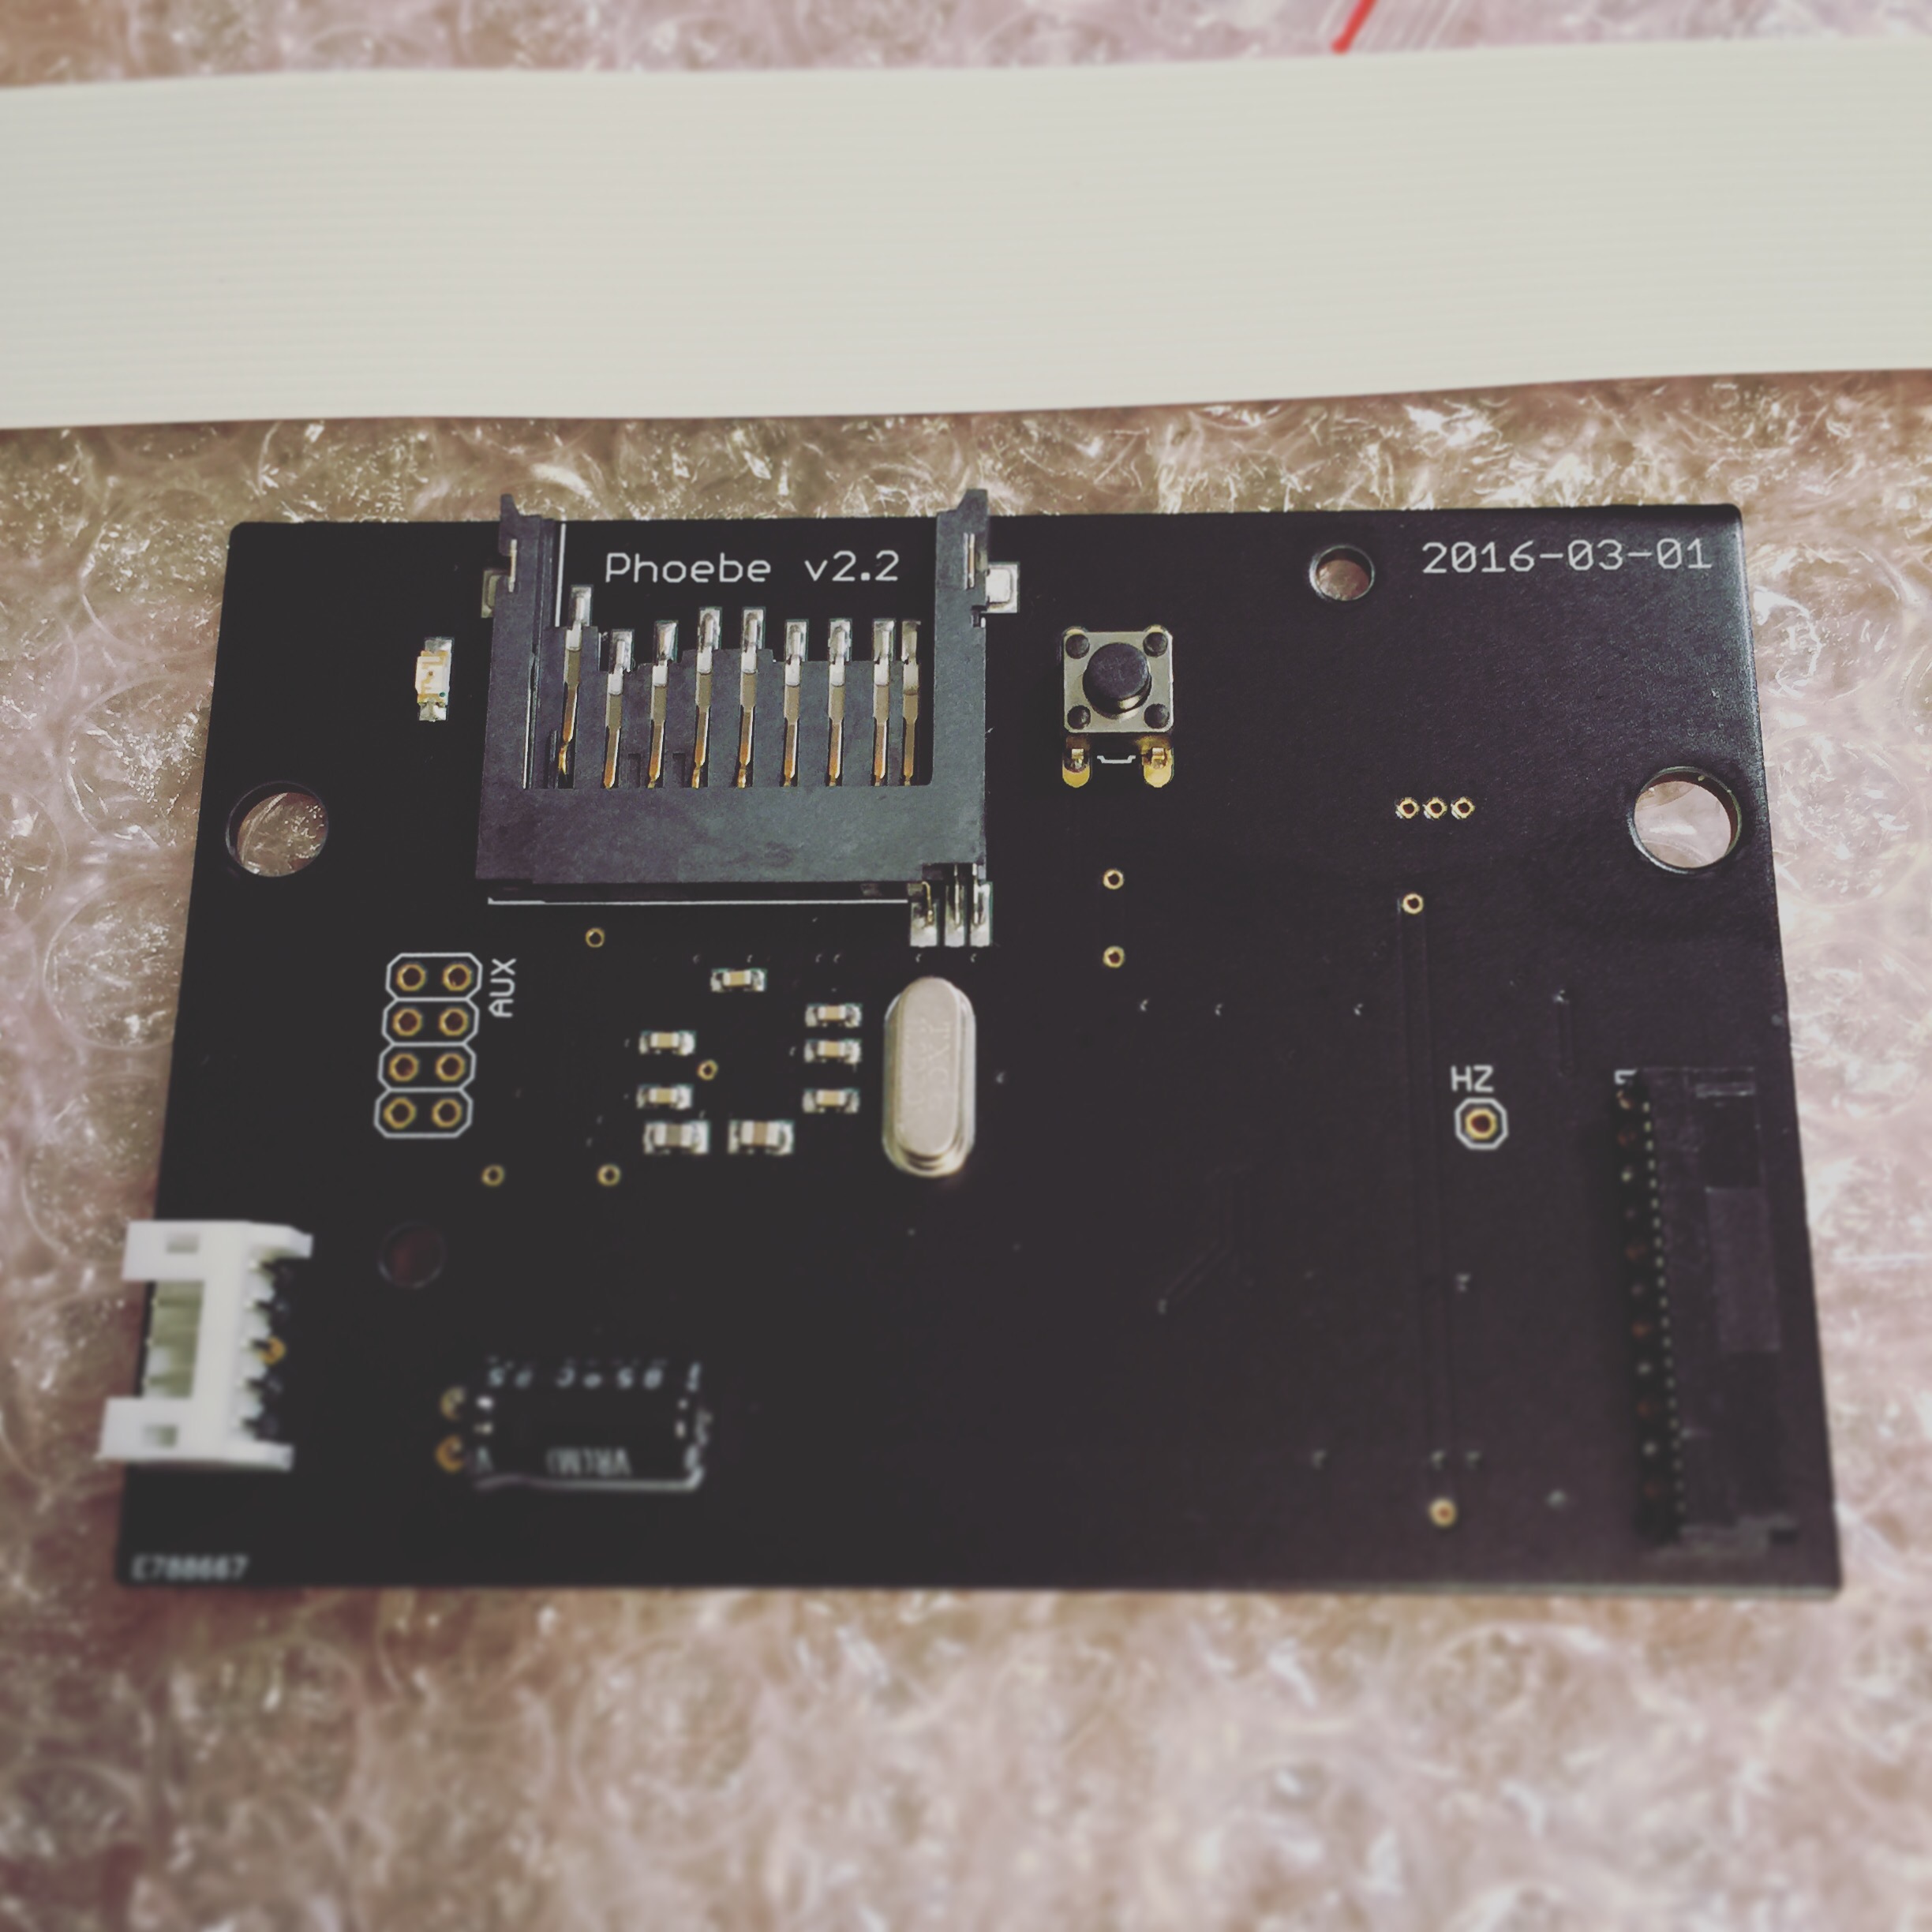
I have dreamed over the thought to have a HDD in a Sega Saturn. I had no idea an ODE (optical drive emulator) existed for the Saturn and Dreamcast. I then of course went on a mission to buyone. I soon found out that the guy that makes these does them in batches and they sell QUICKLY.

I went to his site on a Thursday and found a post that he was going to open up the preorders during the weekend. I checked the website like crazy on Saturday but nothing. Then Sunday morning at around 4:30am PST they went up on sale. It lasted 3 hours and they were gone. I heard the Dreamcast ODE sell even quicker.

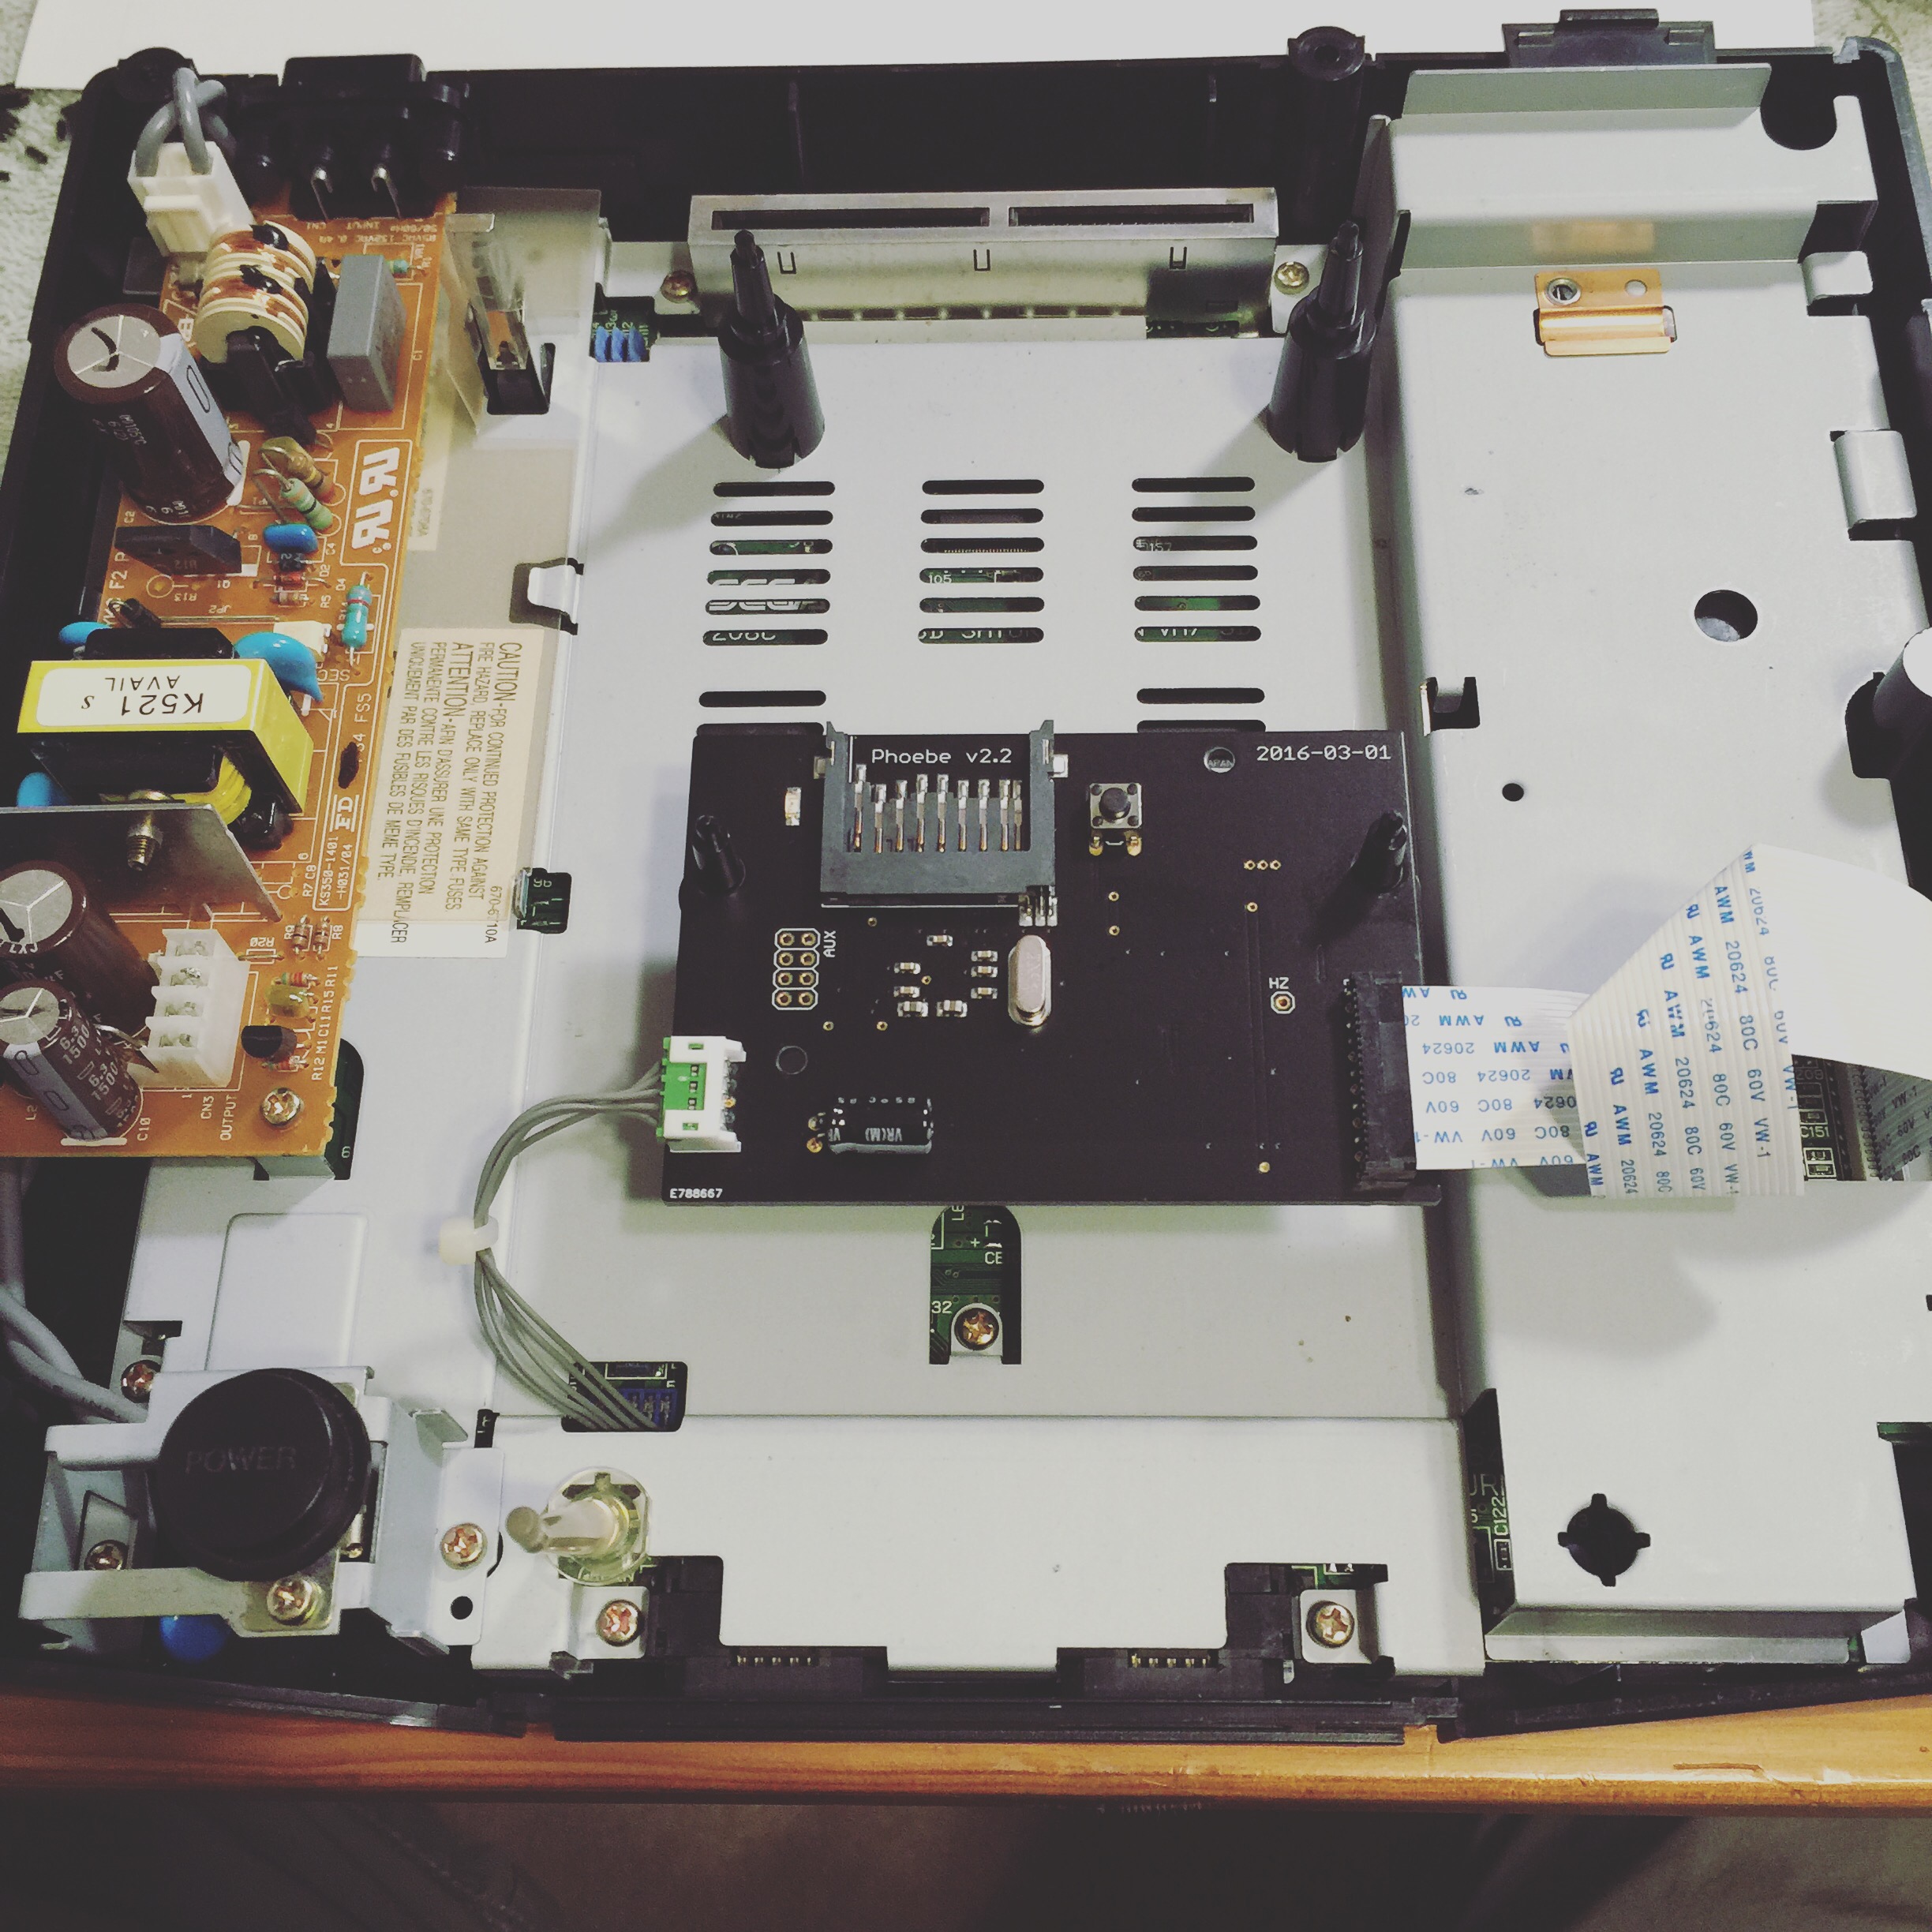
The Phoebe is very well made and was dead simple to install.

I removed my mod chip I had installed since it was no longer needed and followed the easy install docs for my model.

img_1046

All US Sega Saturn games can fit on a 128GB SD with about 25mb free 🙂

img_1054


NEC TurboExpress repair

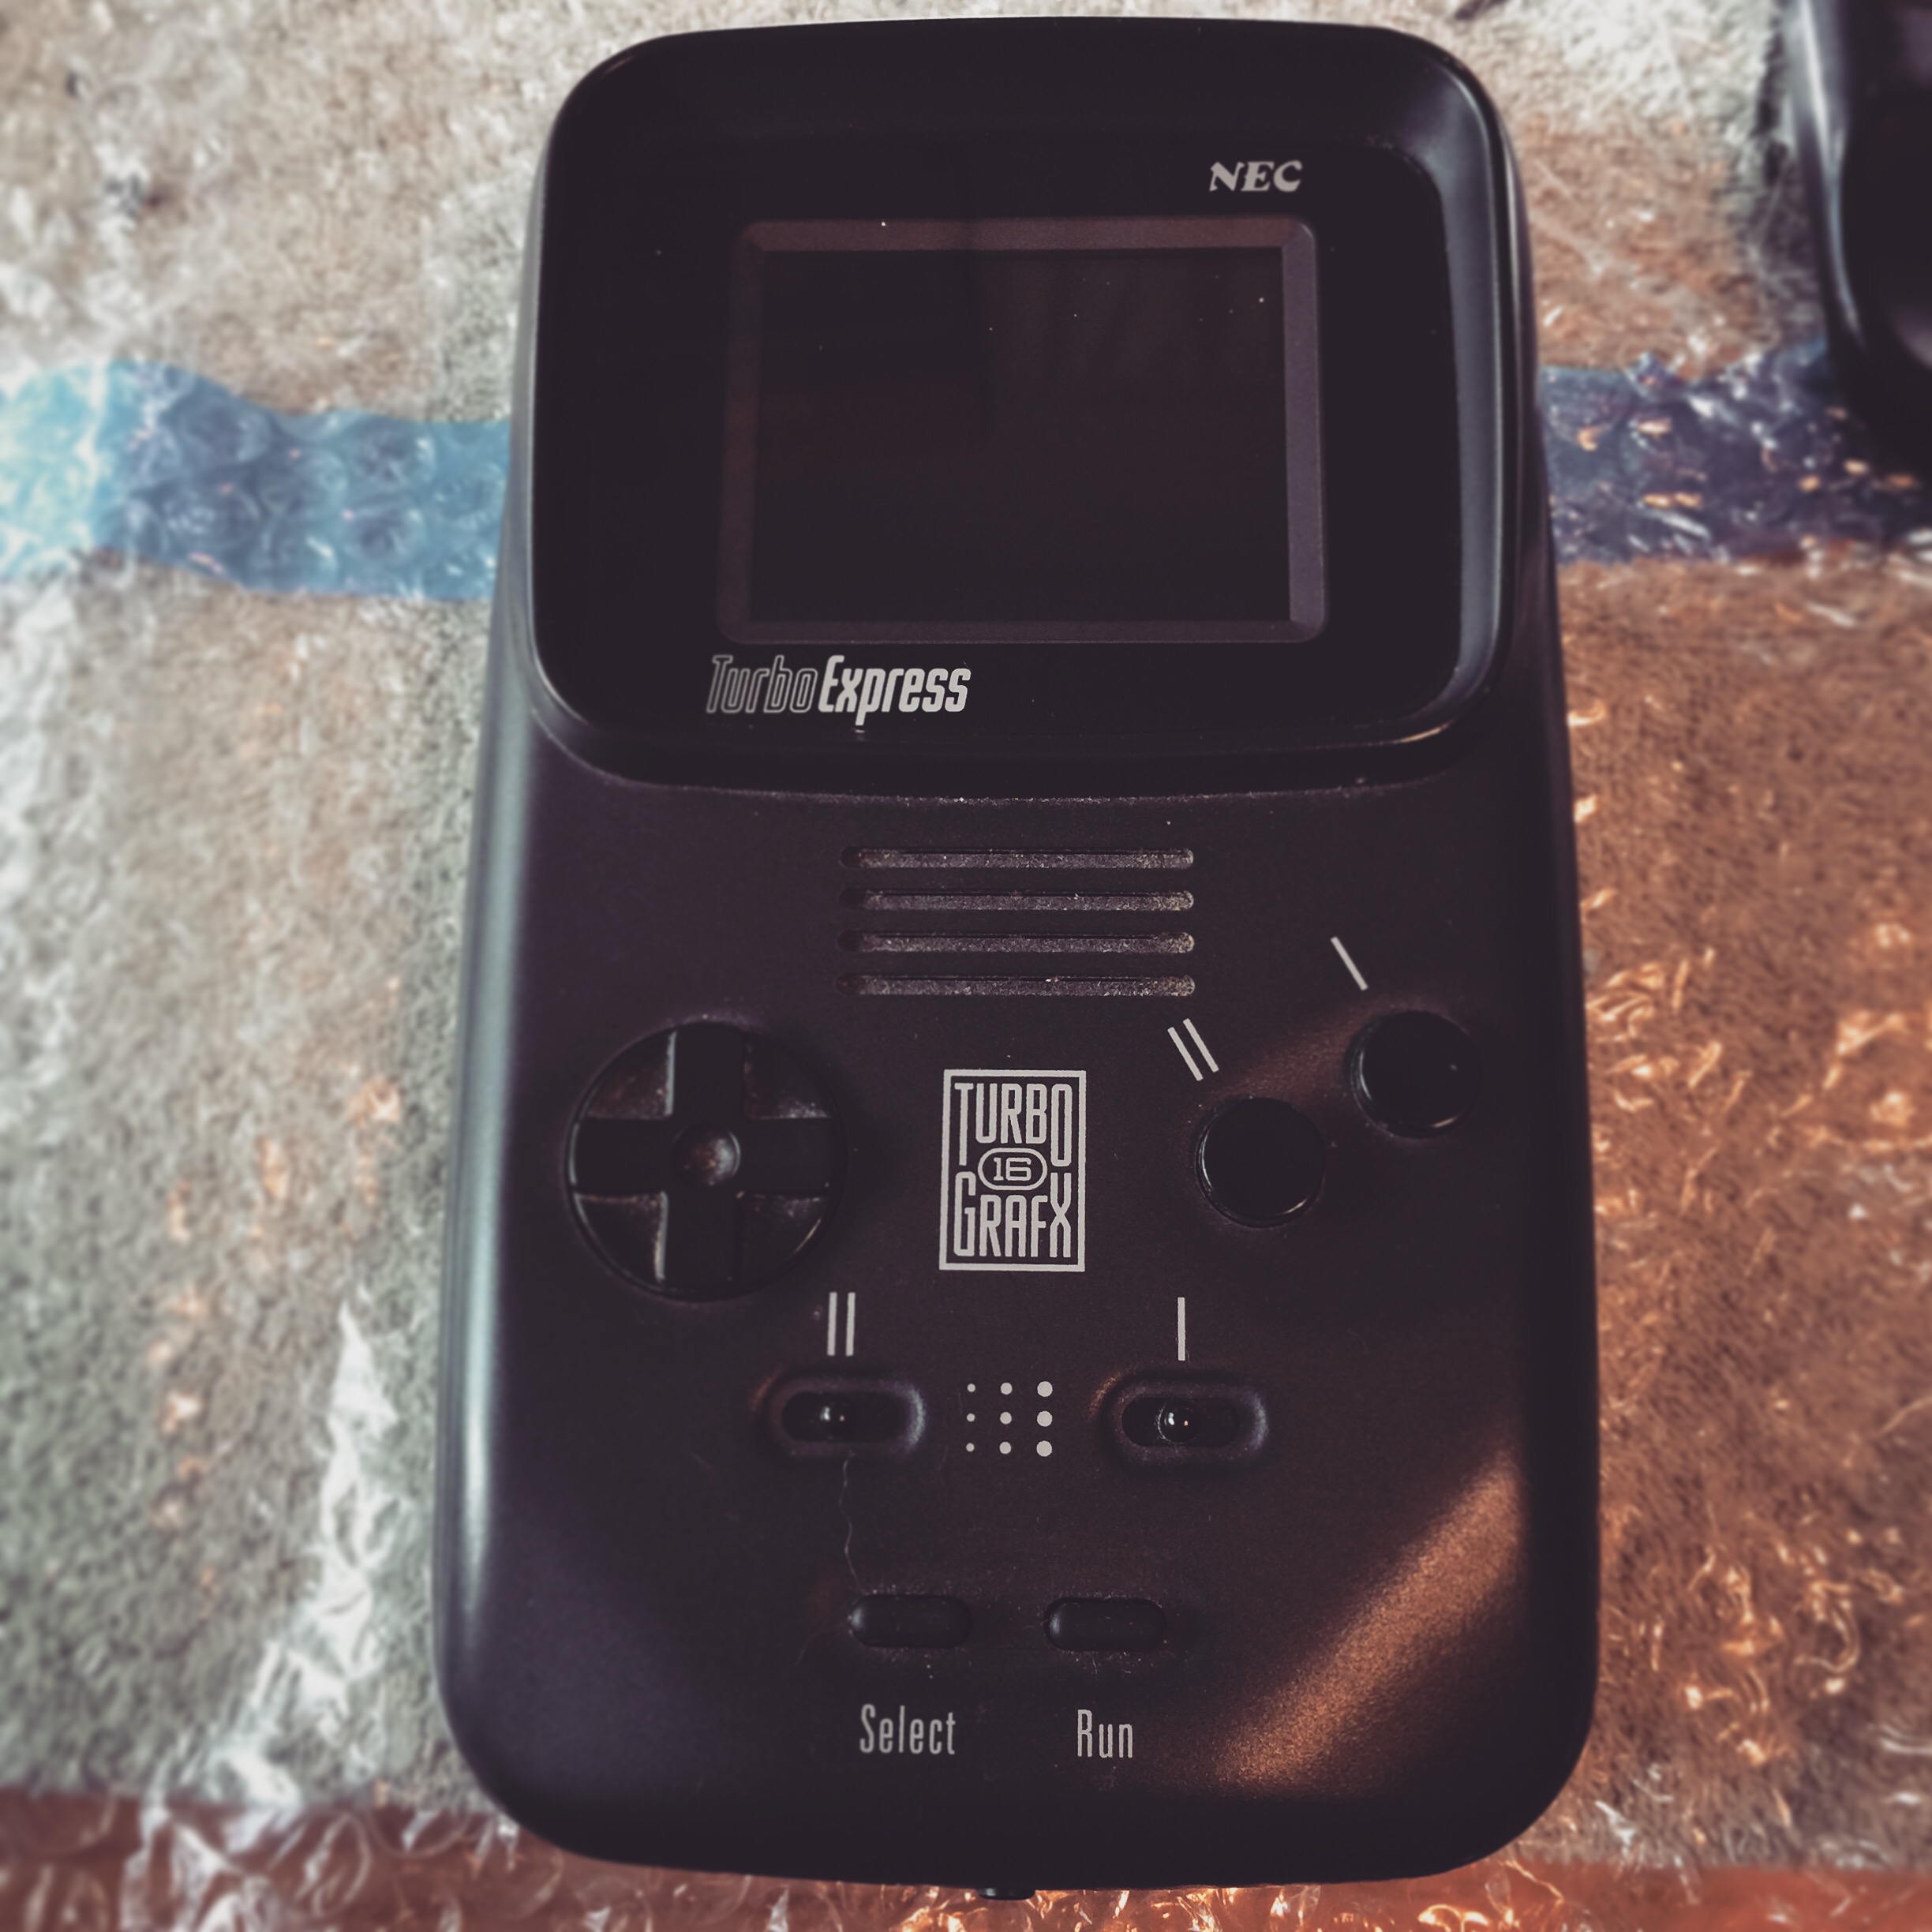
I bought this 6 or 7 years ago knowing that it was broken, thinking i can fix it at some point. I know these things are a bit hart to find so I figured a broken one is better than not having one.

After unwrapping it I did notice that the shell is in really good shape, that’s a plus. But, I noticed a yellow wire sticking out from the bottom of the shell.

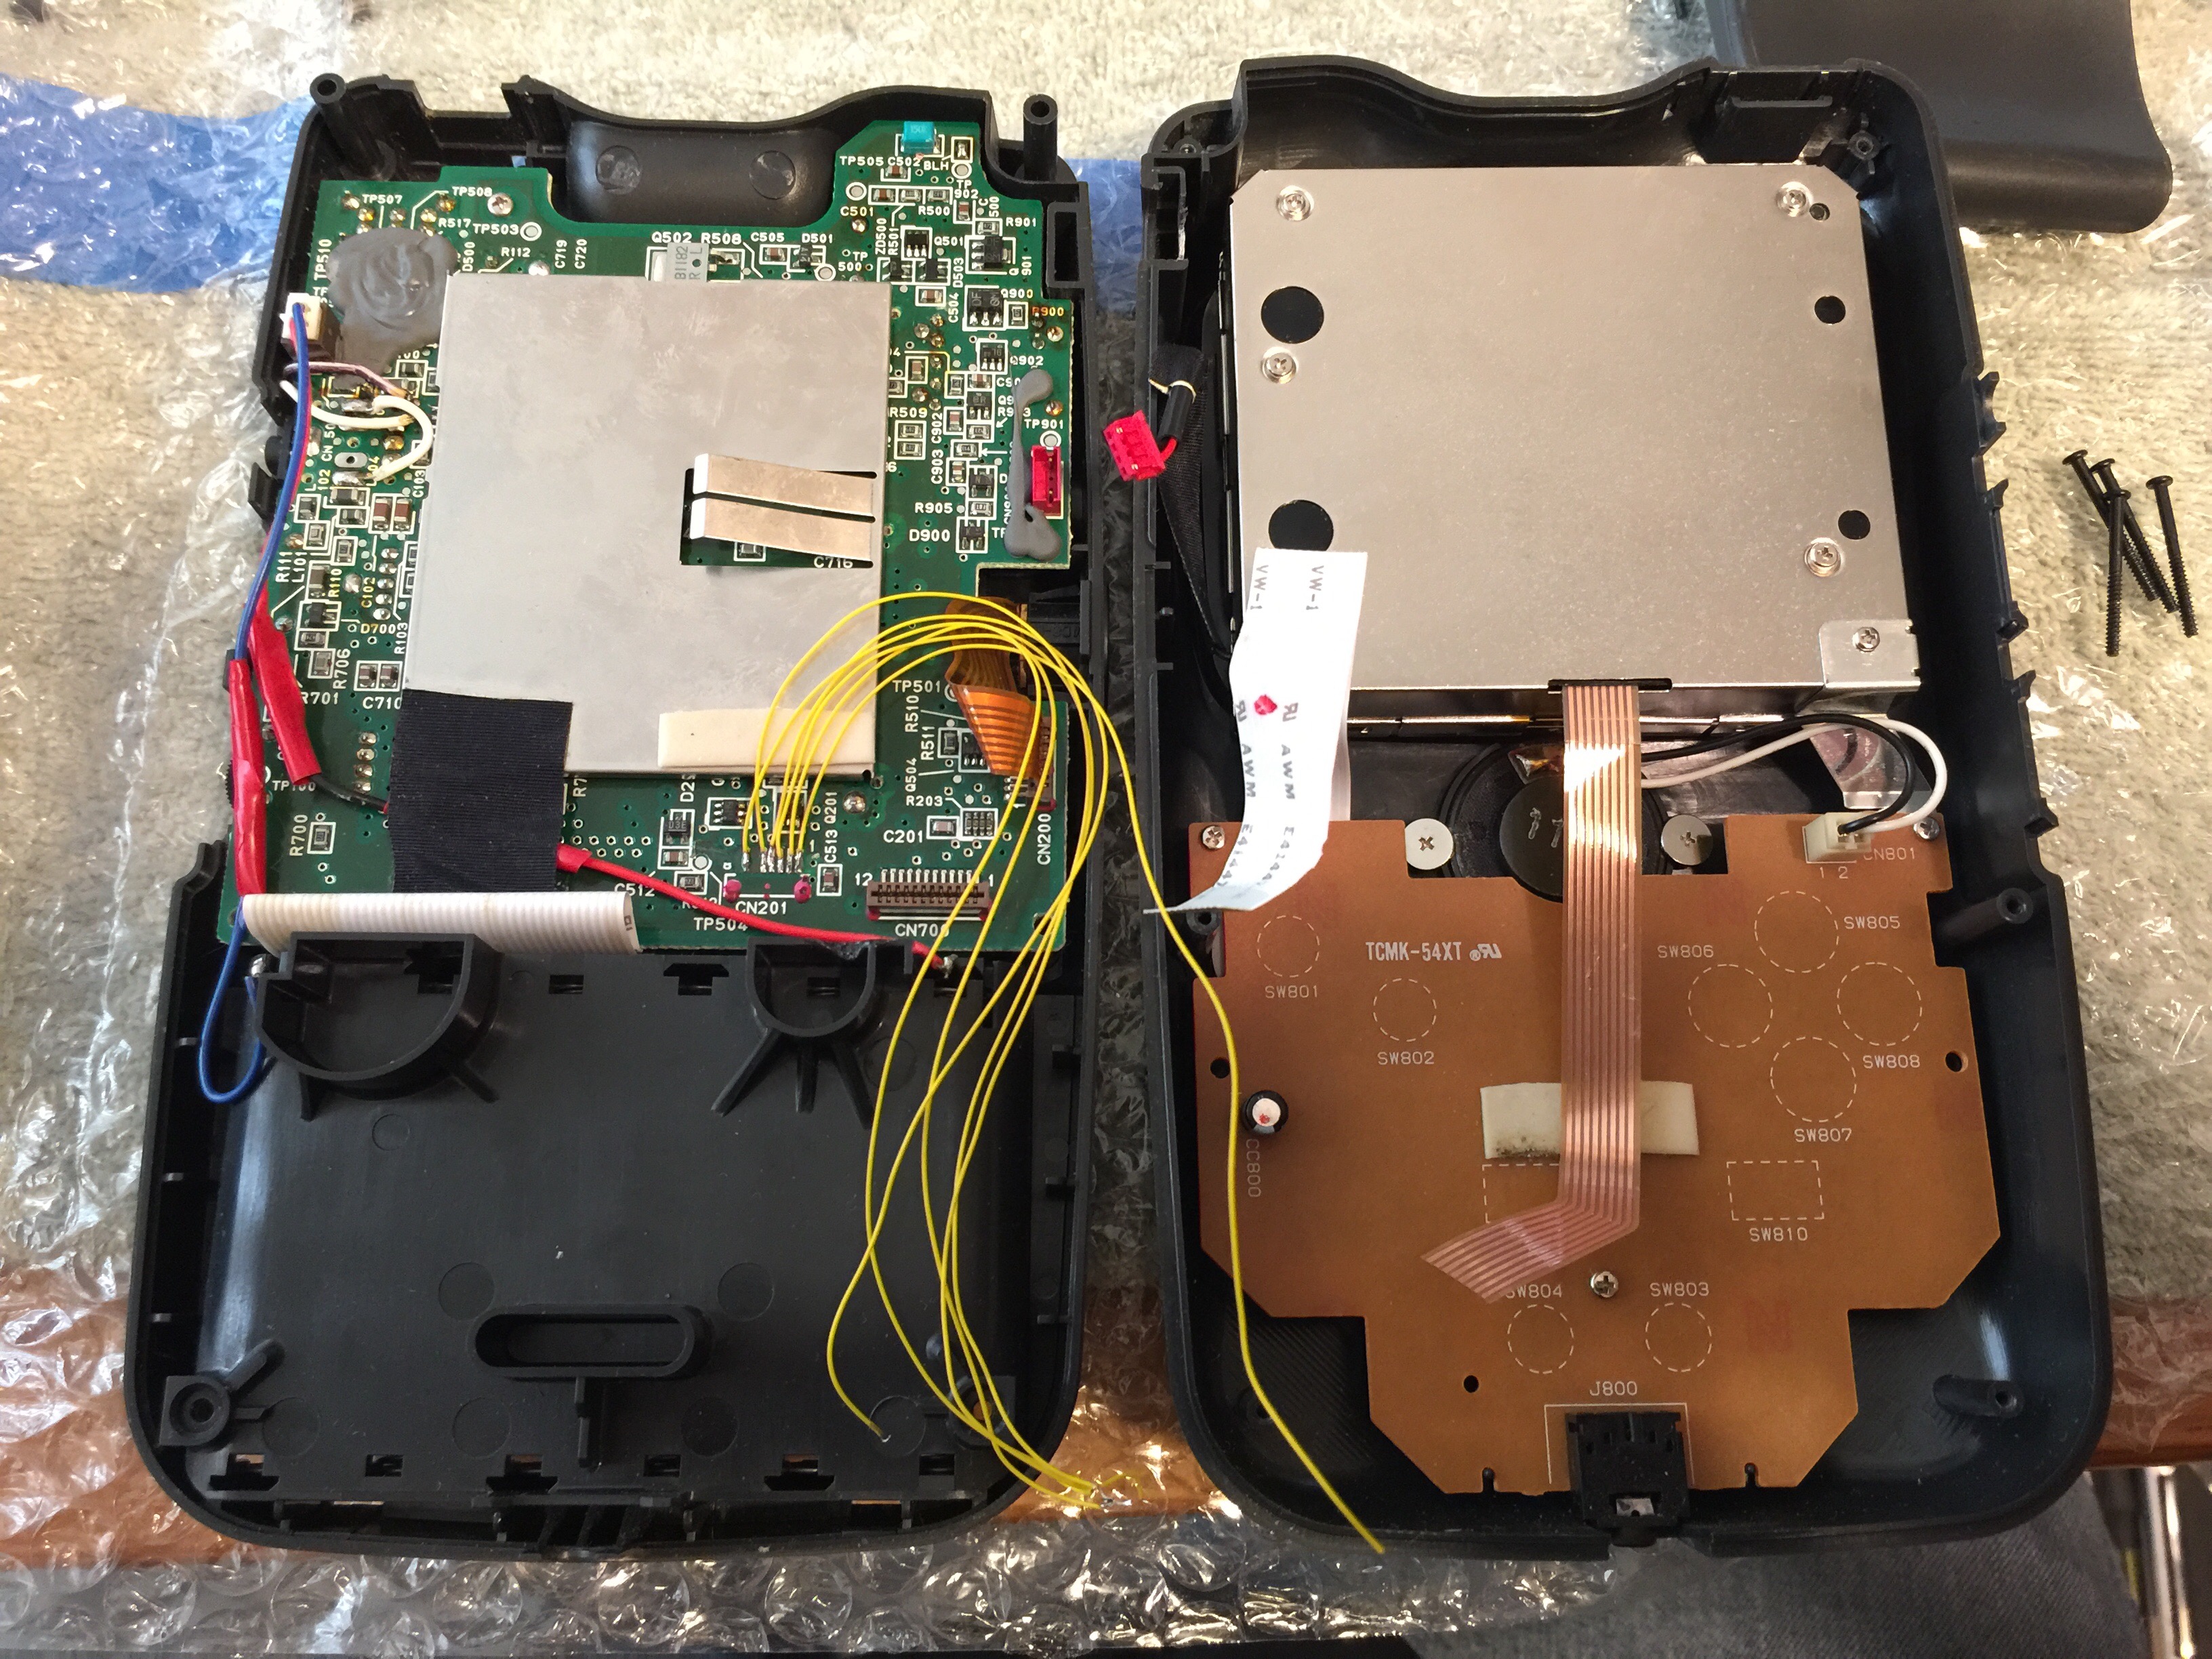
Once opened I seen a few problems. First off the power wires from the battery tray are taped together. Looks like a pretty bad hack job. Then I noticed the yellow wires are soldered (not very well) to some pins on the PCB where the LCD ribbon cable connector was. It must have broke/ripped off and someone tried to do a hack job. I noticed that the LCD ribbon cable is also cut.

After I removed the PCB from the shell I noticed there was a capacitor that was wired off board in what looks like to be one of the capacitors in the audio path. It must have had audio problems and was “repaired”.

What have I done so far:

I desoldered the yellow wires and noticed there was 2 pads that the LCD header was. I bet the 2 pads were lifted when it broke off. So now I need to do some simple continuity test to see if I can pick up the traces from somewhere else.

New Gaming setup

I don’t have much room for all my hobbies and I am always looking for ways to condense things. I recently got a new TV from work as a “you have been here a long time pick a gift”. I really wanted something I could put on the wall in my office/music room/gaming room to keep the clutter down. I am really happy with the setup.

I picked up the wall mount from Amazon. I really wanted something I could pull away from the wall to match up with my computer monitors.

The TV is a Sony KDL48R510C 48″ Its not the latest/greatest but 1) it was free and 2) I am sitting so close to it that I would really not need anything bigger for such a small room.

Only having 2 HDMI inputs I decided to get a auto switcher from Amazon and it works great. It detects when one of my newer consoles wake up and will switch to that video input.

img_0730

Sony 48″ KDL48R510C
VonHaus Double Arm Articulating Cantilever TV Bracket
VAlinks Mini 3-Port Intelligent 4K HDMI Switch Box
Dell UltraSharp U2414H 23.8″ LED LCD Monitor

Game Boy Macro (DS Lite to GBA)

Ever since I came across Anthony Thomas’ tutorial on making a Game Boy Macro I wanted one. I had a DS Lite that had a broken hinge and a scratch on the top screen. This made it a perfect candidate for the Macro treatment.

Took this beast apart

img_0885

I used a 1/4 watt resistor instead of a smaller SMD or 1/8 watt cause I can. It actually fits fine and does not hinder the unit from being put back together.

img_0887

Quick little test and it all seems good. Time to start working on the enclosure.

img_0888

Whats next to do?

I need to sand and fill a few areas with bondo before I shoot it with some paint. Really looking forward to finishing this project.

ED64 (Newer Version)

I was first looking into Everdrive flash carts but the price of the things really blur my vision. I decided to look at some clones and knock offs first. I saw on Amazon a company selling a ED64Plus which is a clone of the older Everdrive-64. There was a version of this ED64 that had a pass-through port on the top to piggyback a N64 cartridge. This was to use to get around the CIC chip by using the CIC chip from the original N64 cart you piggybacked. These newer version without the pass-through can play N64 ROMs straight from the SD card and does not need an external CIC IC.

There is a really great write up on the older version over at NESWORLD.

On with the pics:

Here is the package

img_0890

Front of the cart

img_0953

Gut shot 1

img_0950

Gut shot 2

img_0951

Back of cart

img_0952

Menu system with custom background and games added. Everything is looking good.

img_0892

Impression:

Overall I am very happy with it and glad I went this route for the N64. We will see what the long term use is like but as for now, its a winner.

Playstation / PSOne Mods

I had a few Playstation/PSOne systems laying around that would benefit to having a good old stealth chip. I started looking into the current status of mod chips for the Playstation and it all seems pretty much open sourced not. All the HEX dumps of the major chips are available online and they can be used with a simple $2 PIC. This is just some information I found and will be using this as a spot for notes as I mod a couple Playstation systems.

Available code:

MultiMode (MM)
Mayumi
ONEChip
Stealth
ModAVR
Anti-Piracy Mod
Old Crow
Many others/variations of the above.

What code for what system?

Fat SCPH-100x = Stealth 2.8a
Fat SCPH-500x-900x = MM3
Slim PSOne 10x = MM3 (PAL model SCPH-102 which should use ONEChip) , Mayumi v5.1

What PIC should I use?

There are actually a few that are proven to work well. I went with SMD ICs since they have a smaller footprint and I always bend or trim the legs on the through hole ones anyways.

12C508
12C508A
12C509
12C509A
12F508

I will most likely go with the 12F508 due to cost. I will use the PicKit2 to program the 12F508.


Dreamcast HDD mod

When I first heard I could add a IDE hard drive to the Sega Dreamcast, I thought it would be amazing to have access to all the games with out needing to change a disc. The mod is pretty straight forward but can be intimidating if your not comfortable soldering small pads.

What can you do with this mod?

You can use a boot CD with DreamShell loaded on it that will spin up and detect your ATA HDD. Keep in mind that not all games work with DreamShell. Its not a 100% solution to playing all Dreamcast games, but for what it does do, it does it well.

Images supported (ISO / CSO / CDI / GDI)

Dreamshell works best with optimized GDI images. Google around for some tutorials for this as it is a little more in depth than I want to go in this post.

On to the mod:

I went with the 40 Pin ATA cable since it is what I had on hand. This is a non ultra ATA cable and is easy to strip and soldier. You can also use the 44 Pin ATA cable for use with 2.5″ IDE hdds. You can actually supply the power for the HDD with that. If I was to do this all over again, I would go with the 44 pin cable and a 2.5″ HDD or a SD adapter.

I took apart the Dreamcast and removed the motherboard. I then printed out the wire pinout guide for reference. Someone online said to use a sharpie and mark every 10th wire to help keep your count correct. It is easy to be overwhelmed with 40 small wires. I then stripped the 40 pin IDE cable to individual wires about 4 inches back  and stripped and tinned each wire. I also hit all the pads on the Dreamcast with a bit of new soldier.
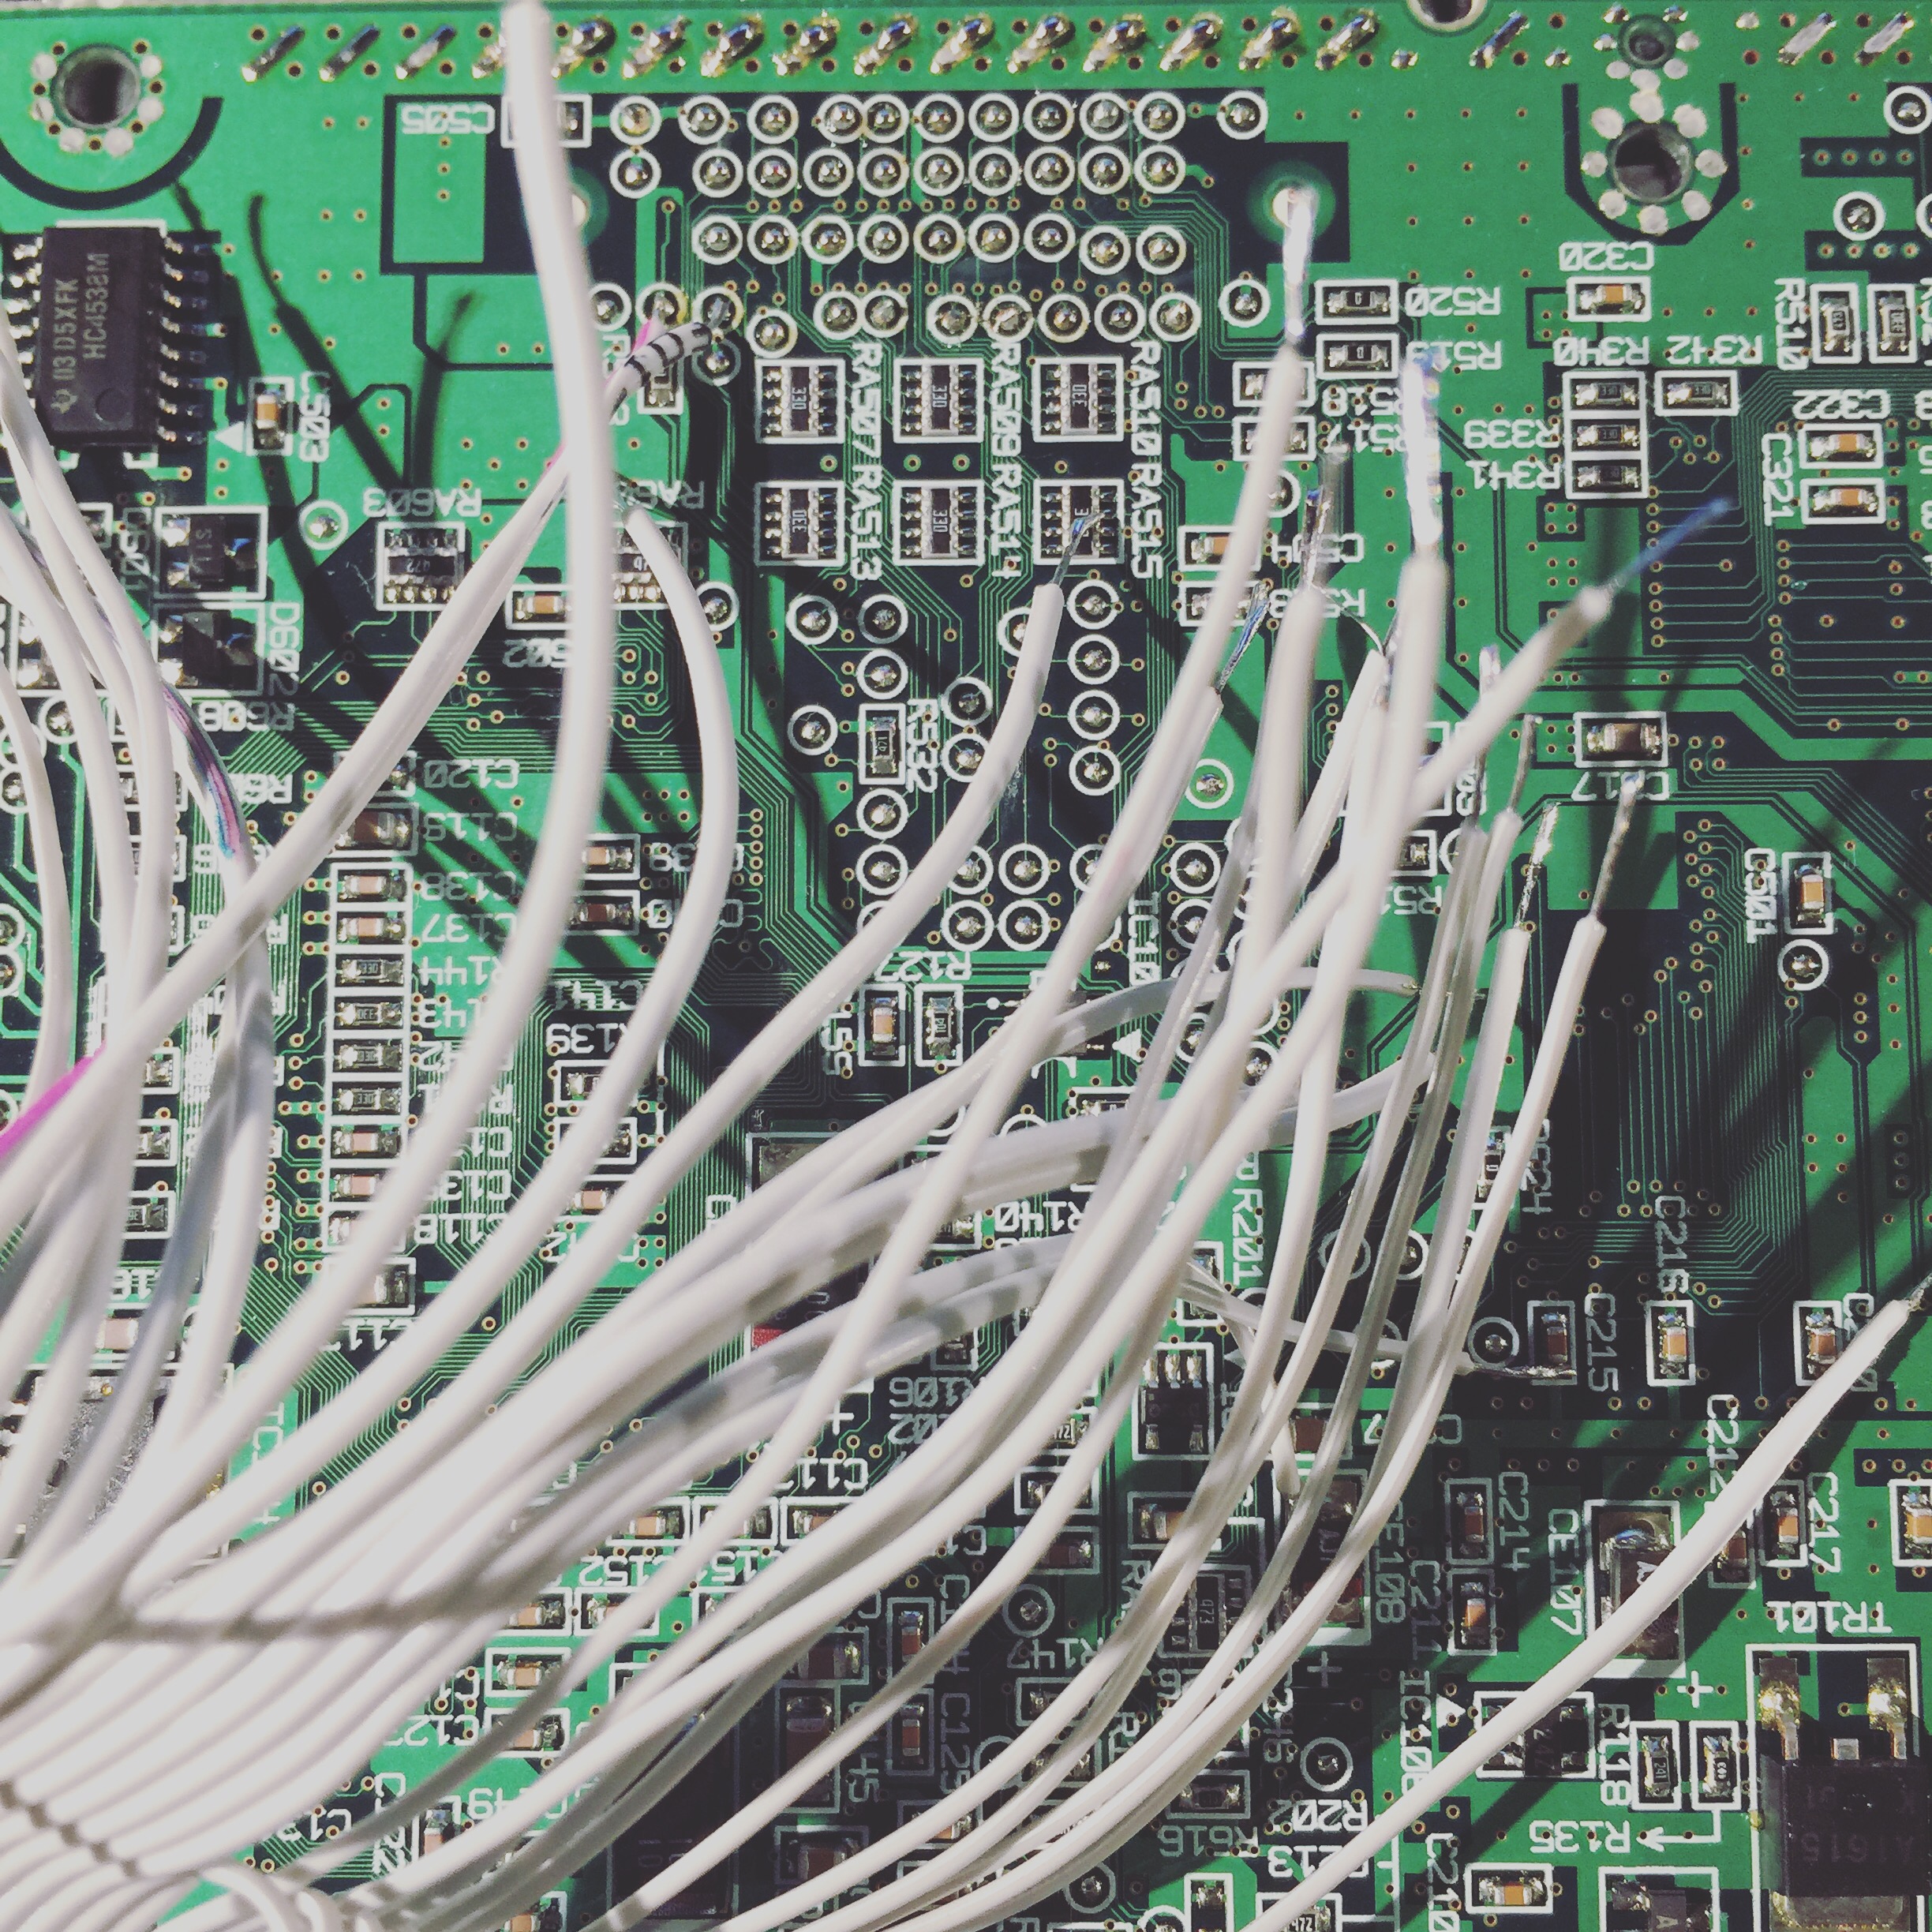
I stared soldering with the bottom row and worked my way from left to right and up. When I finished a row I then used a hot glue gun to hold the wires in place to the board and to keep them out of the way. It looks crazy but if you take your time its not that bad.
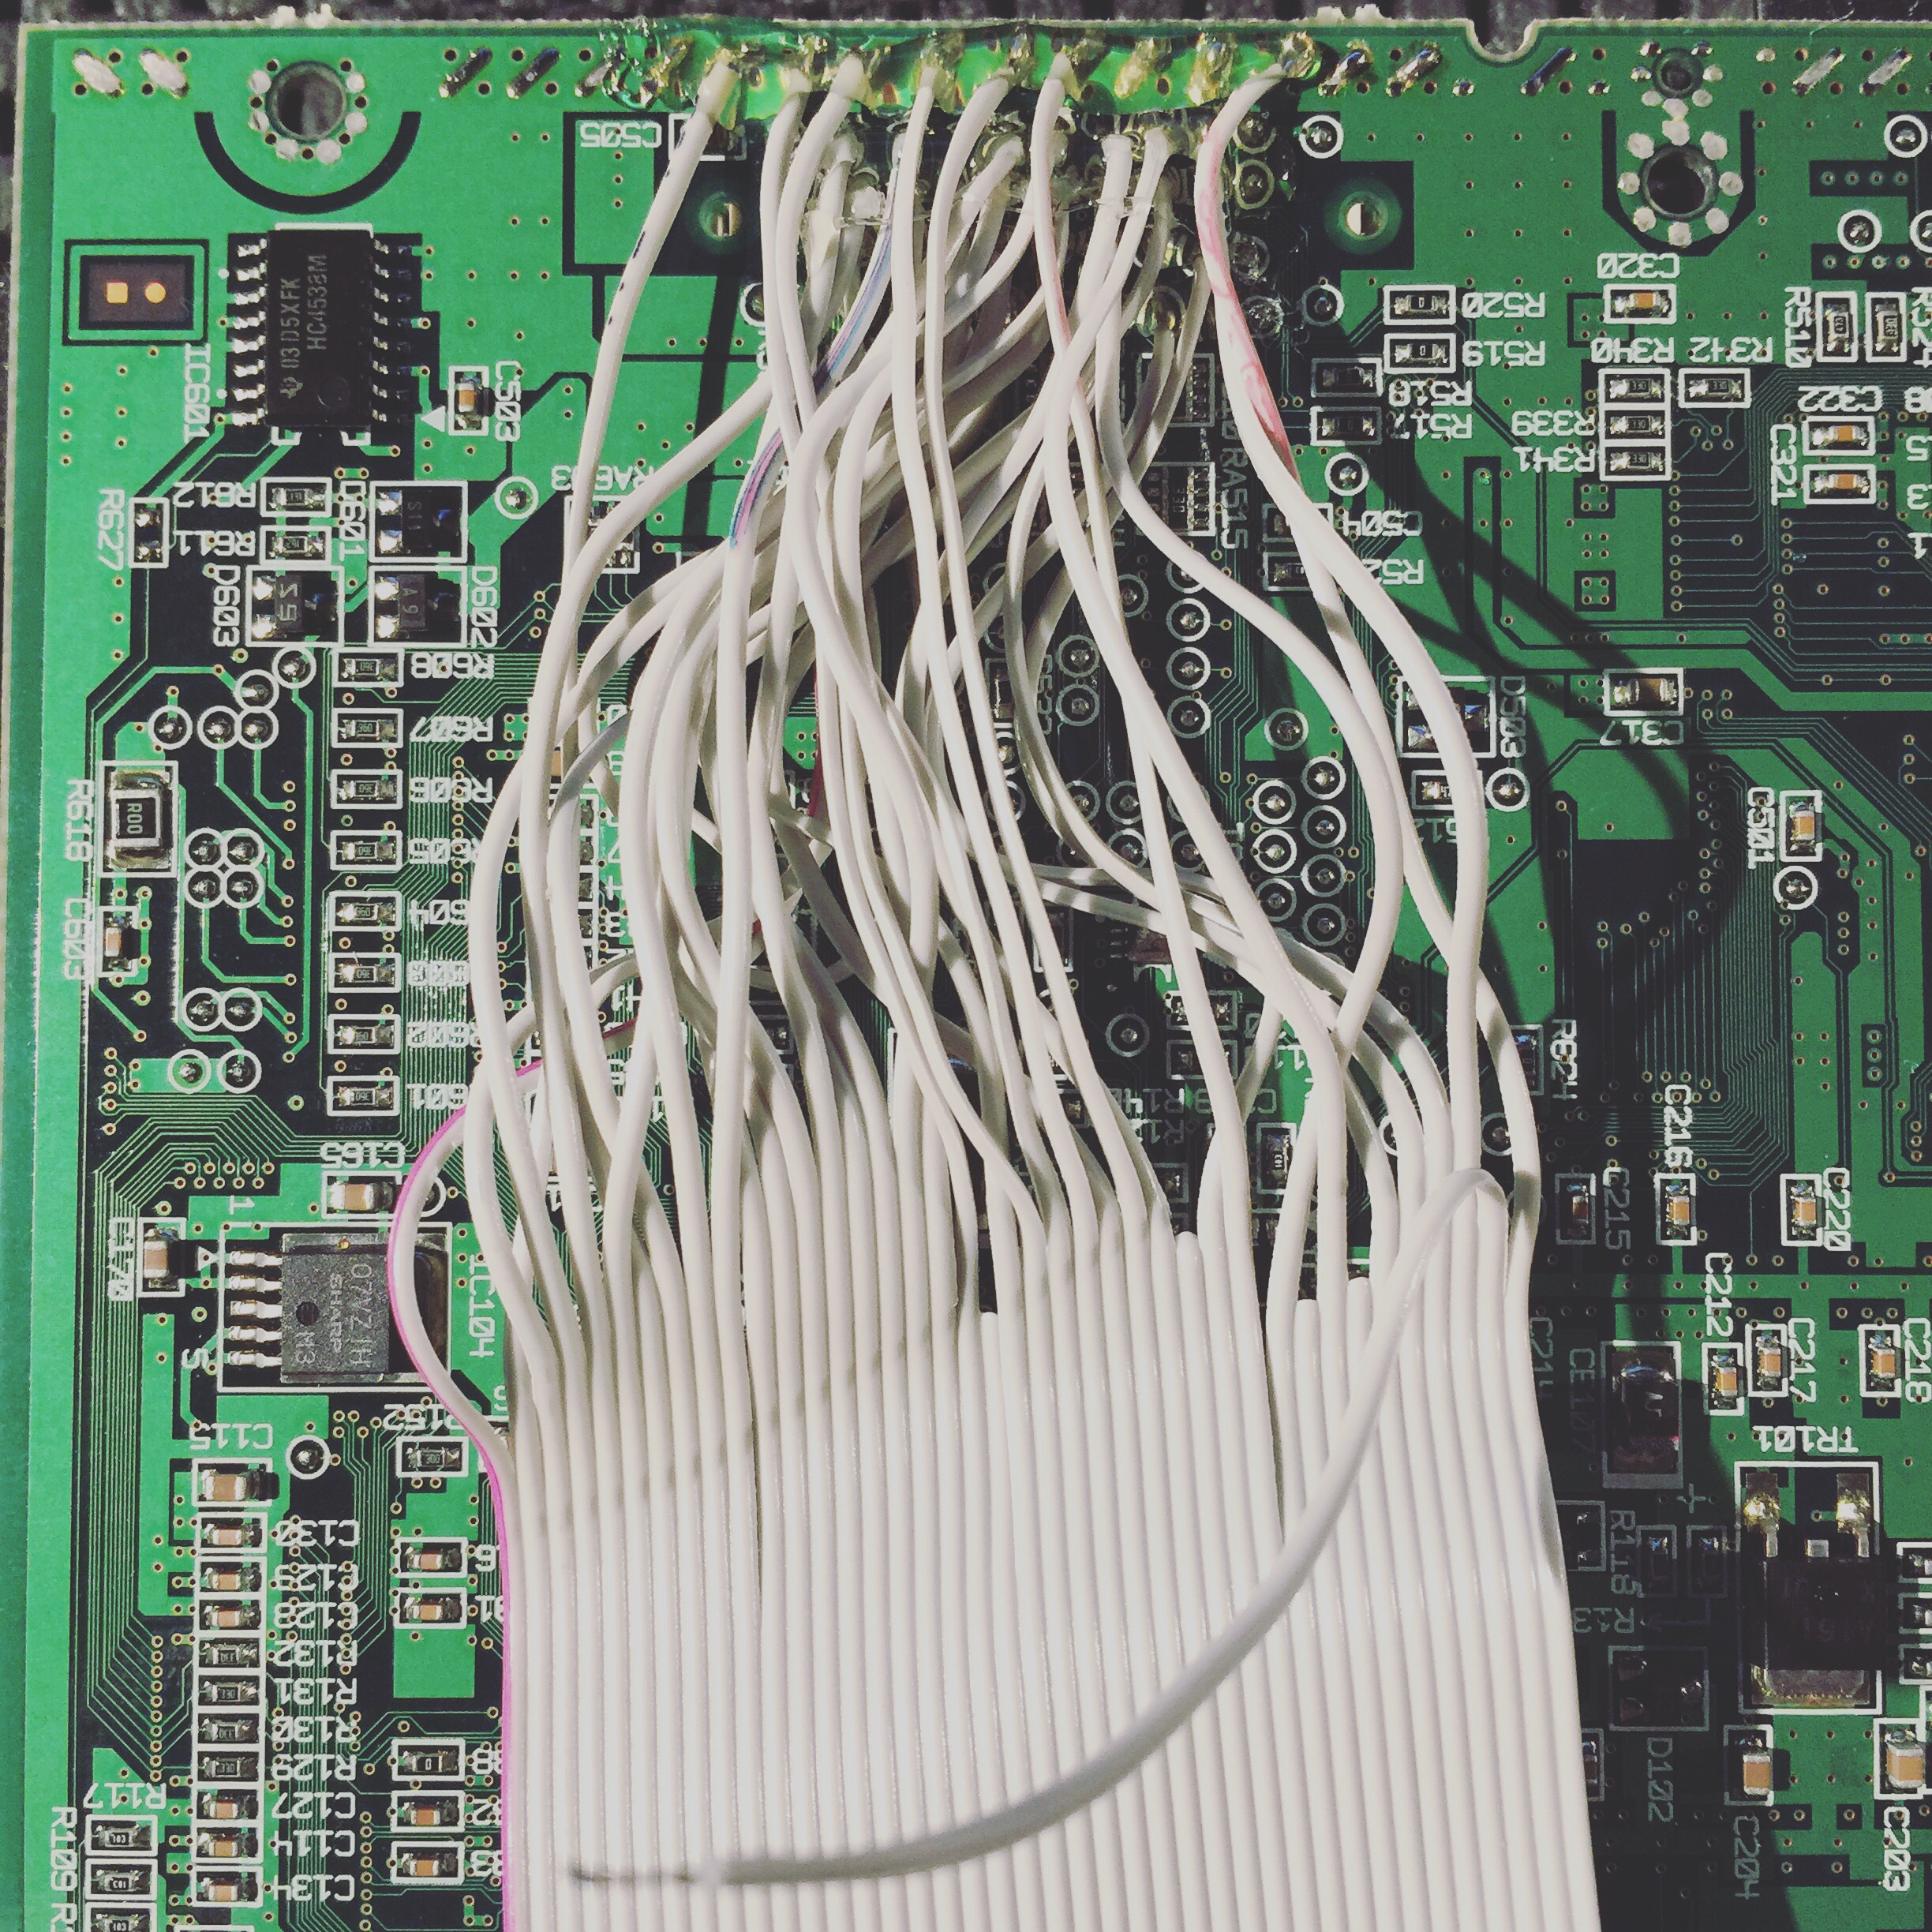
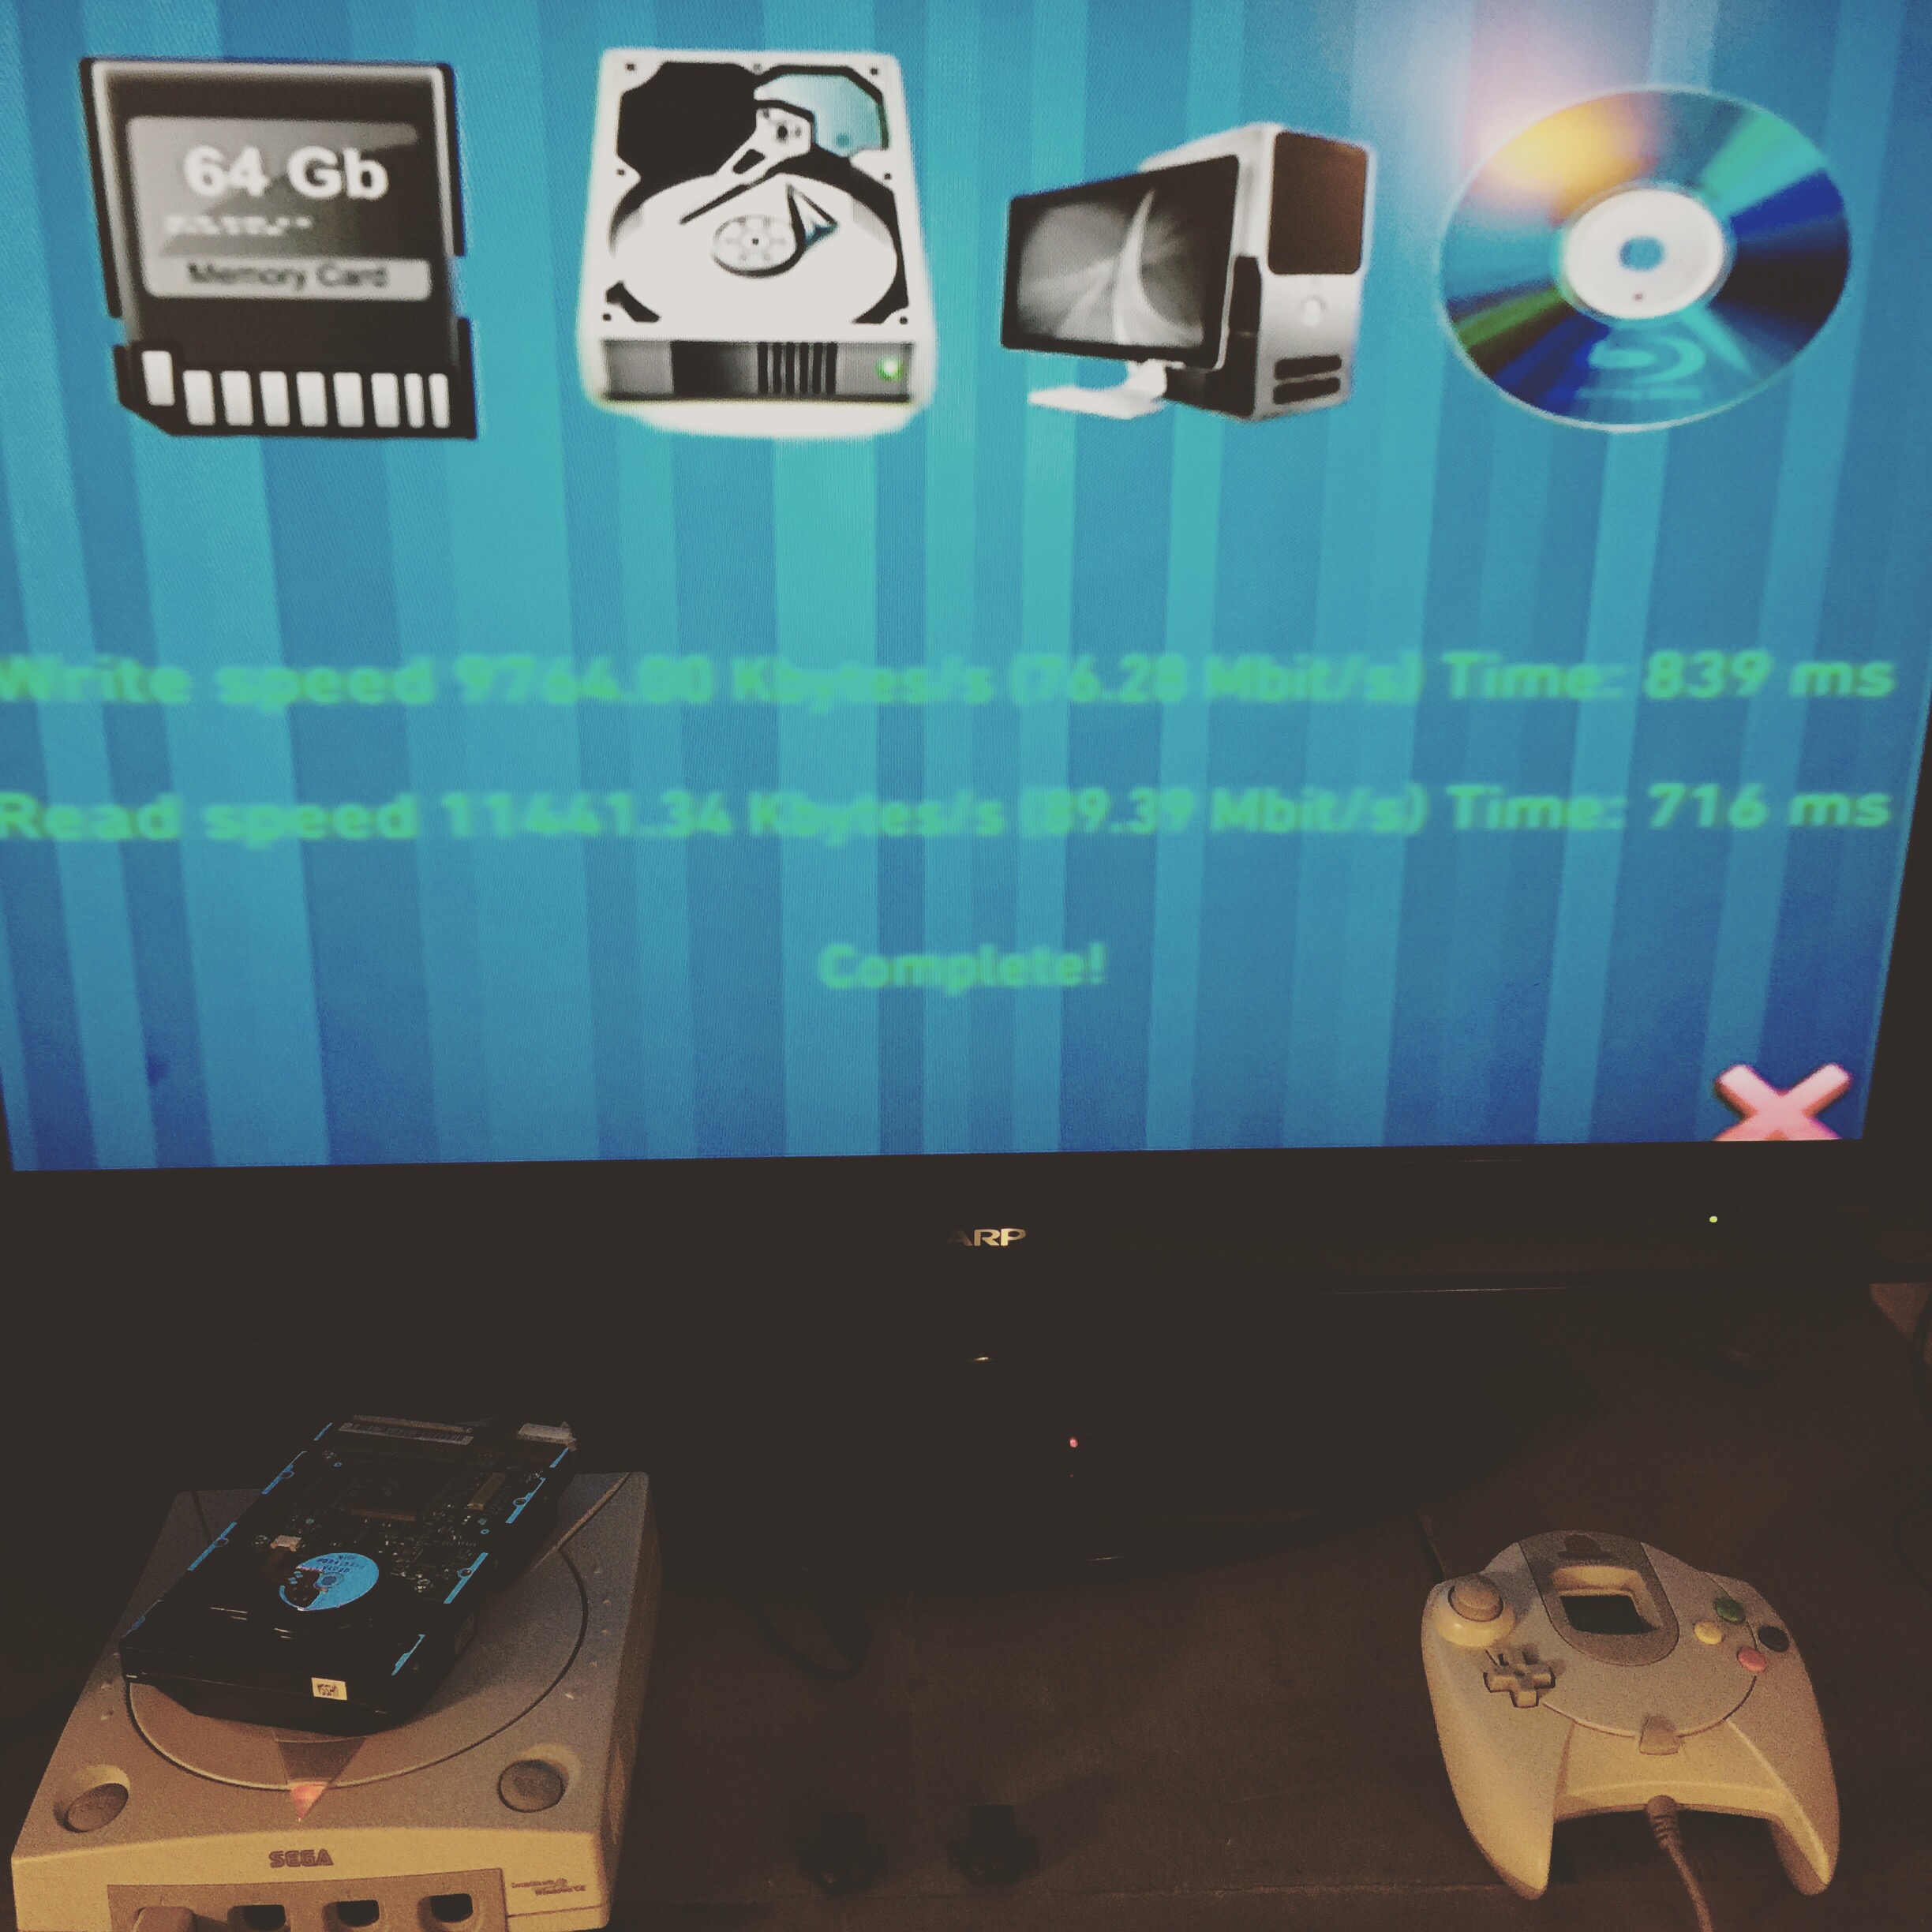
When done I then assembled the Dreamcast and hooked up the IDE HDD and used an external power source for the drive. I booted the Dreamshell CD and did a quick HDD test and it all looks good so far. I tossed a couple games on it to test and it seems like its good to go.
Next I will most likely install a SD to IDE 44 pin adapter.

What else can be done?

You can piggy back a new BIOS chip flashed with a custom bios that will let you boot Dreamcast from the HDD.
A SD/Compact Flash to IDE adapter can be used also

Final Thoughts:

I think this is a great option if you want to have a few of the supported games on SD/CF or IDE and have the soldering skills. If you want a better game compatibility, I would go with a Dreamcast ODE / CD emulator. The GDEMU is the best option as of writing this. Supports SD card and CDI images.