Author: cdeschenes

Travel with the PS4

Recently I had the need to travel with my PS4 Pro and my PSVR and wanted a secure way to pack it for transport. I Googled around and found a lot of Pelican cases but they were A) expensive a B) bulky and added a lot of unnecessary weight. I came across the Hard EVA Travel Case on Amazon. This looked like it would suite my needs as its not really a “hard” case like as  in plastic but it is a hard but pliable shell. It reminded me of the same hard material the car CD wallets were made from. Can it be dropped from 10 feet, I wouldn’t test it, but will it protect it in travel.. yeah. I was actually able to fit the following in this case with no strain:

  • Playstation 4 Pro, HDMI & power cable
  • PSVR Headset + cables
  • PSVR Processor unit & Power supply
  • 2 DS4 controllers
  • PlayStation Camera
  • A few games (Most of my PSVR games are digital since I hate taking off the headset to swap discs)
  • 2 Playstation Move controllers

It all zips up comfortably and is ready to be stowed in the car. This case will work with many other consoles as I use it for my original Xbox One and it fit perfectly.
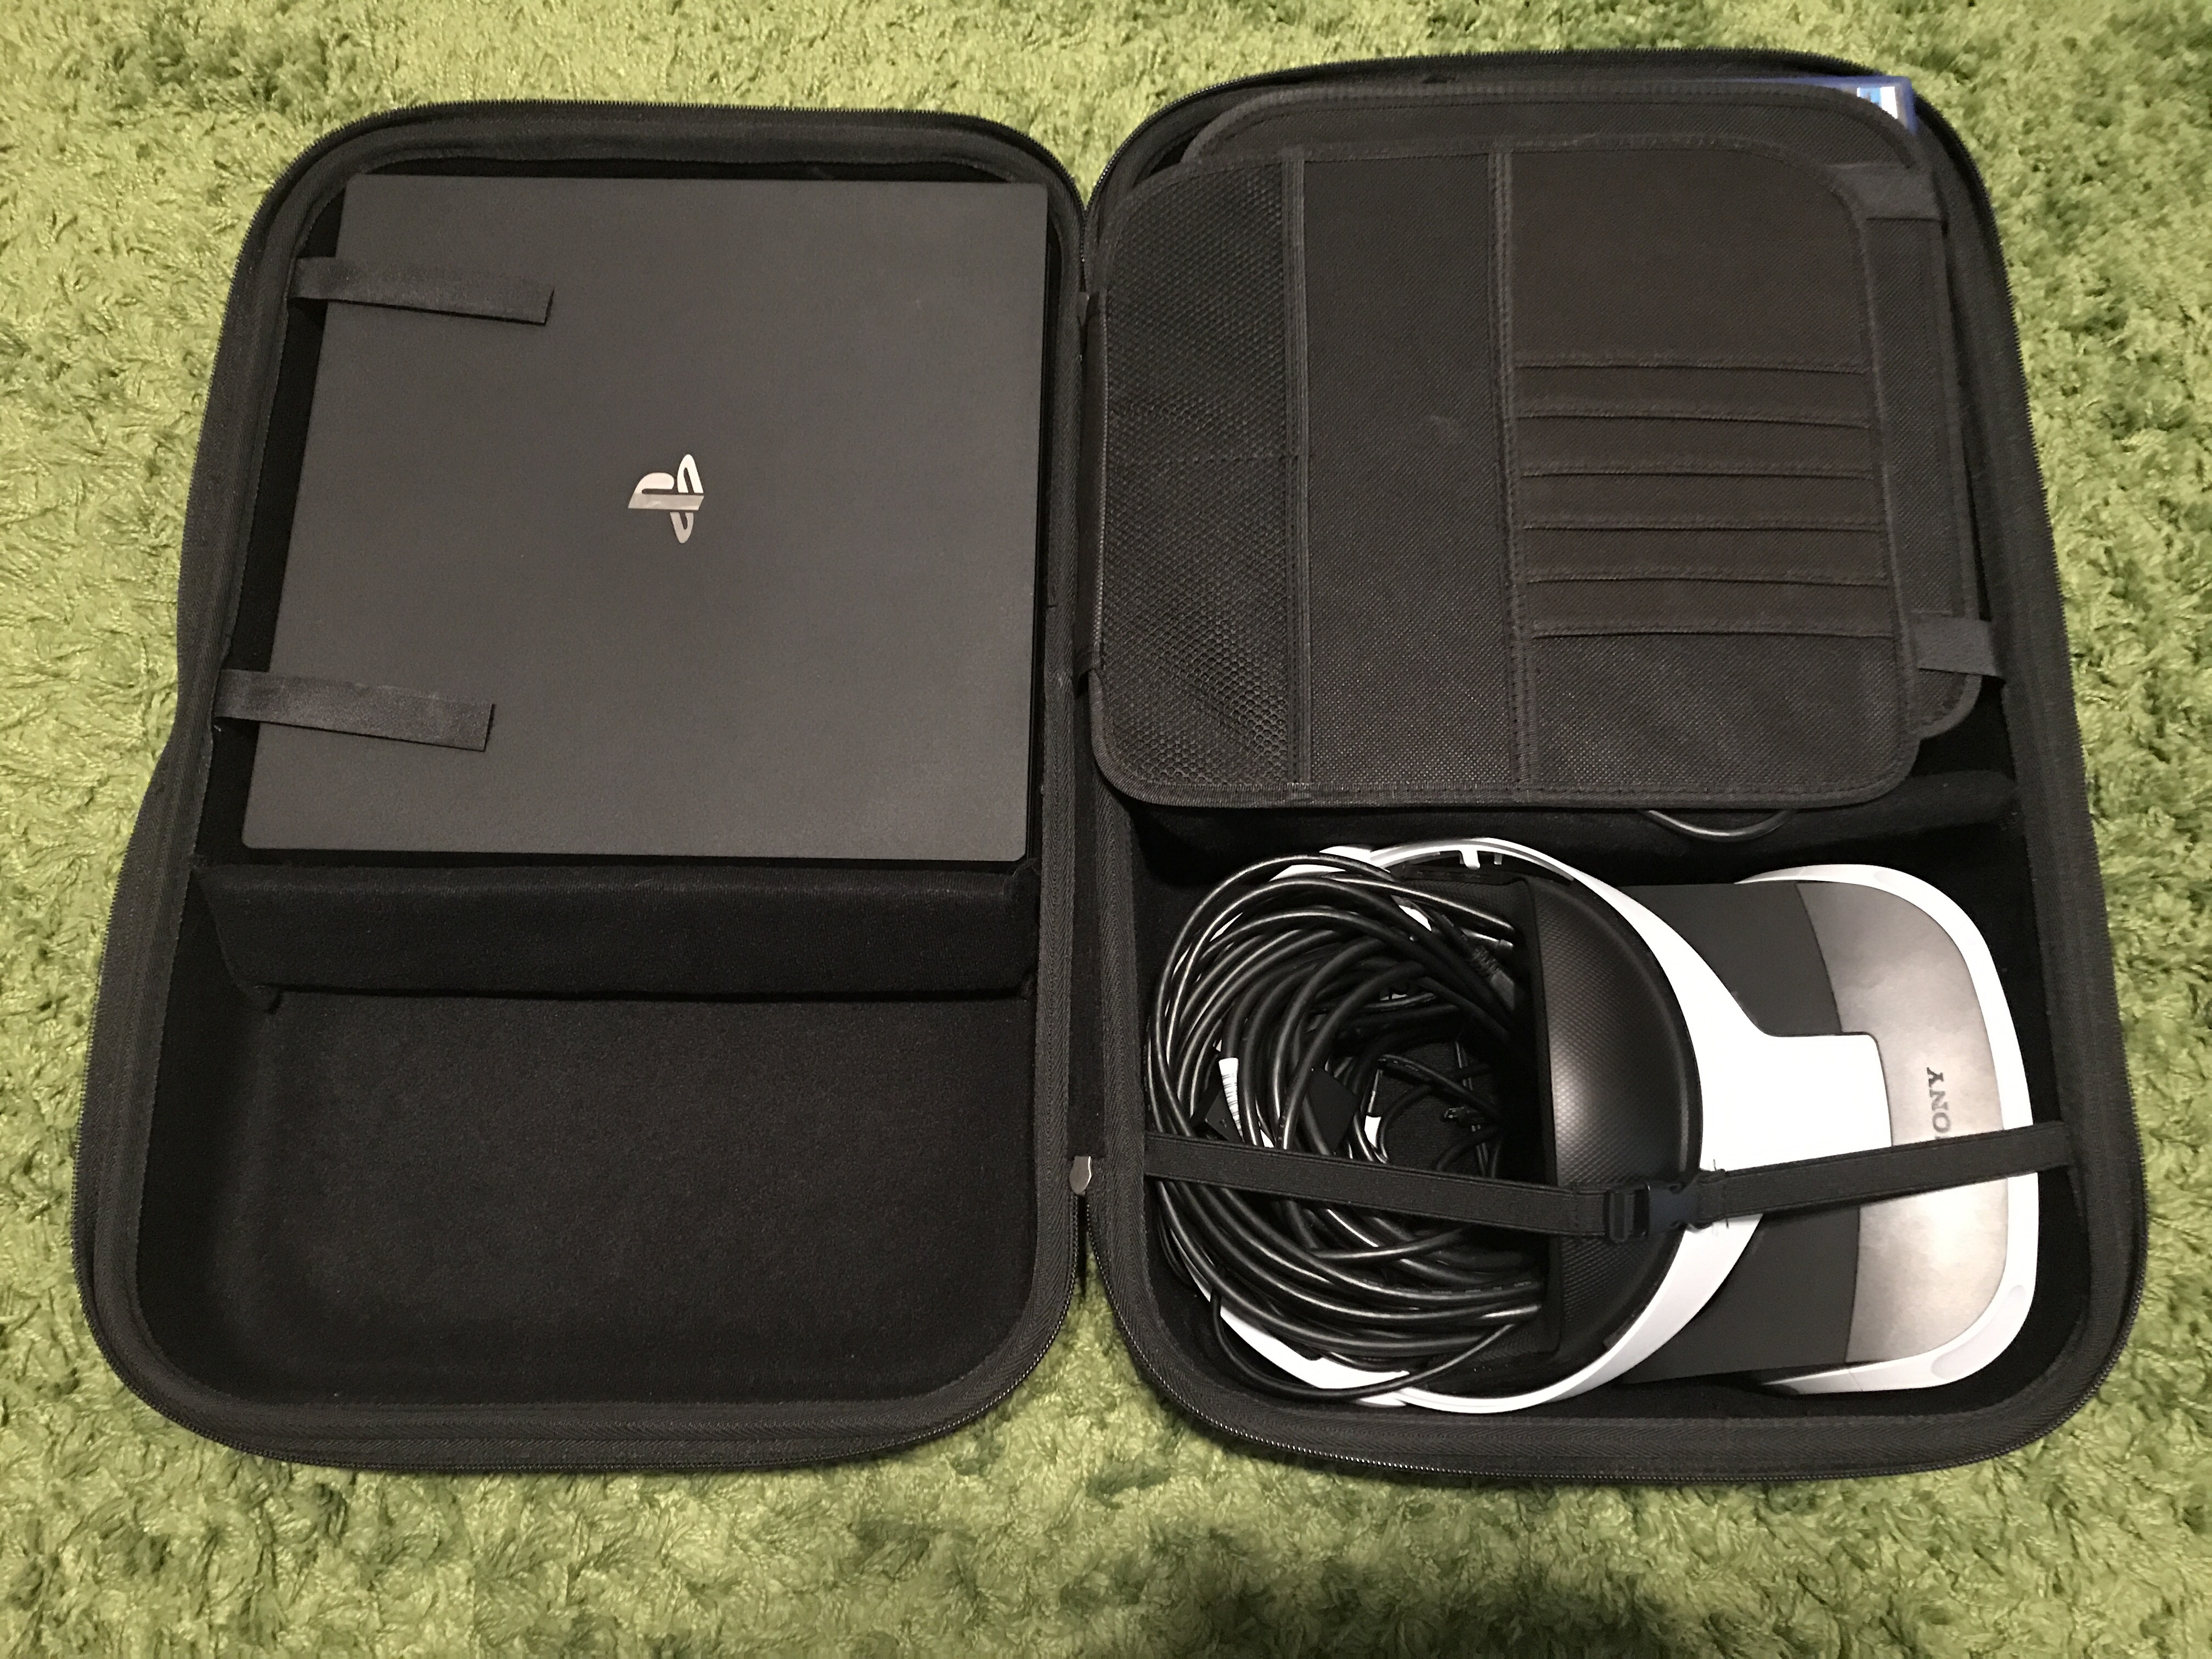
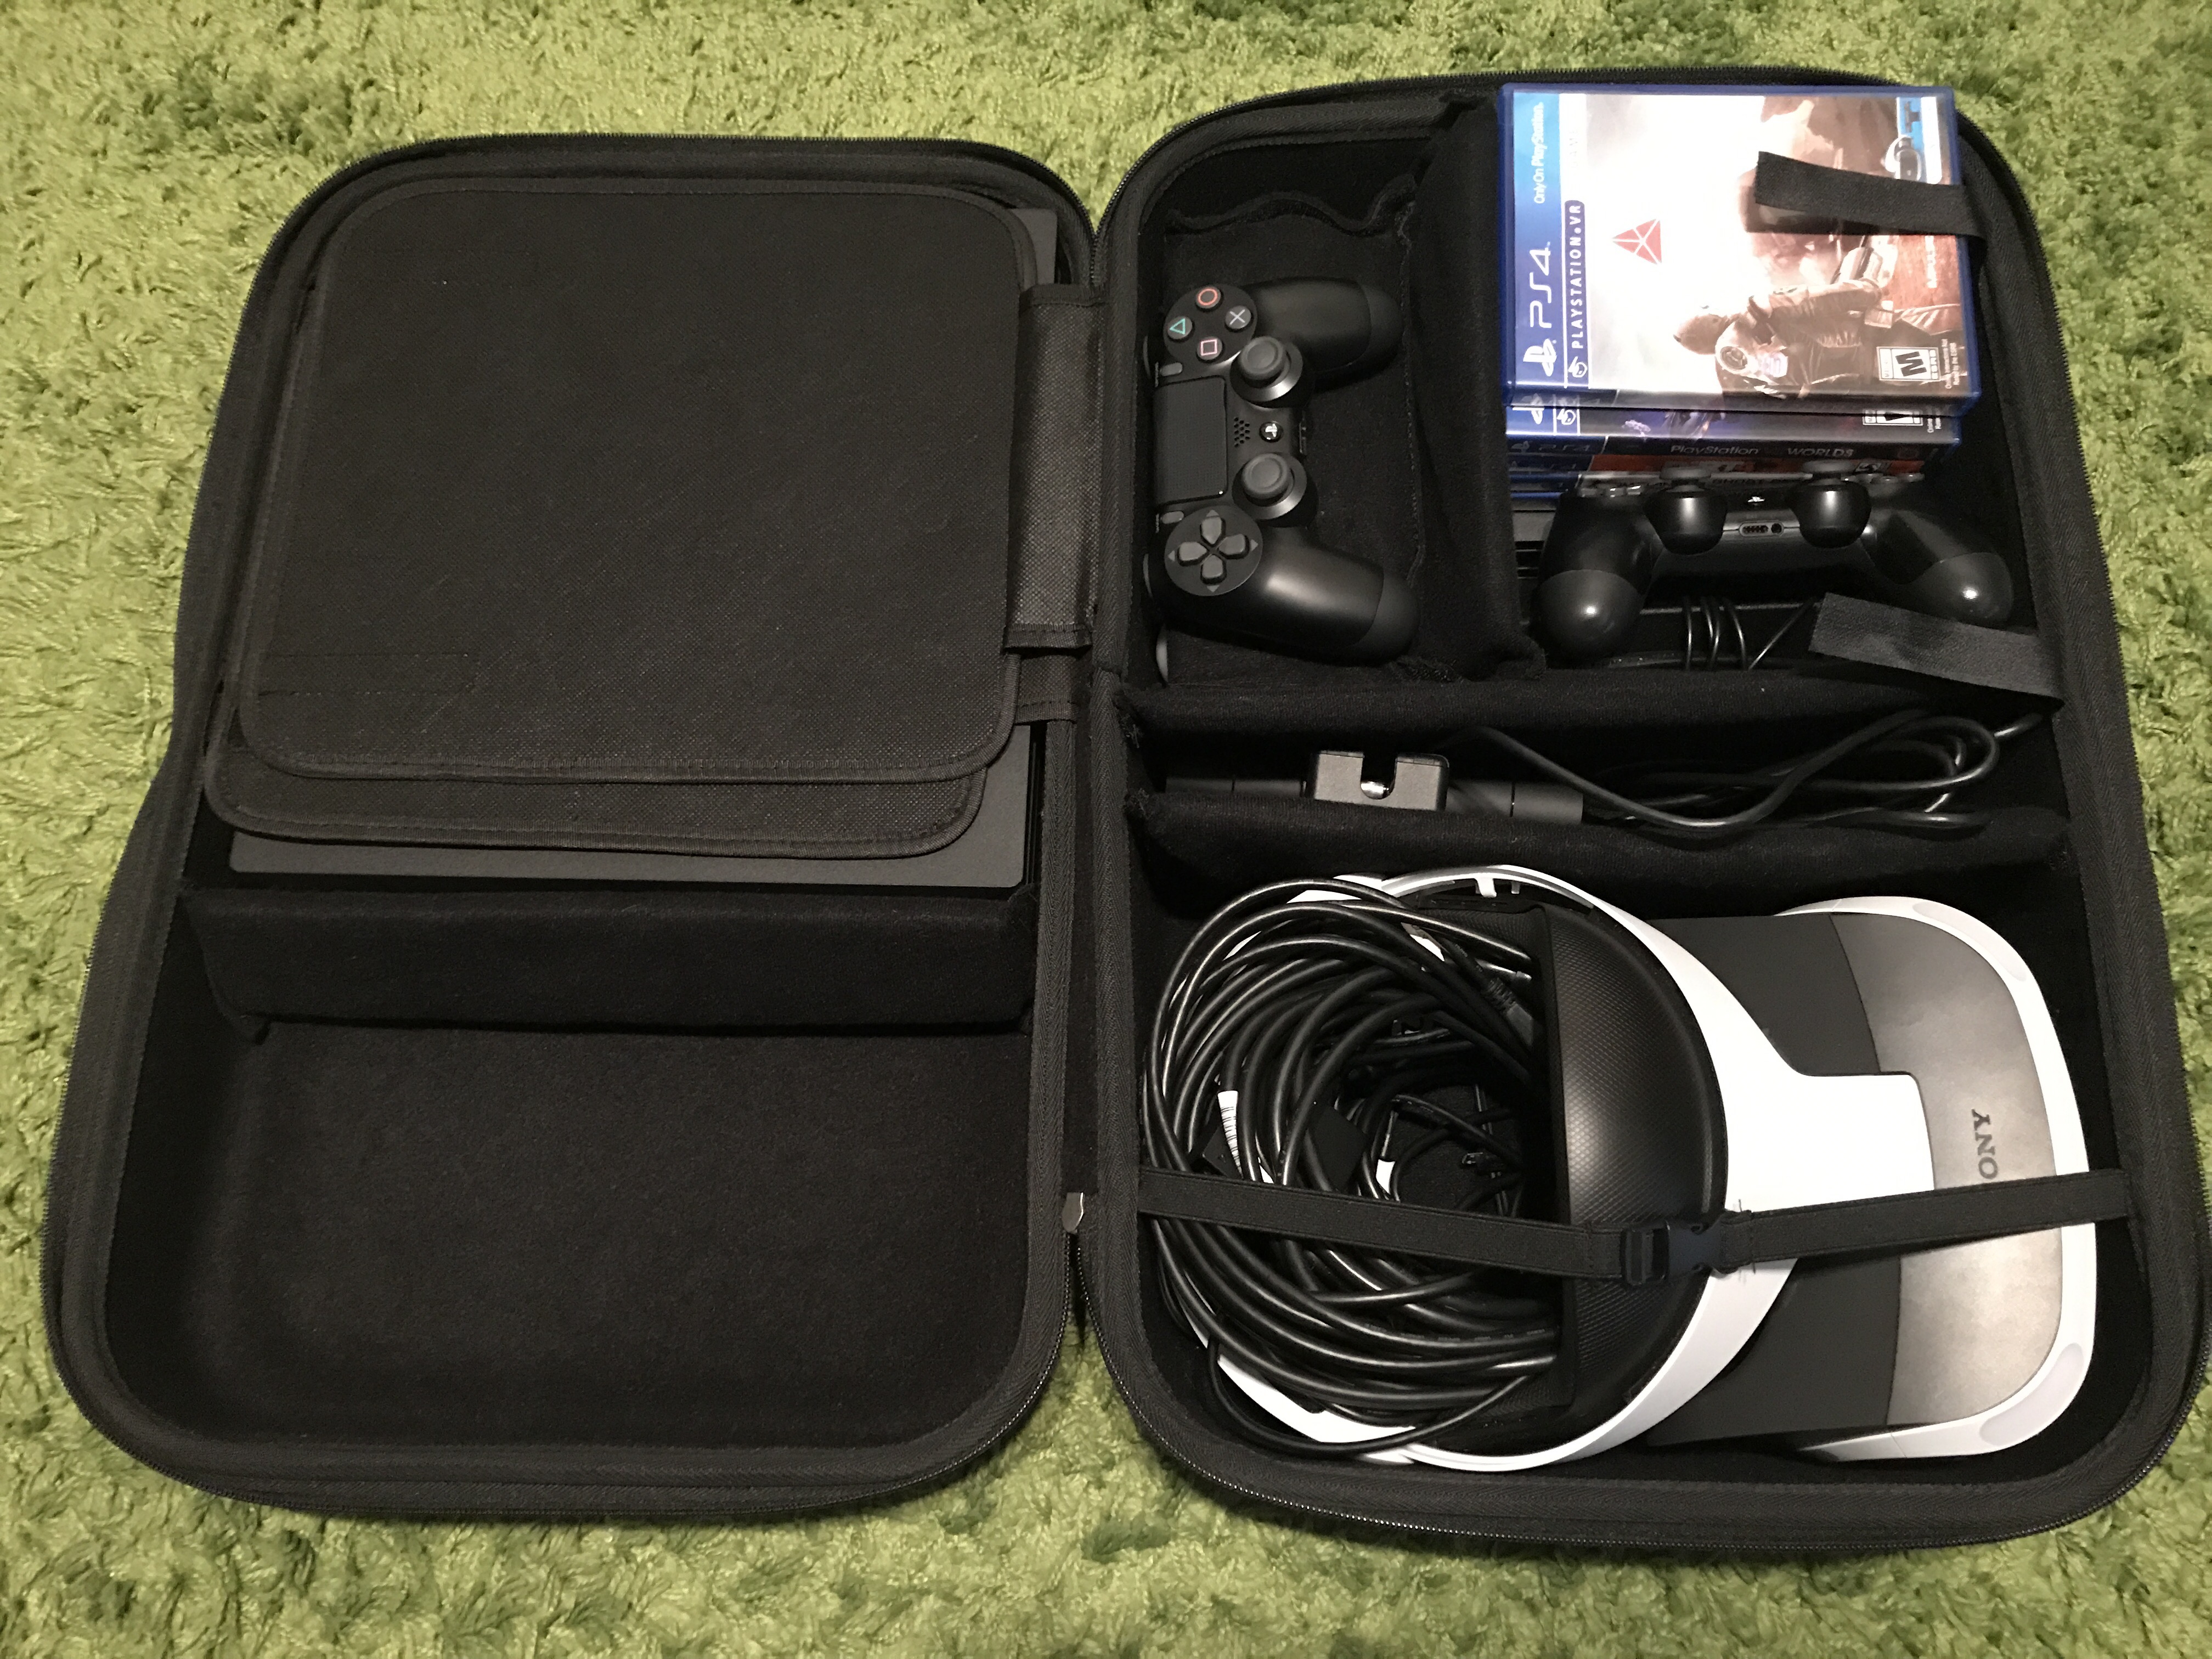
I would definitely recommend this case for people that travel with their PS4 and/or other consoles.
3DO

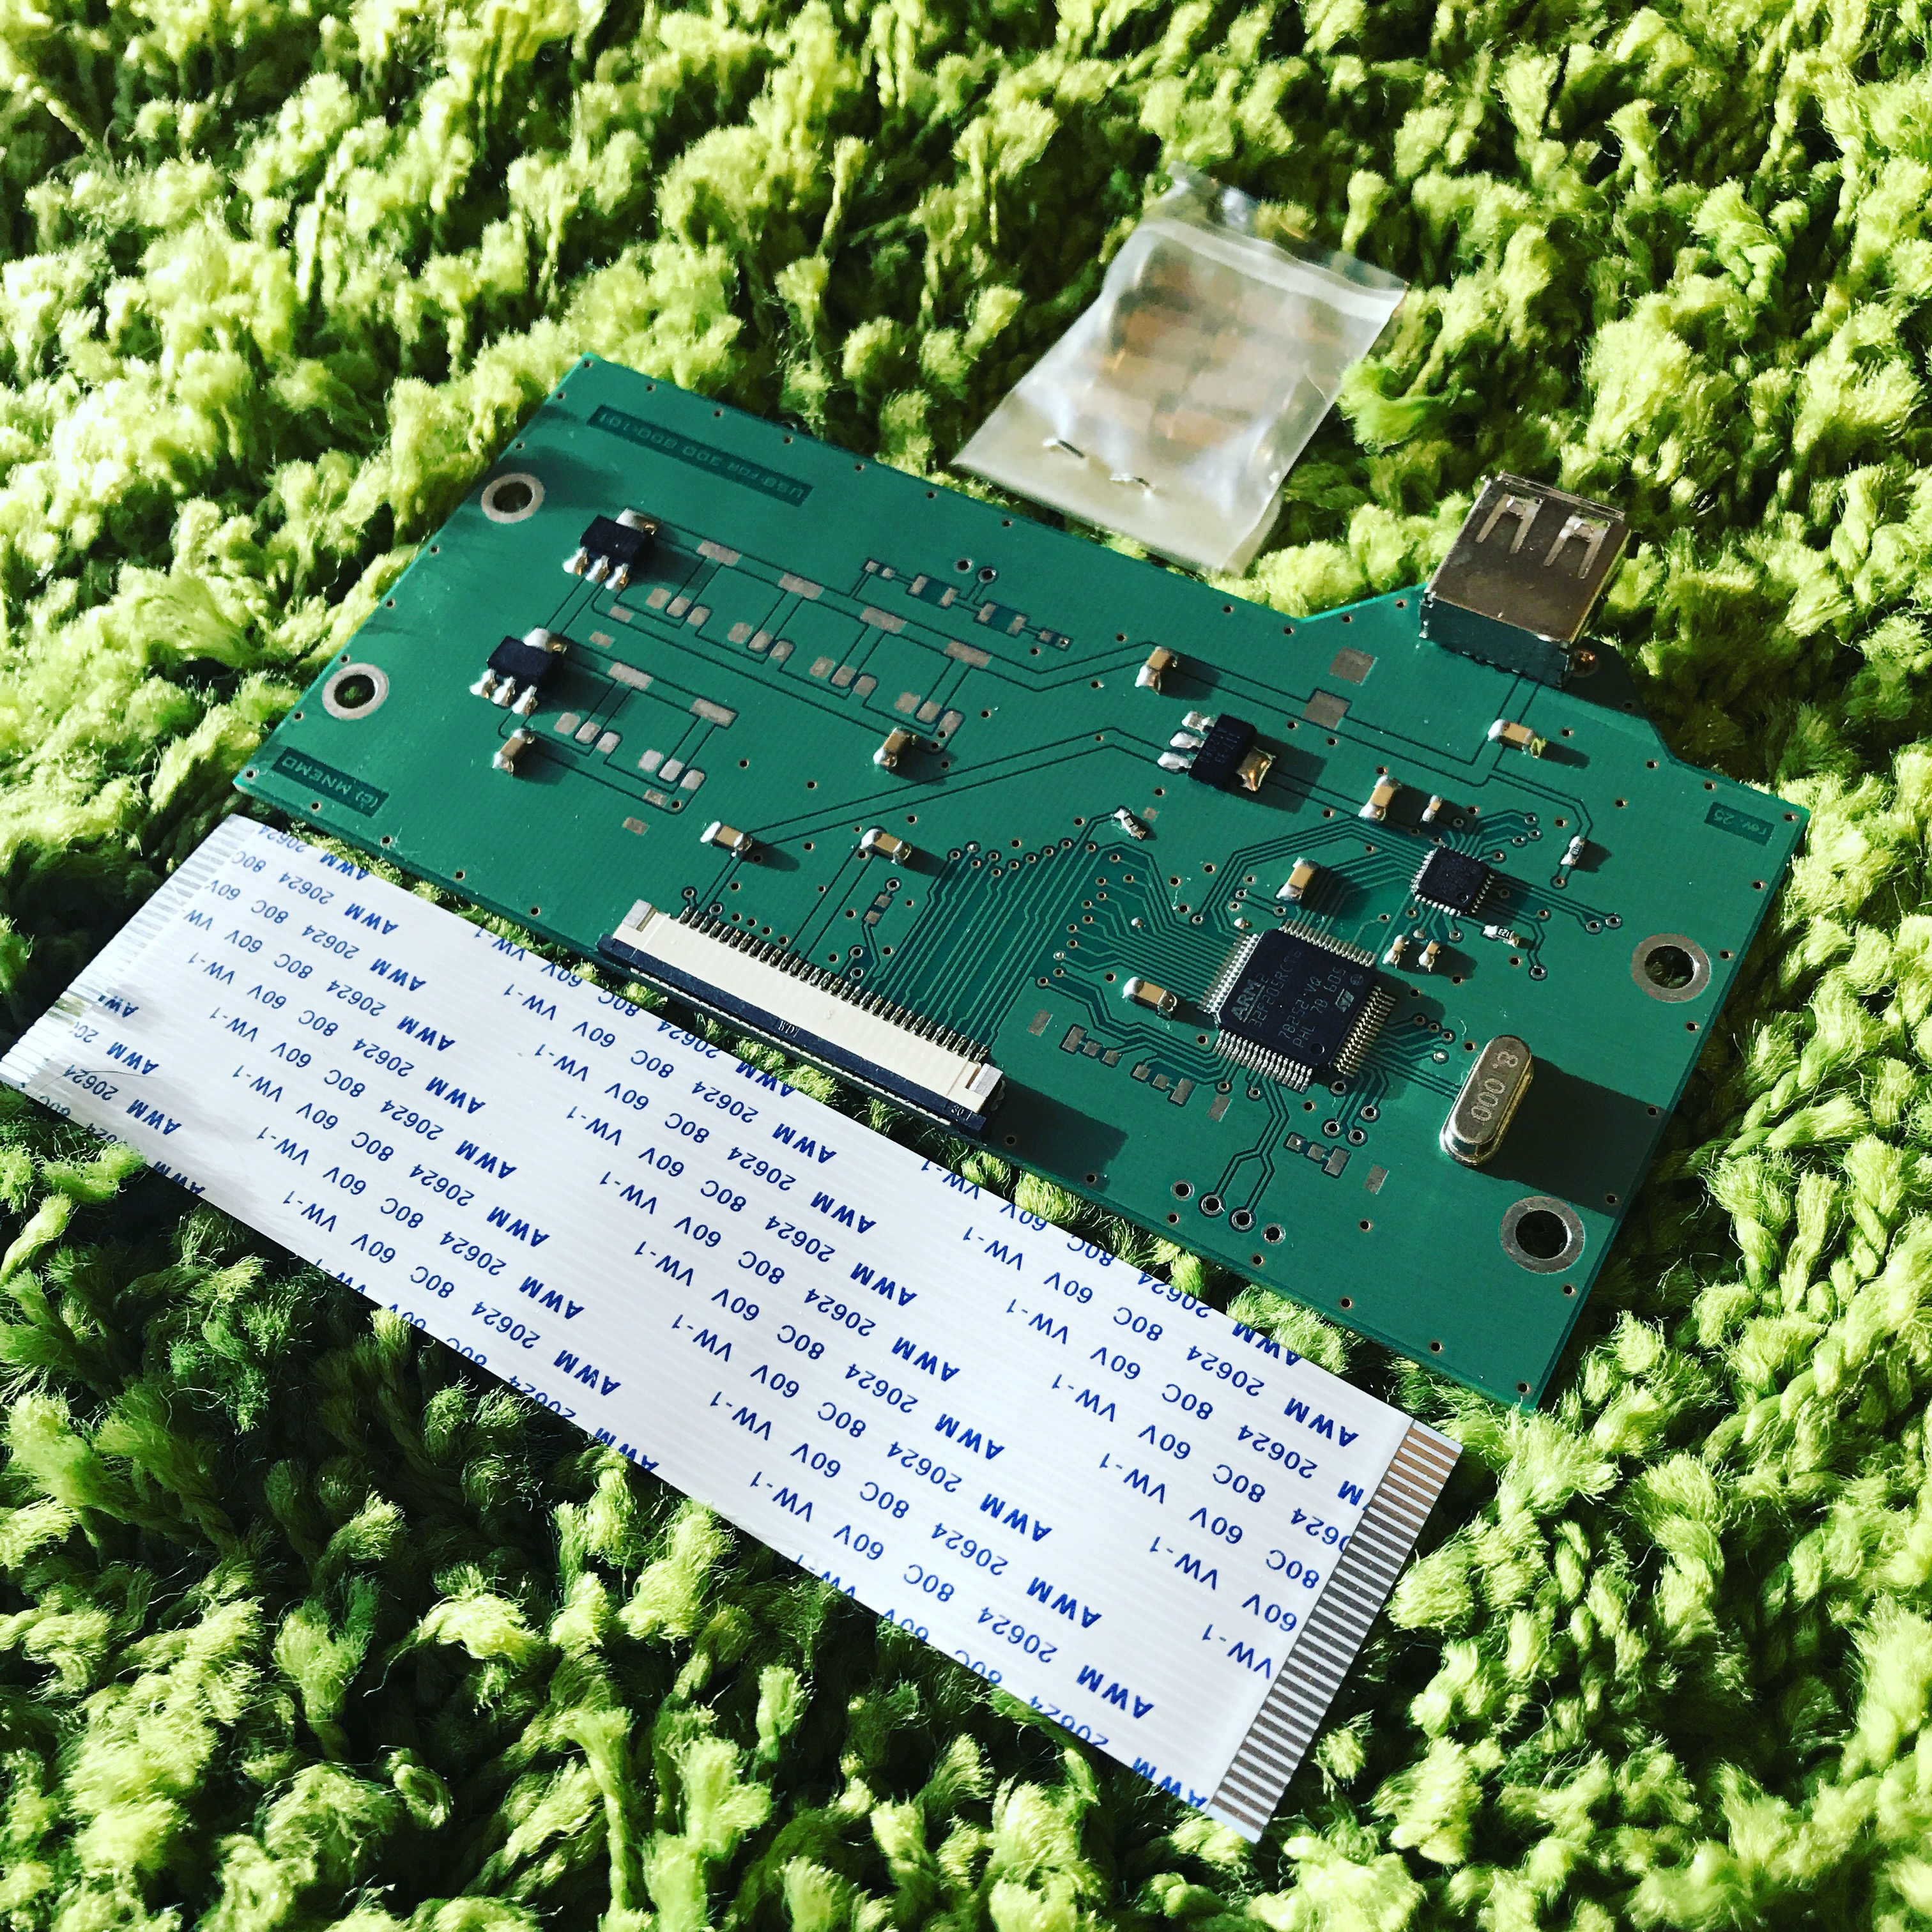
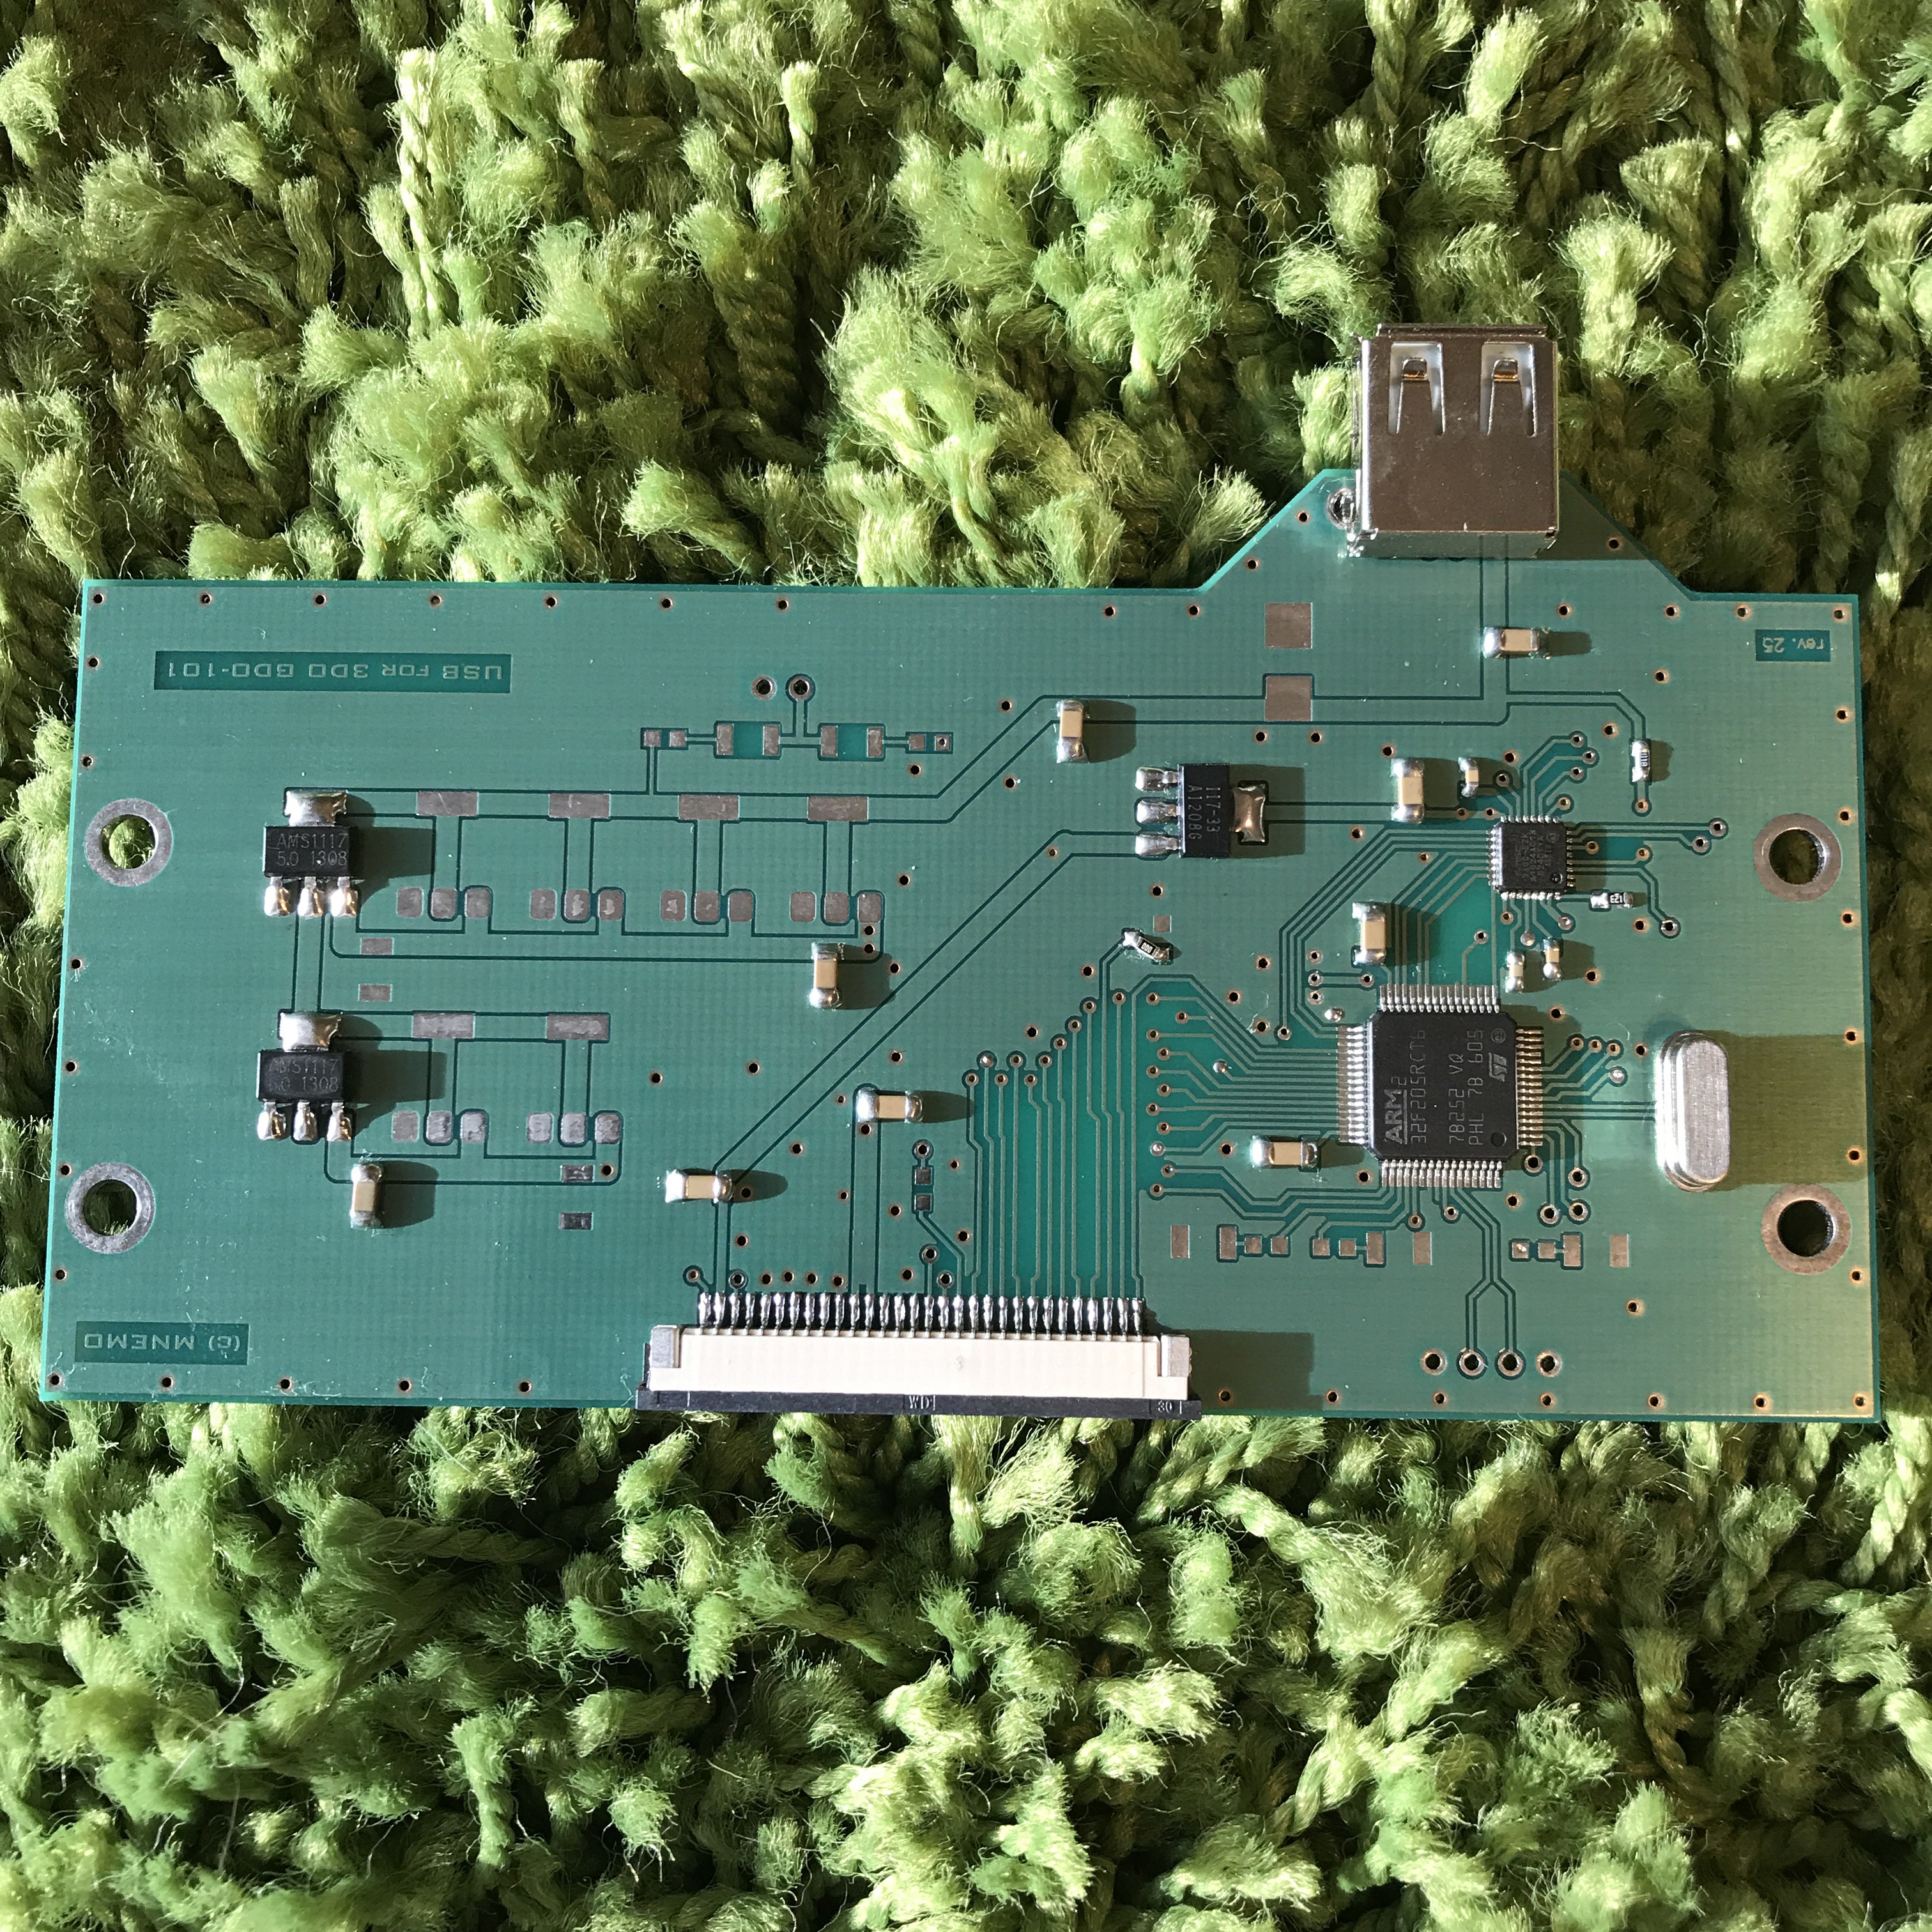
3DO USB Host Controller

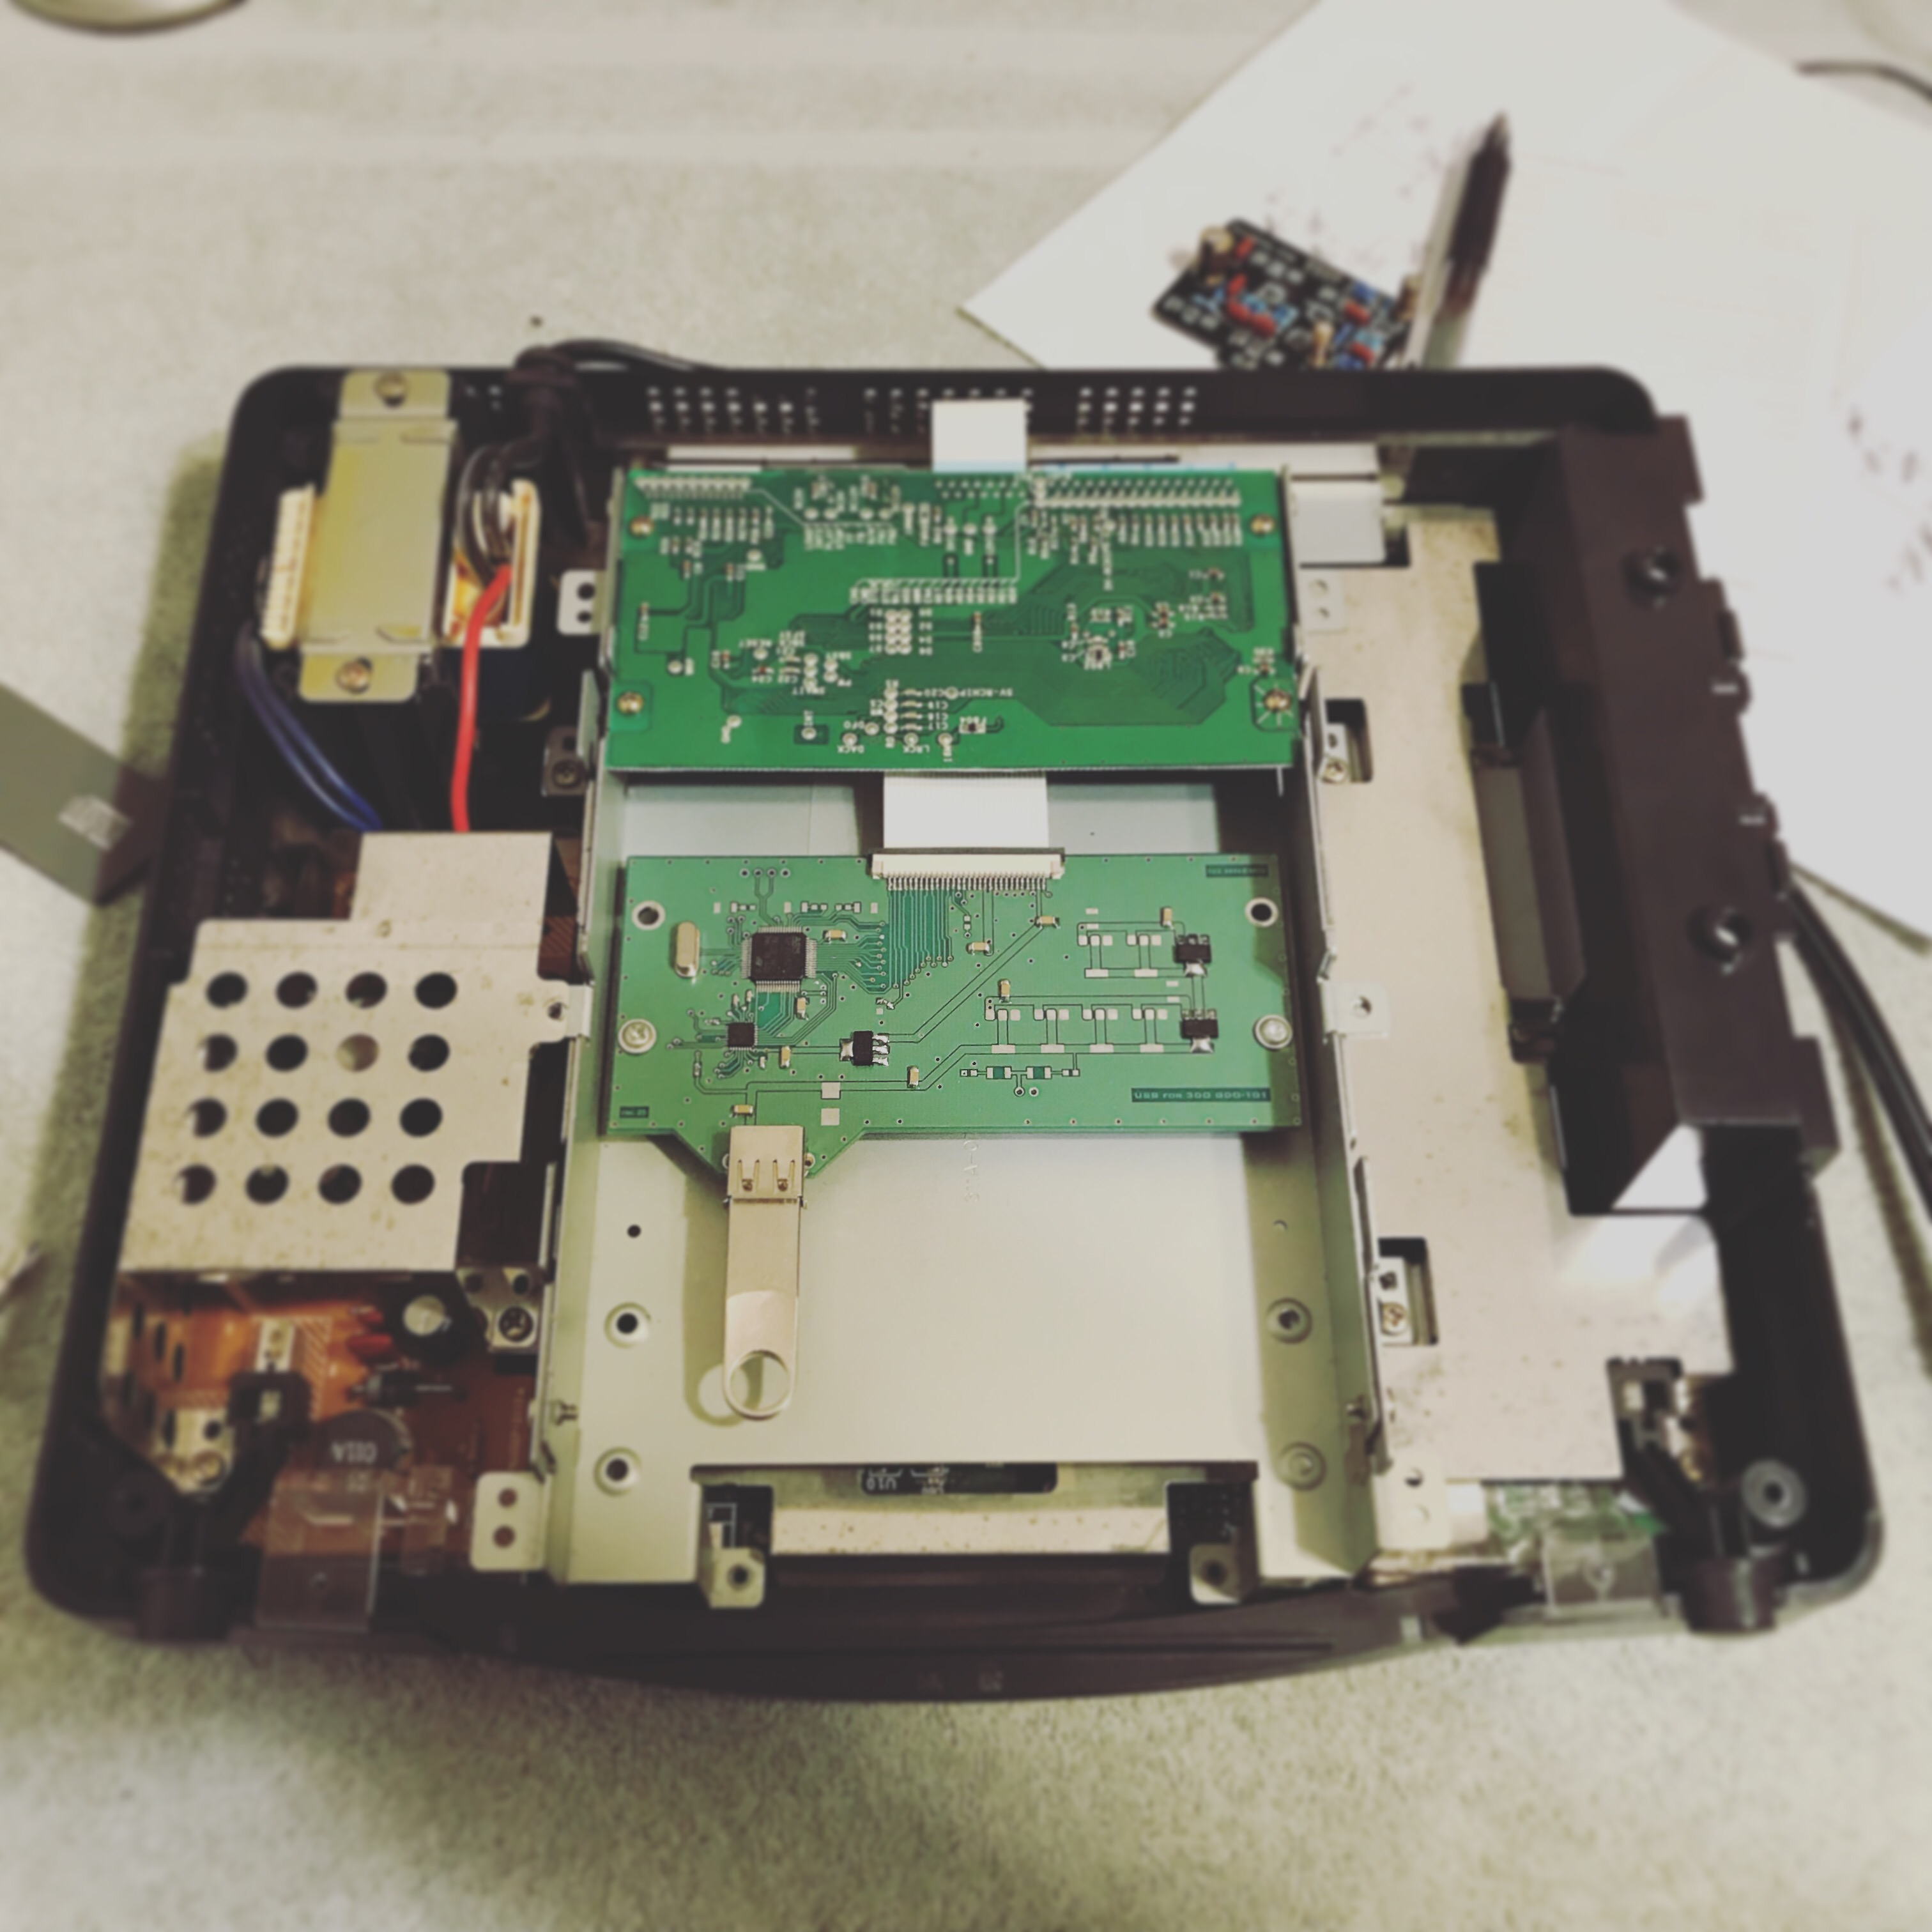
I bet you hear this all the time, “Man, I wish I can play every 3DO game” LOL, right. There are a few hidden gems on the 3DO but not much to write home about. The ability to put every 3DO game ISO on a USB key is definitely overkill but doable with the 3DO USB host controller. The installation is very straight forward and as easy as removing the 3DO CD-ROM drive and replacing it with the Host Controller.

Atari Lynx Flash Cart

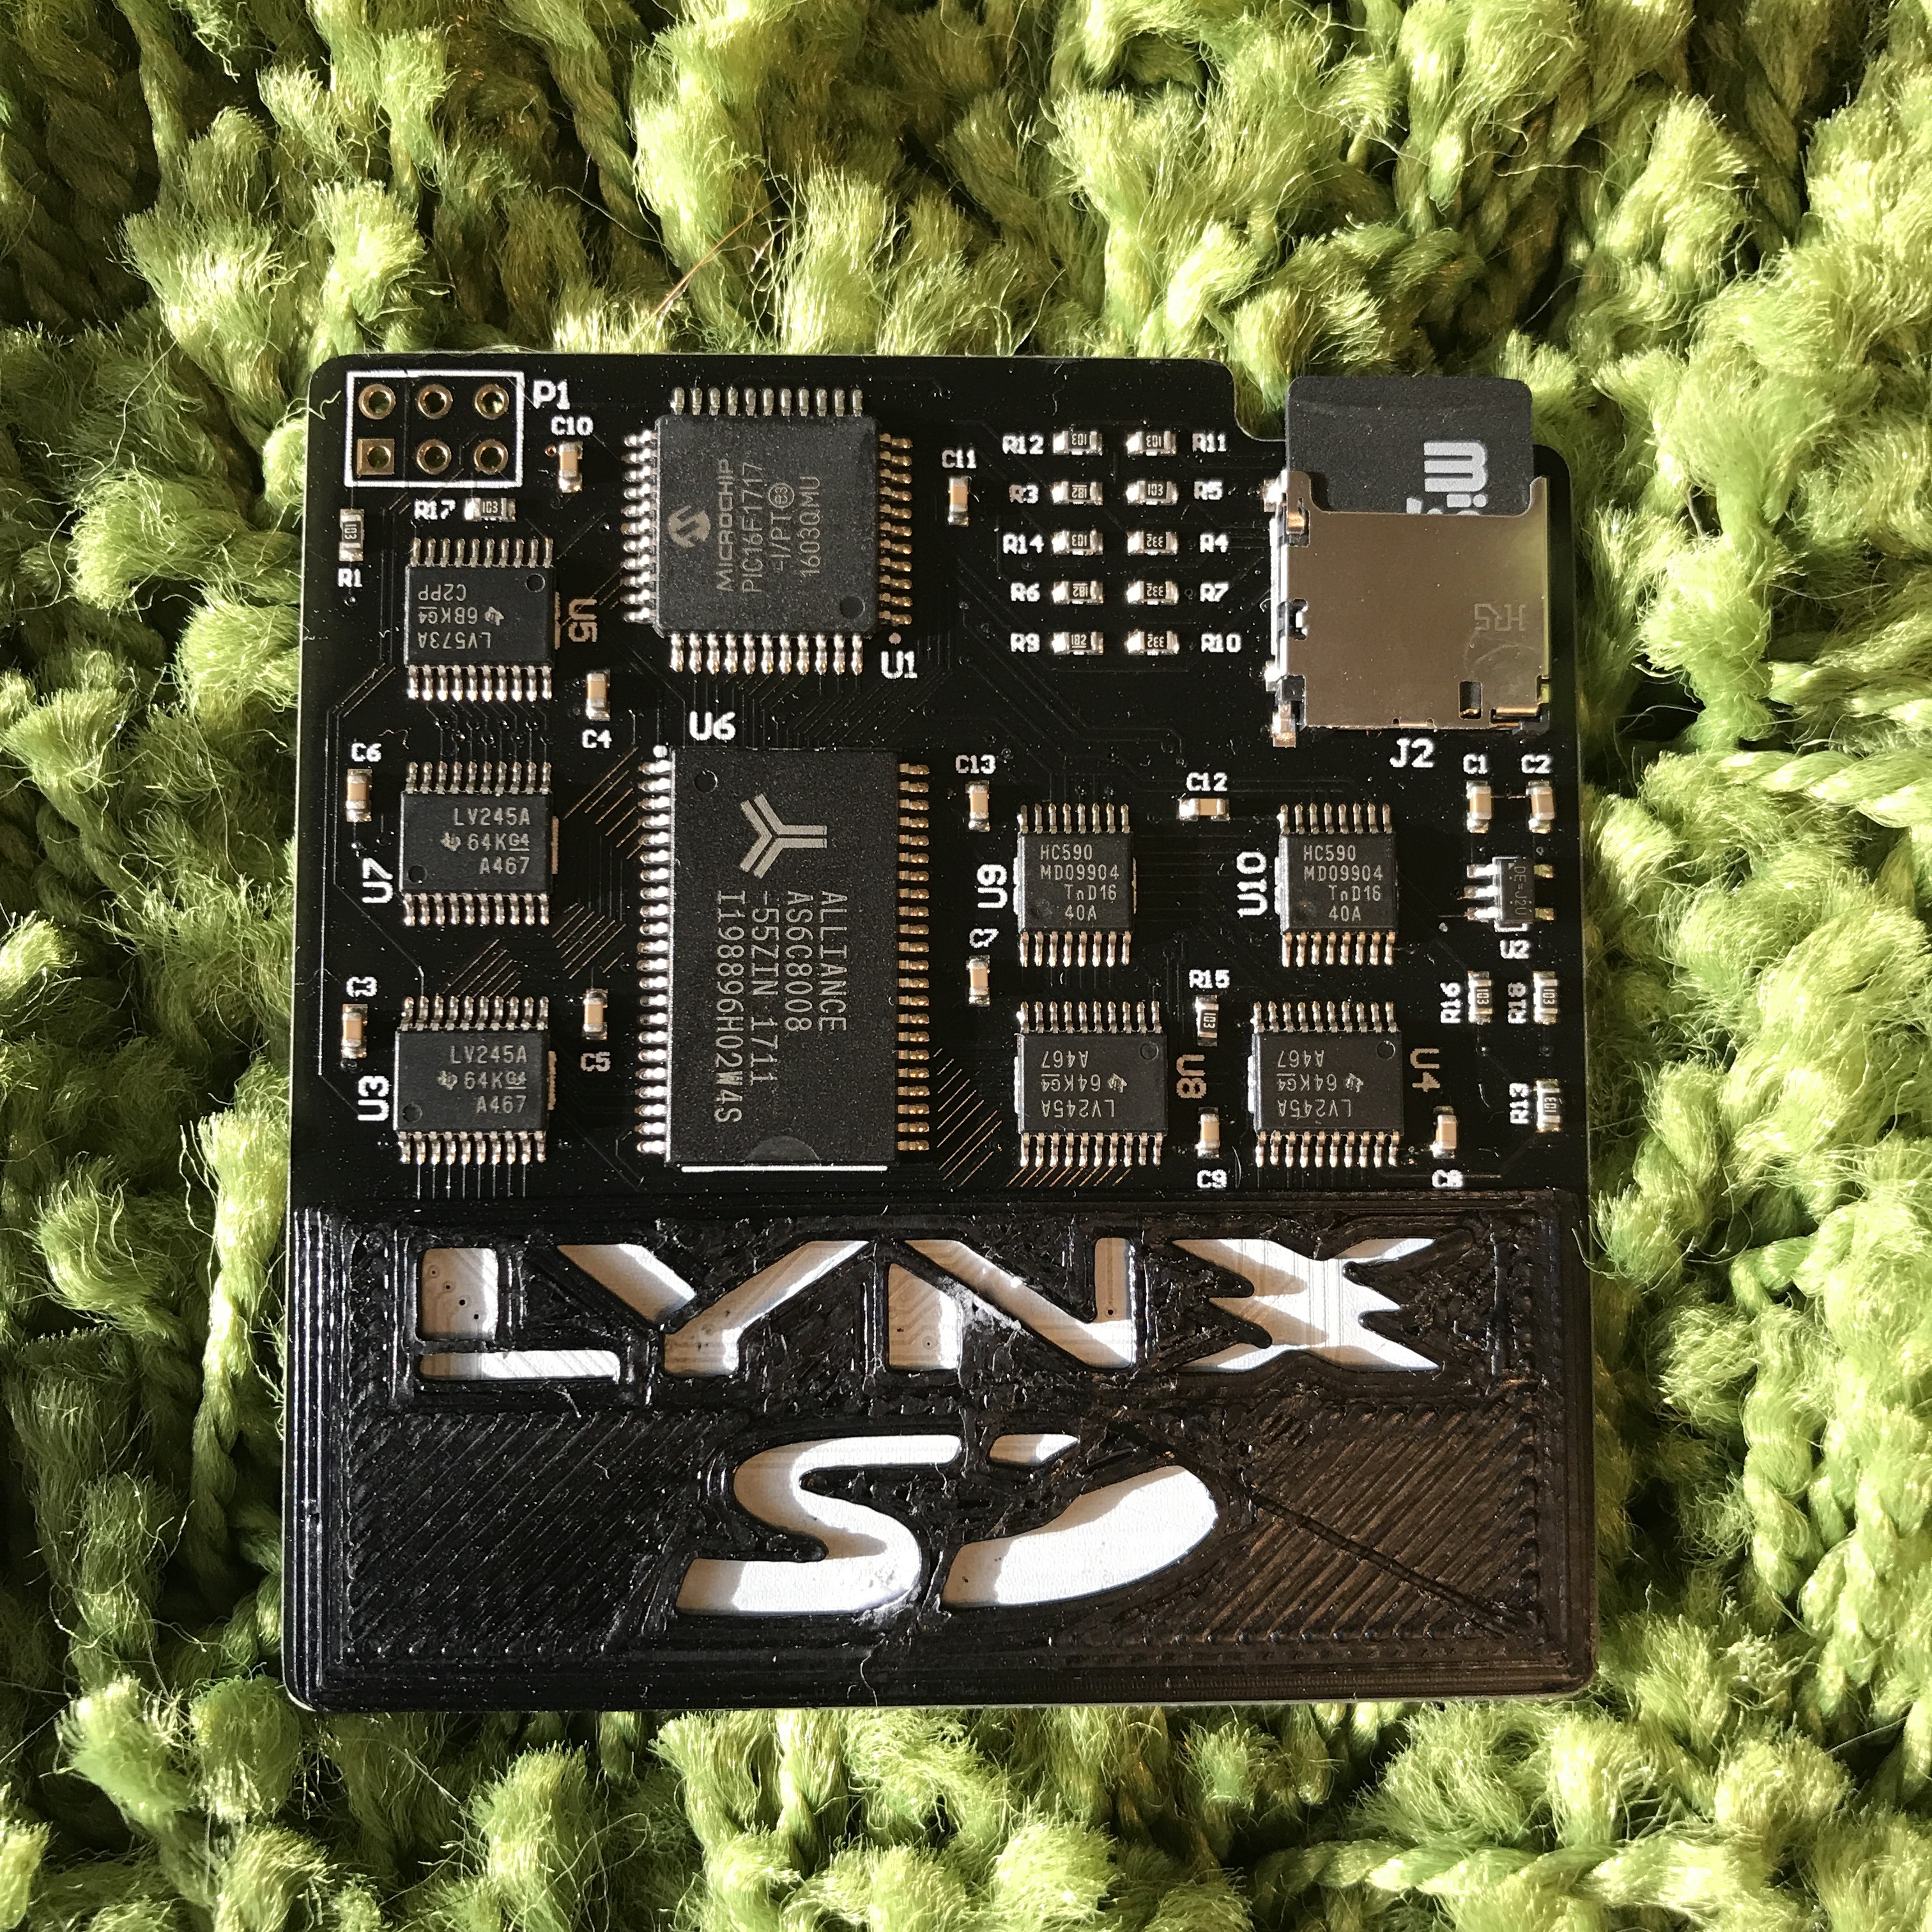
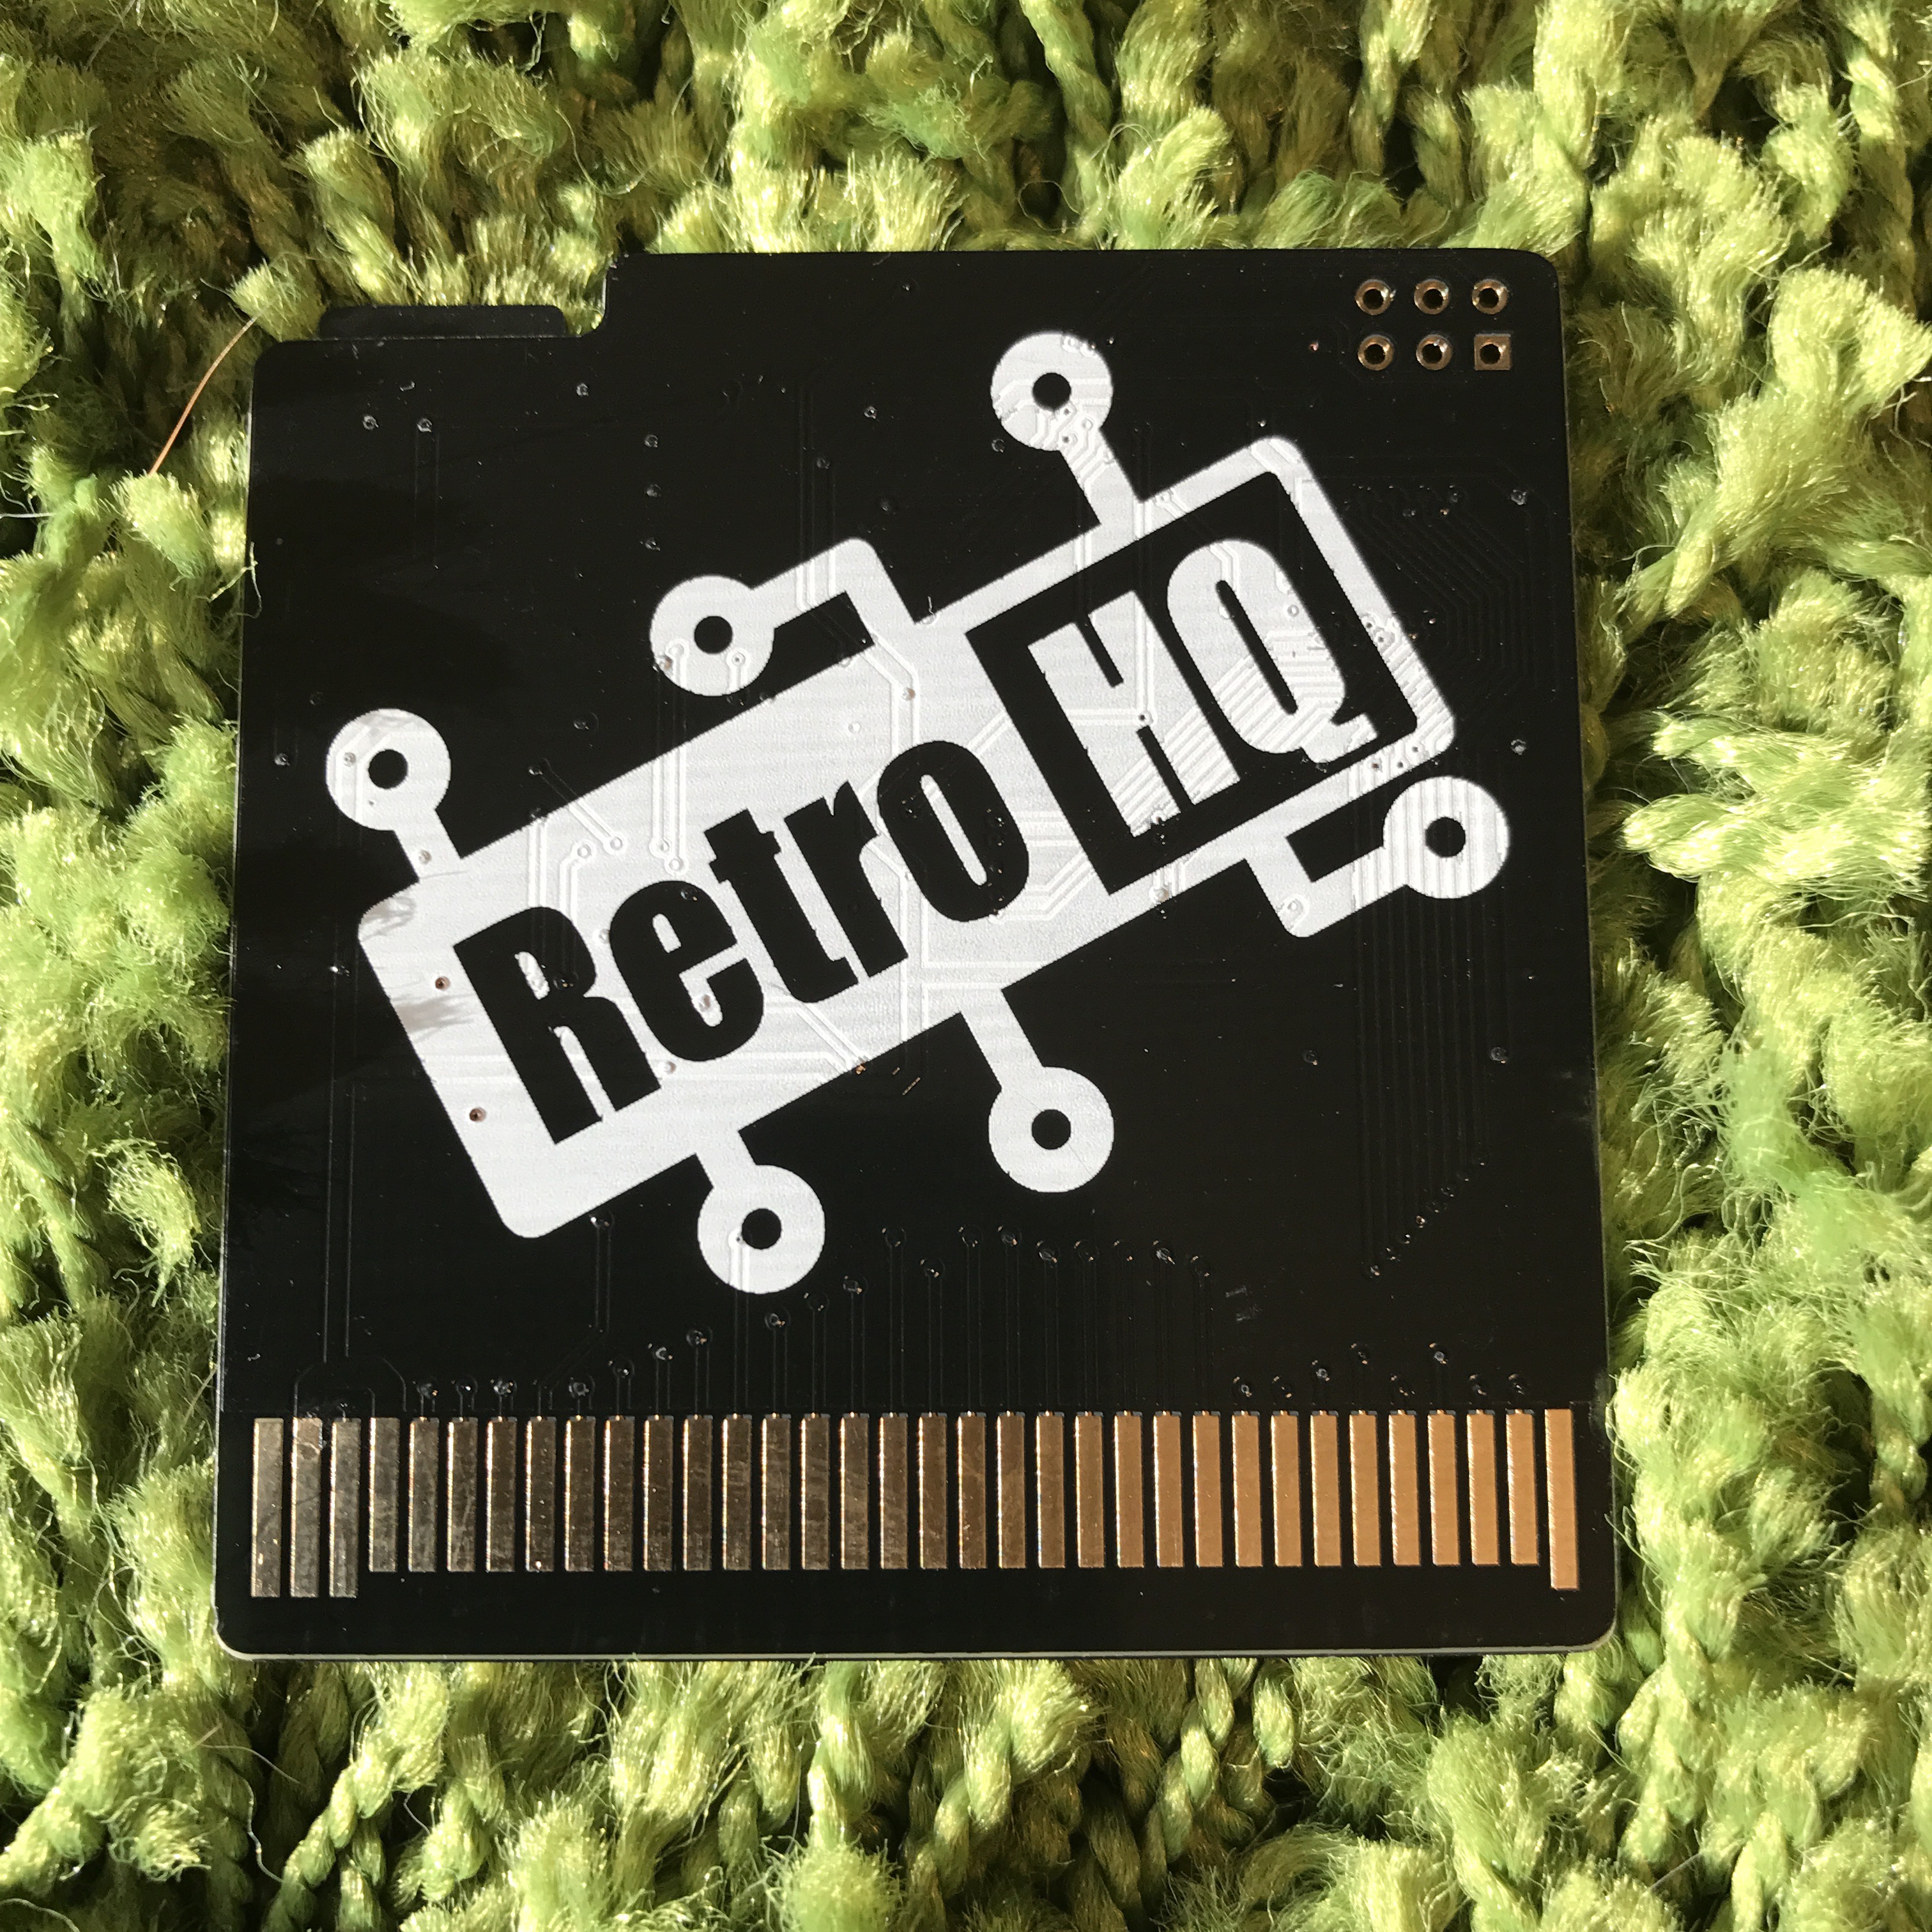
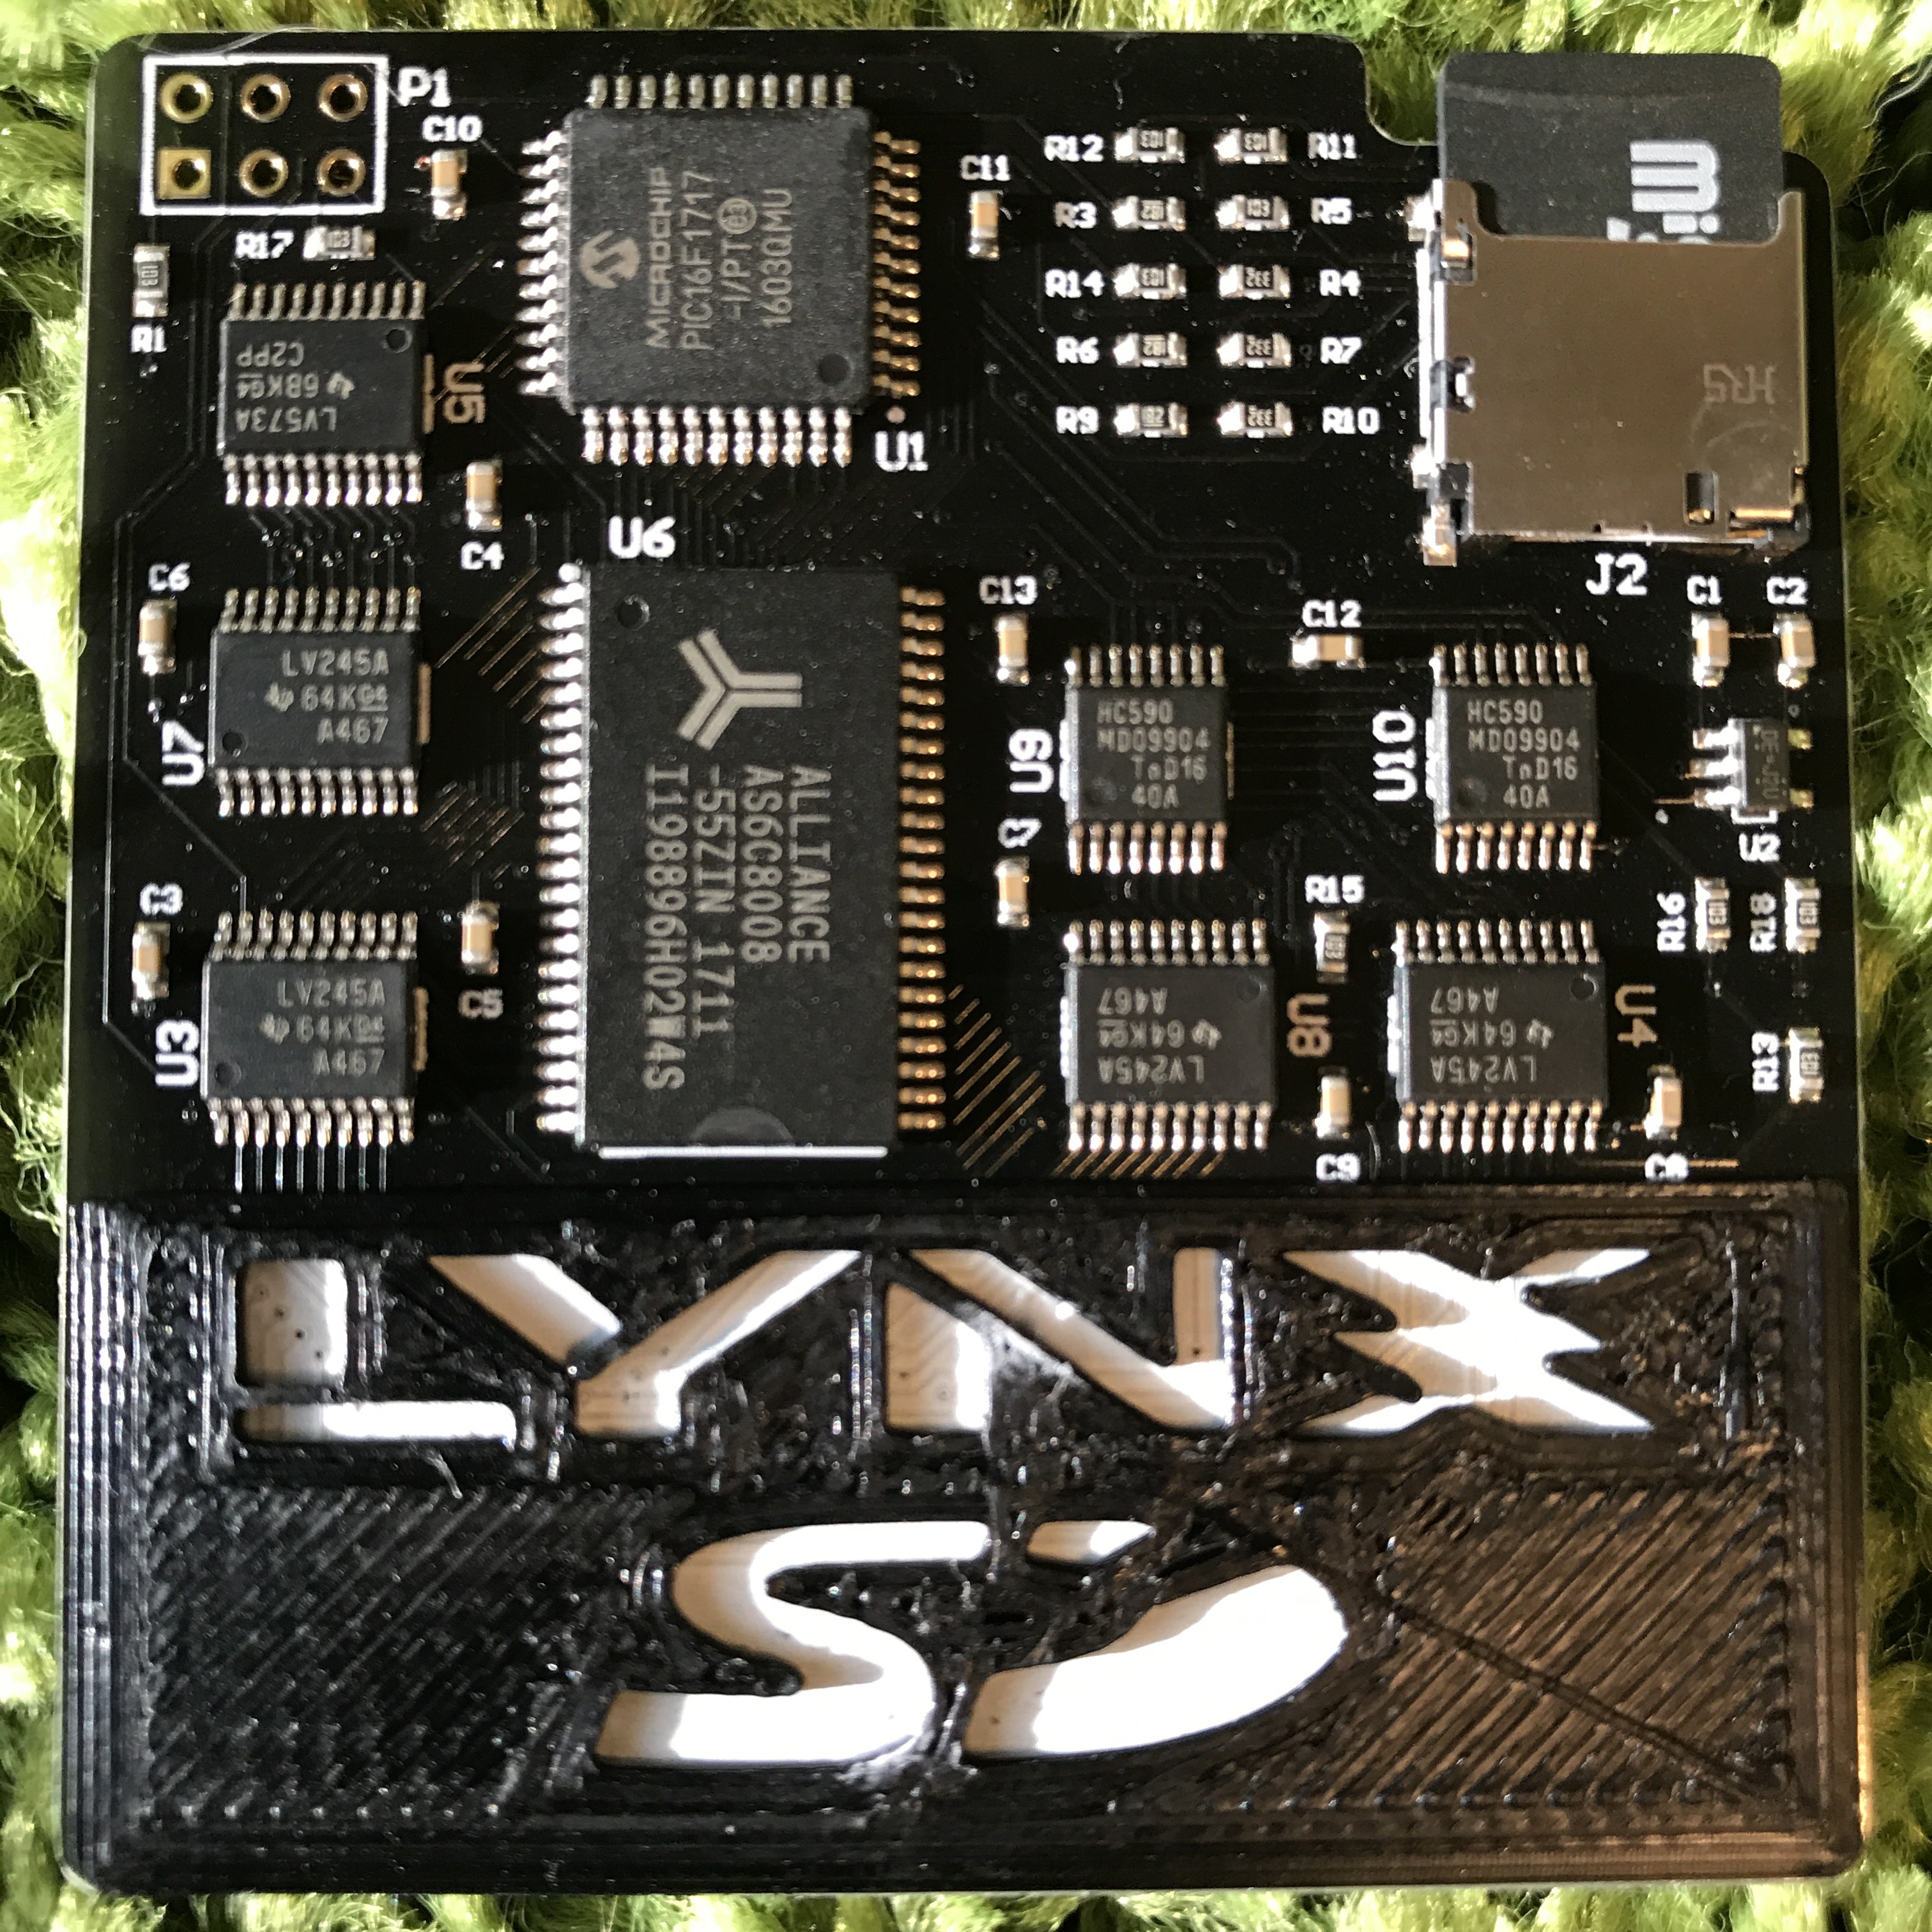
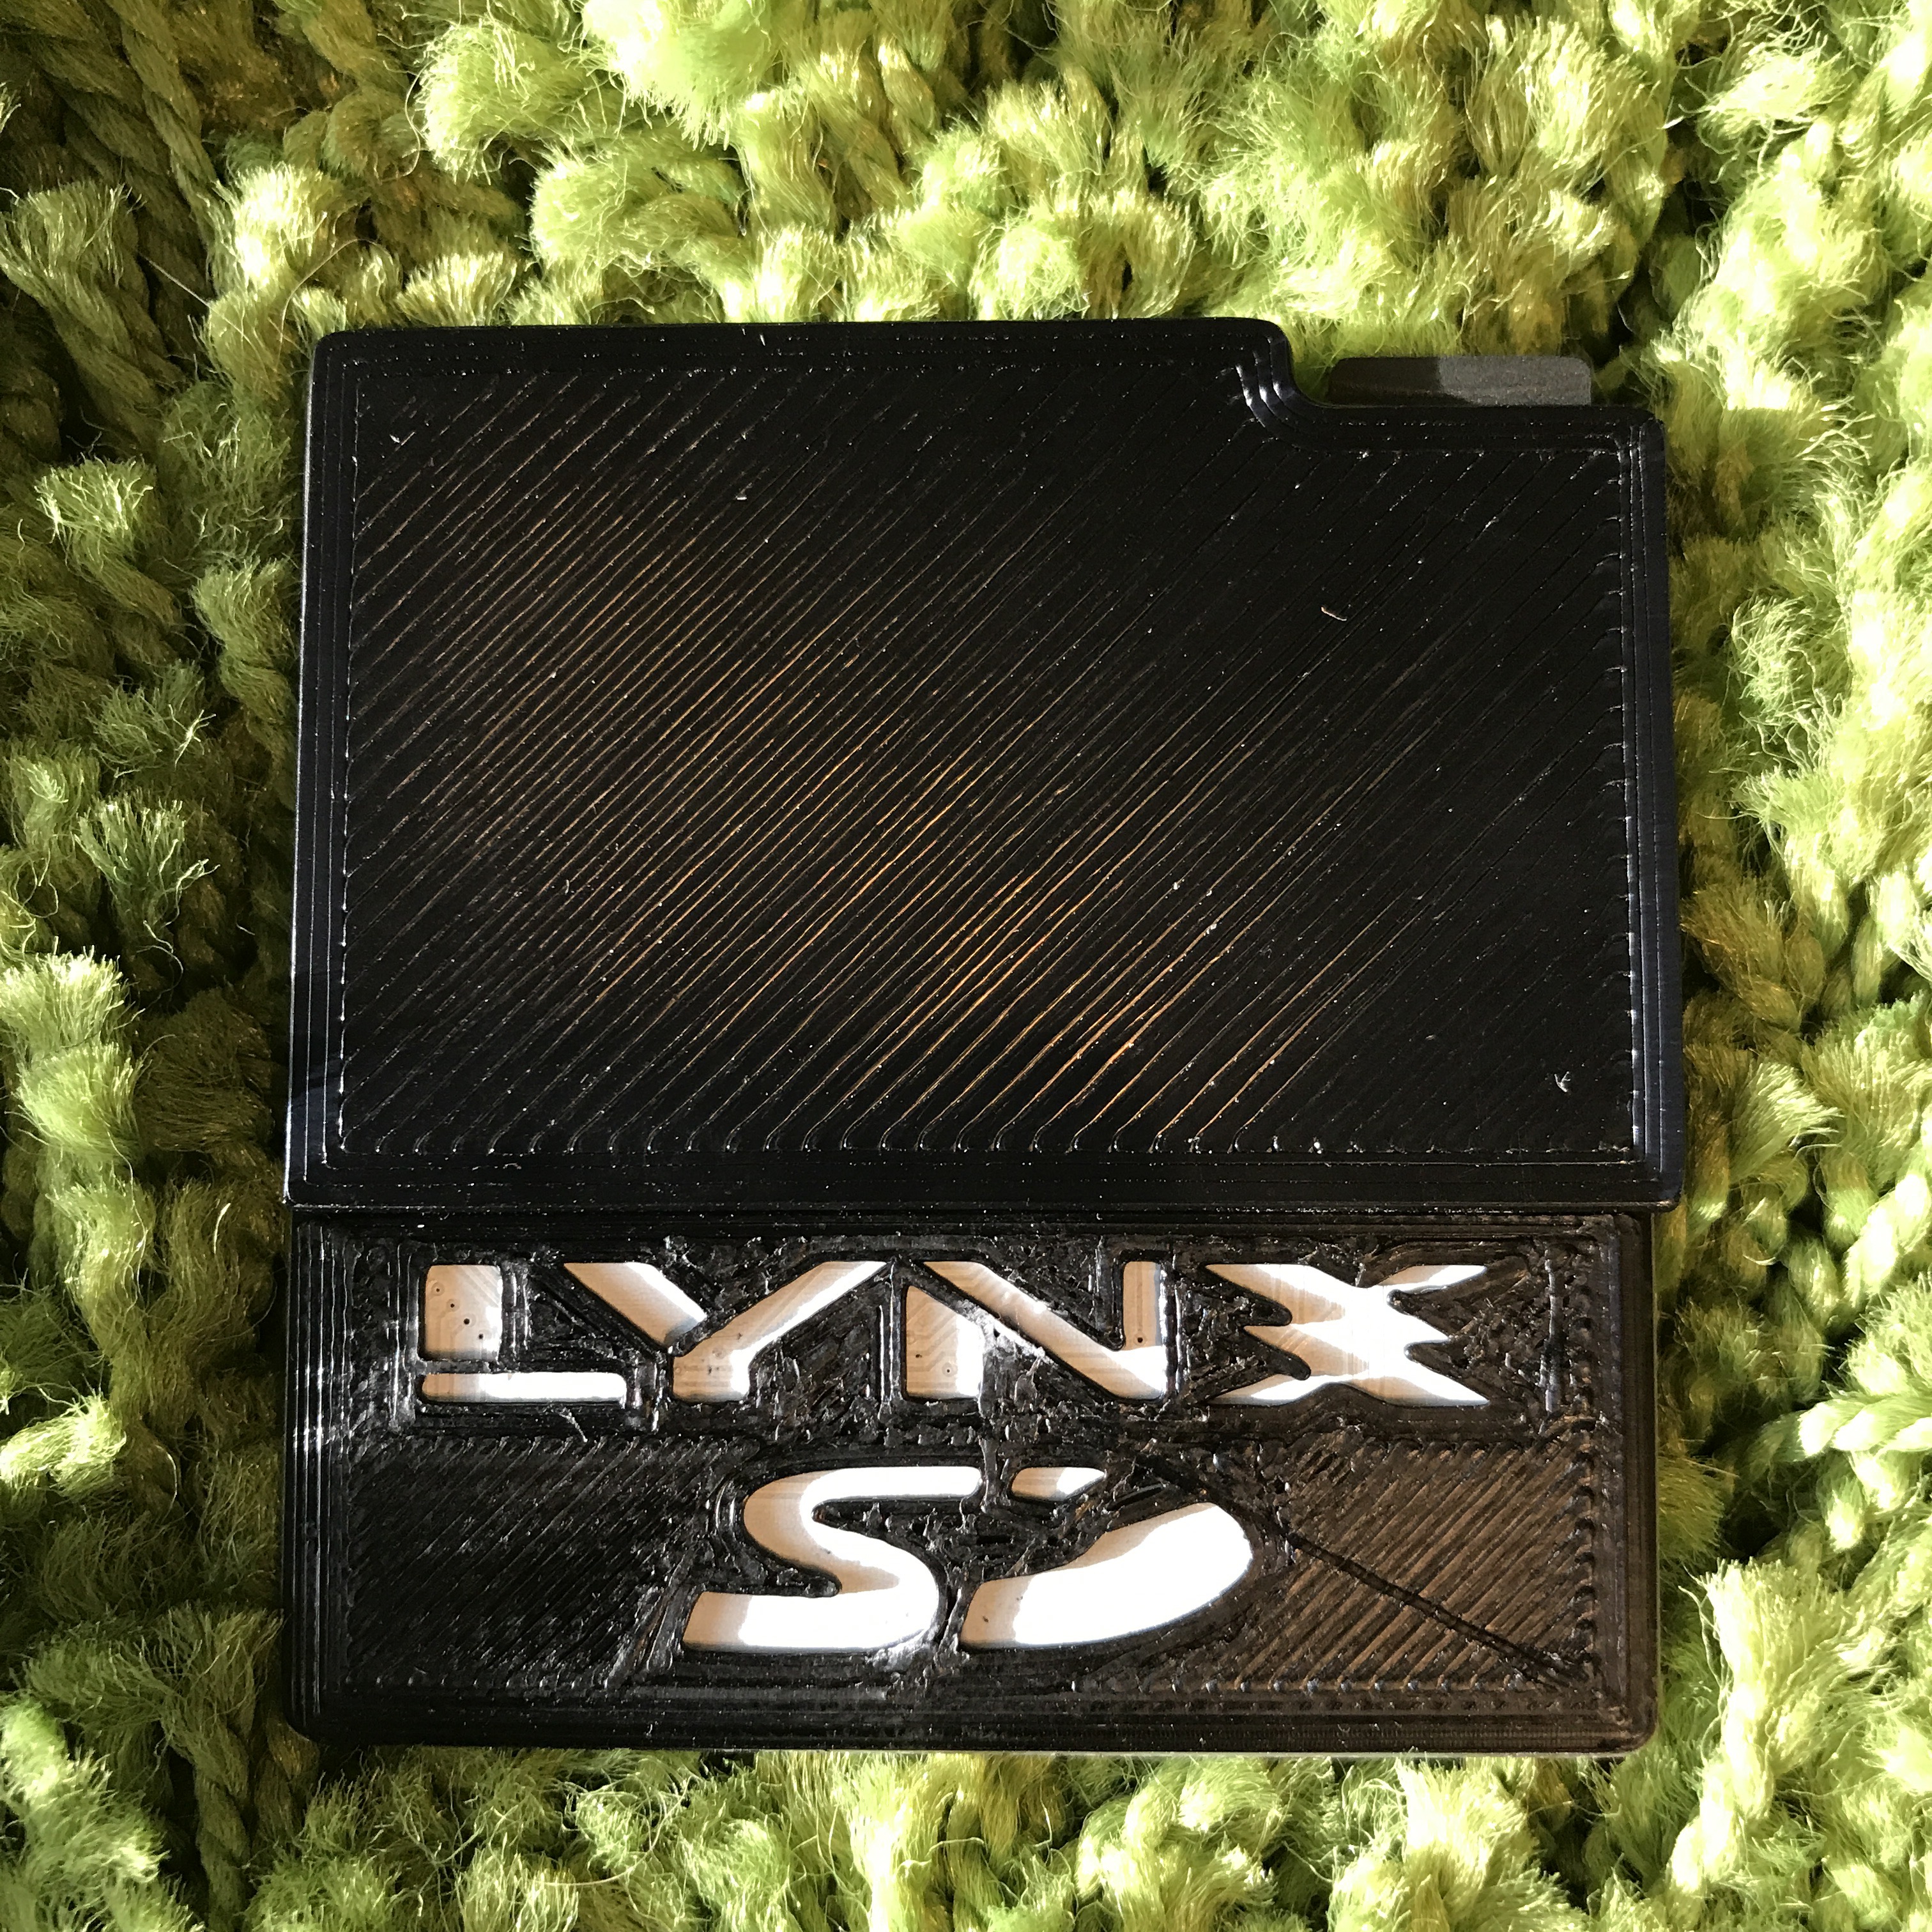
Been waiting for this one for some time. This is a great microSD to Atari Lynx flash cart made by RetroHQ and there is a wait list for the at the moment that he’s catching up on pretty quickly.

This cart will work in the model 1 & 2 lynx handhelds. He makes a case/shell for it but when fitted with the shell it will not fit in the model 1. I opted for the non shell version since I own both models and not sure what one will be used more with this cart.

RetroHQ tossed in a 1gb SD card that he had the latest menu software on it. I tossed a couple roms on it to test with and it worked with no issues at all. I did find out that the sound is out on my model 2 Lynx… so time to fix that.

TG-16 Engine Block AV

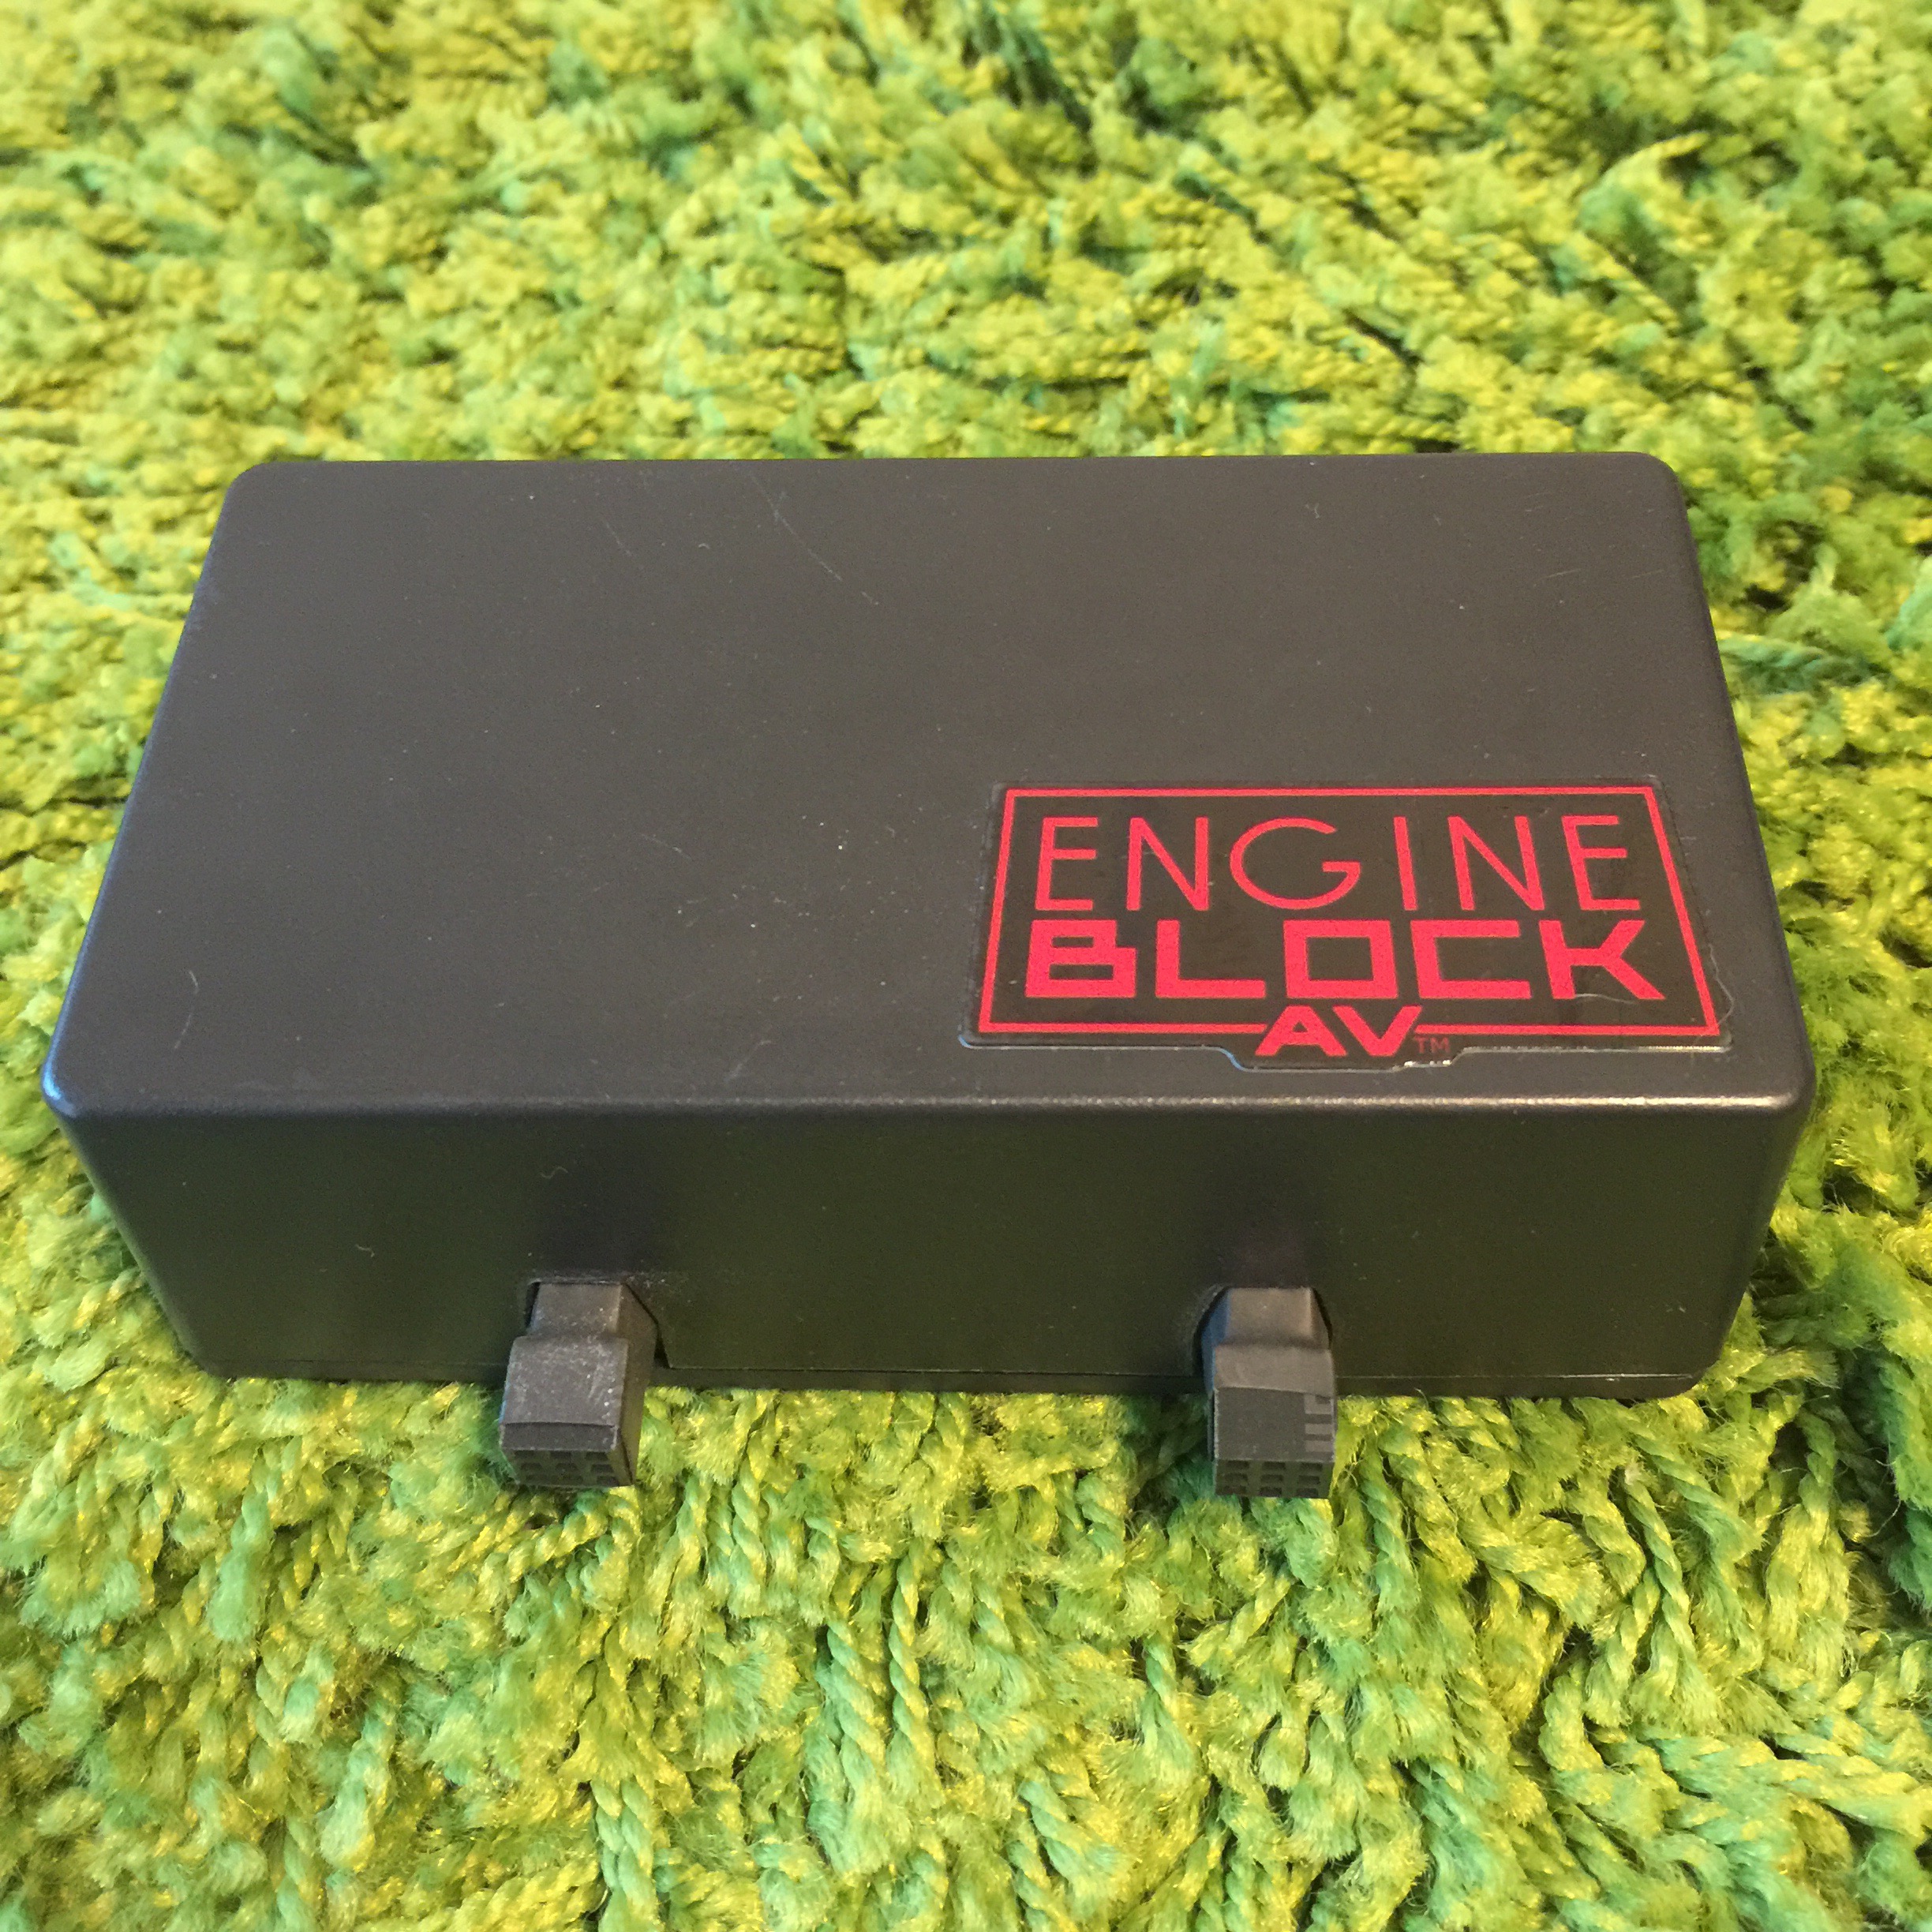
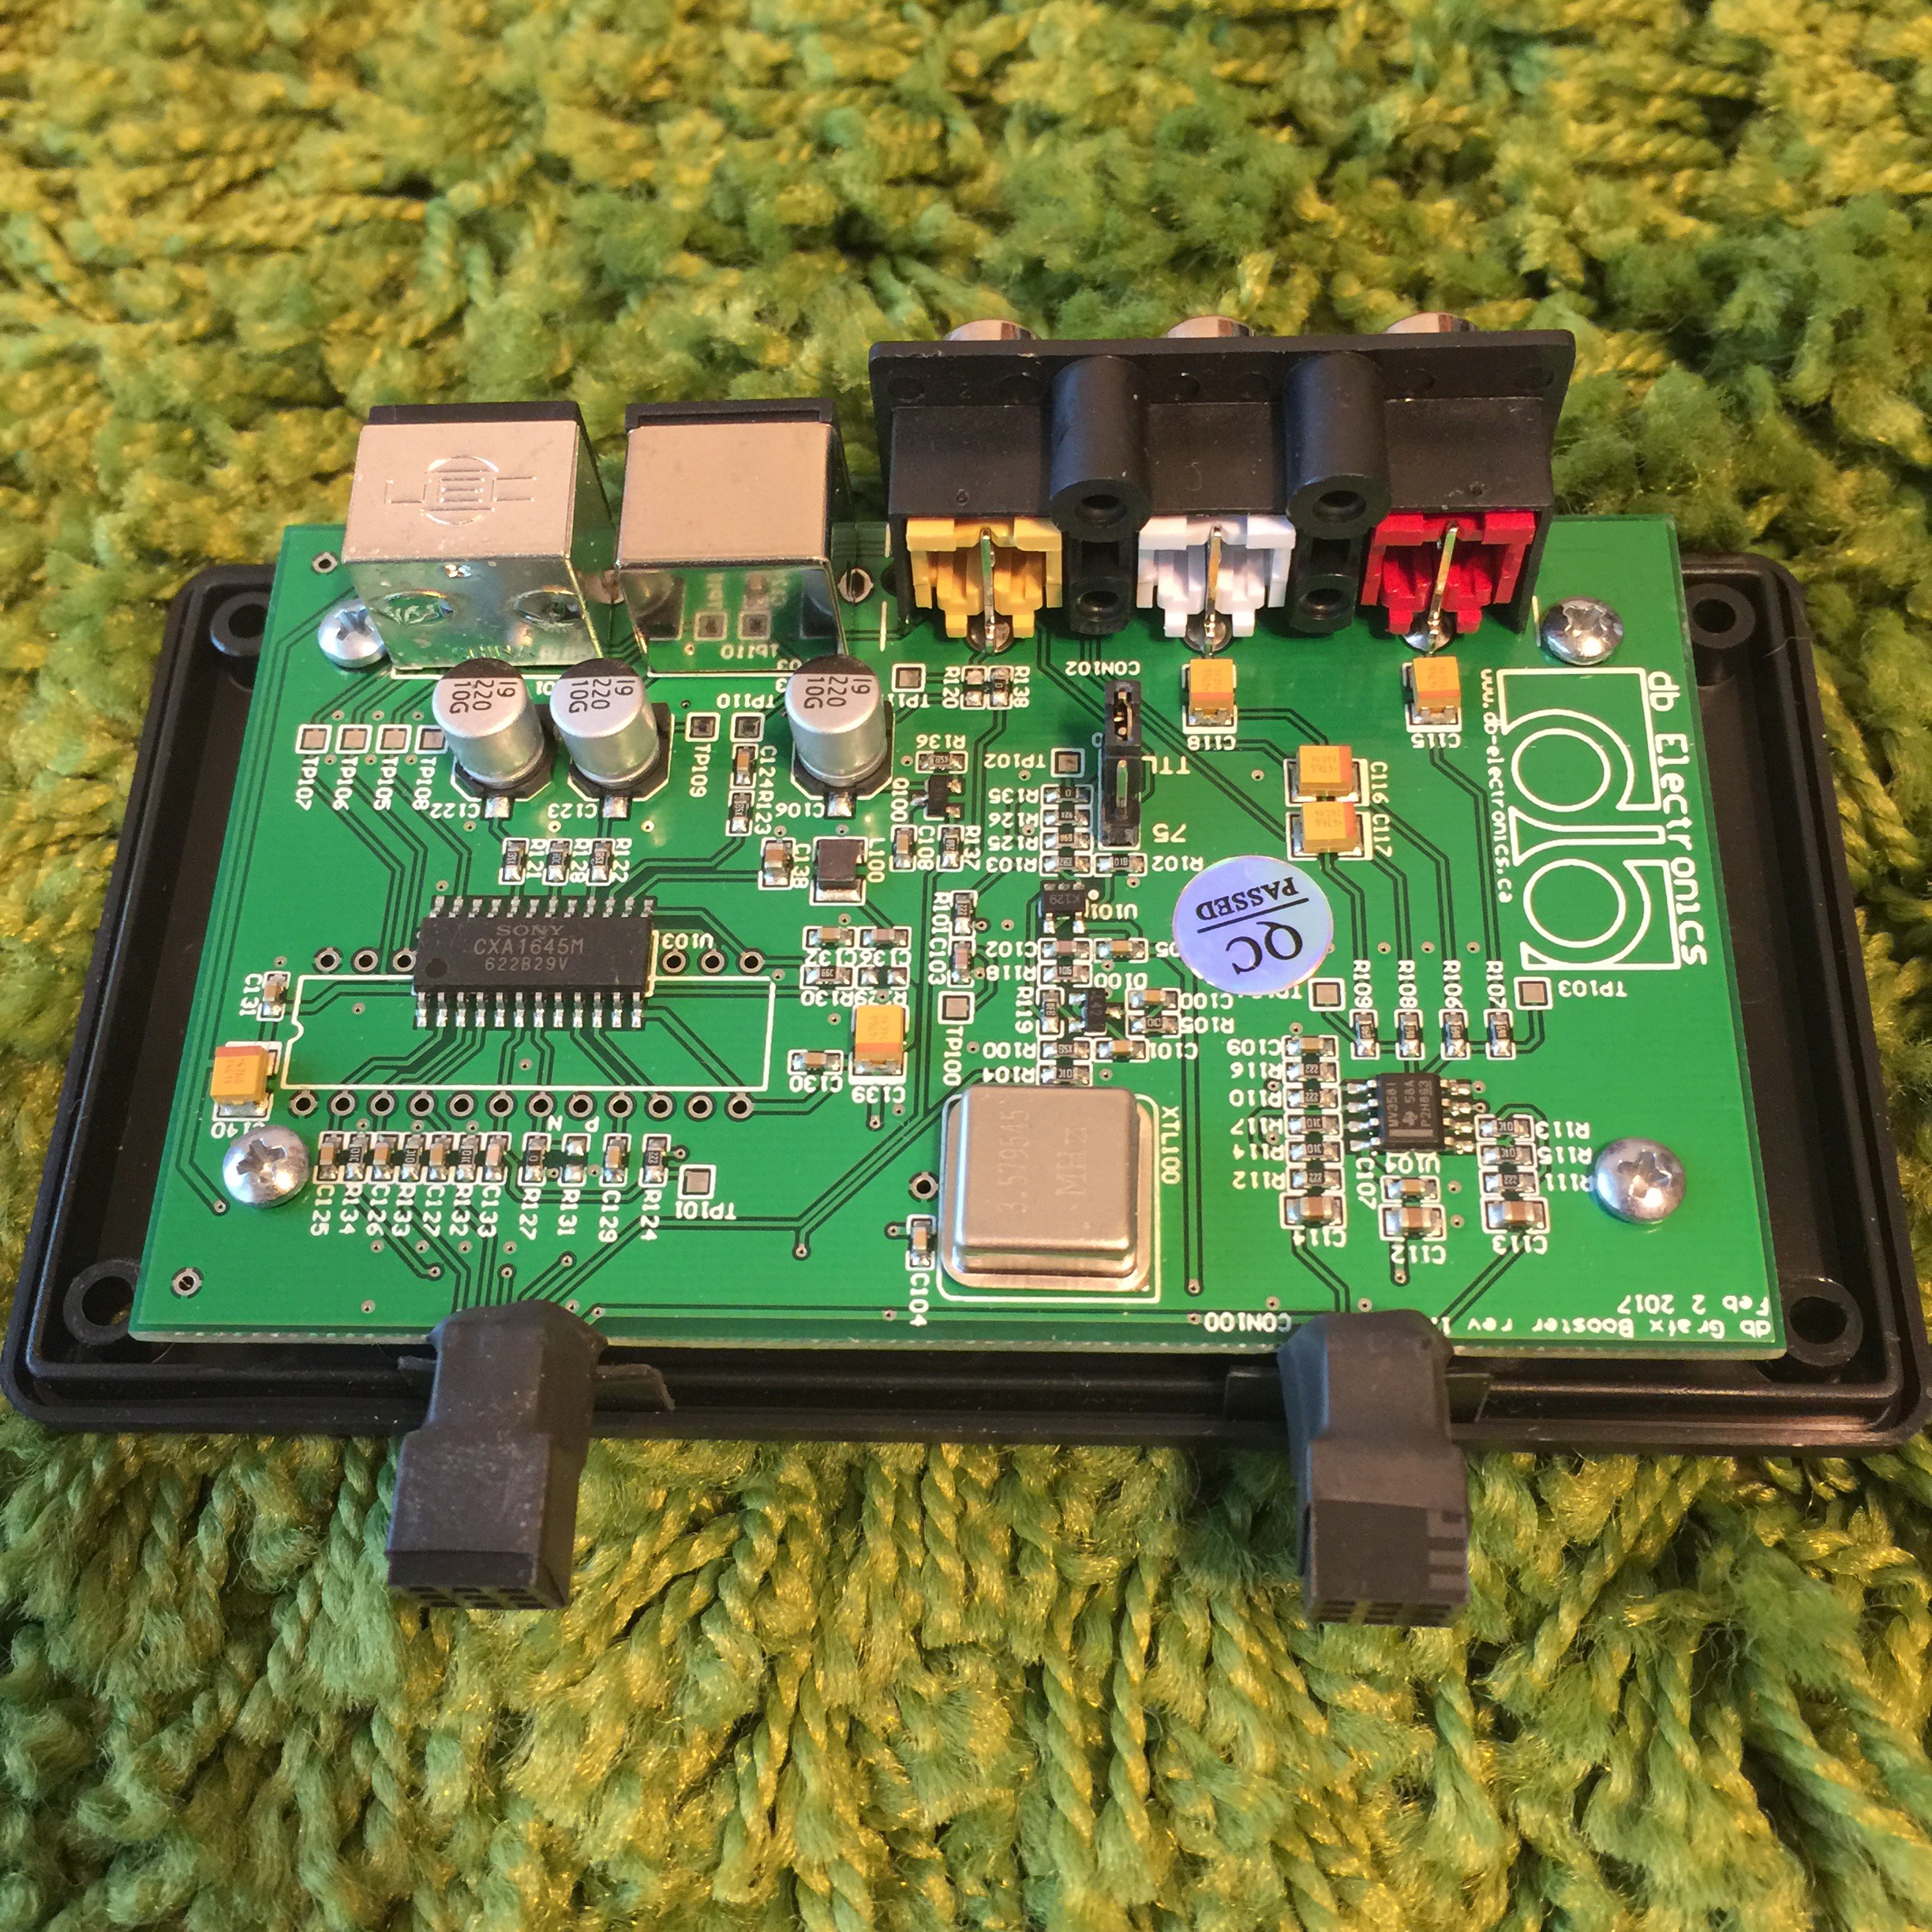
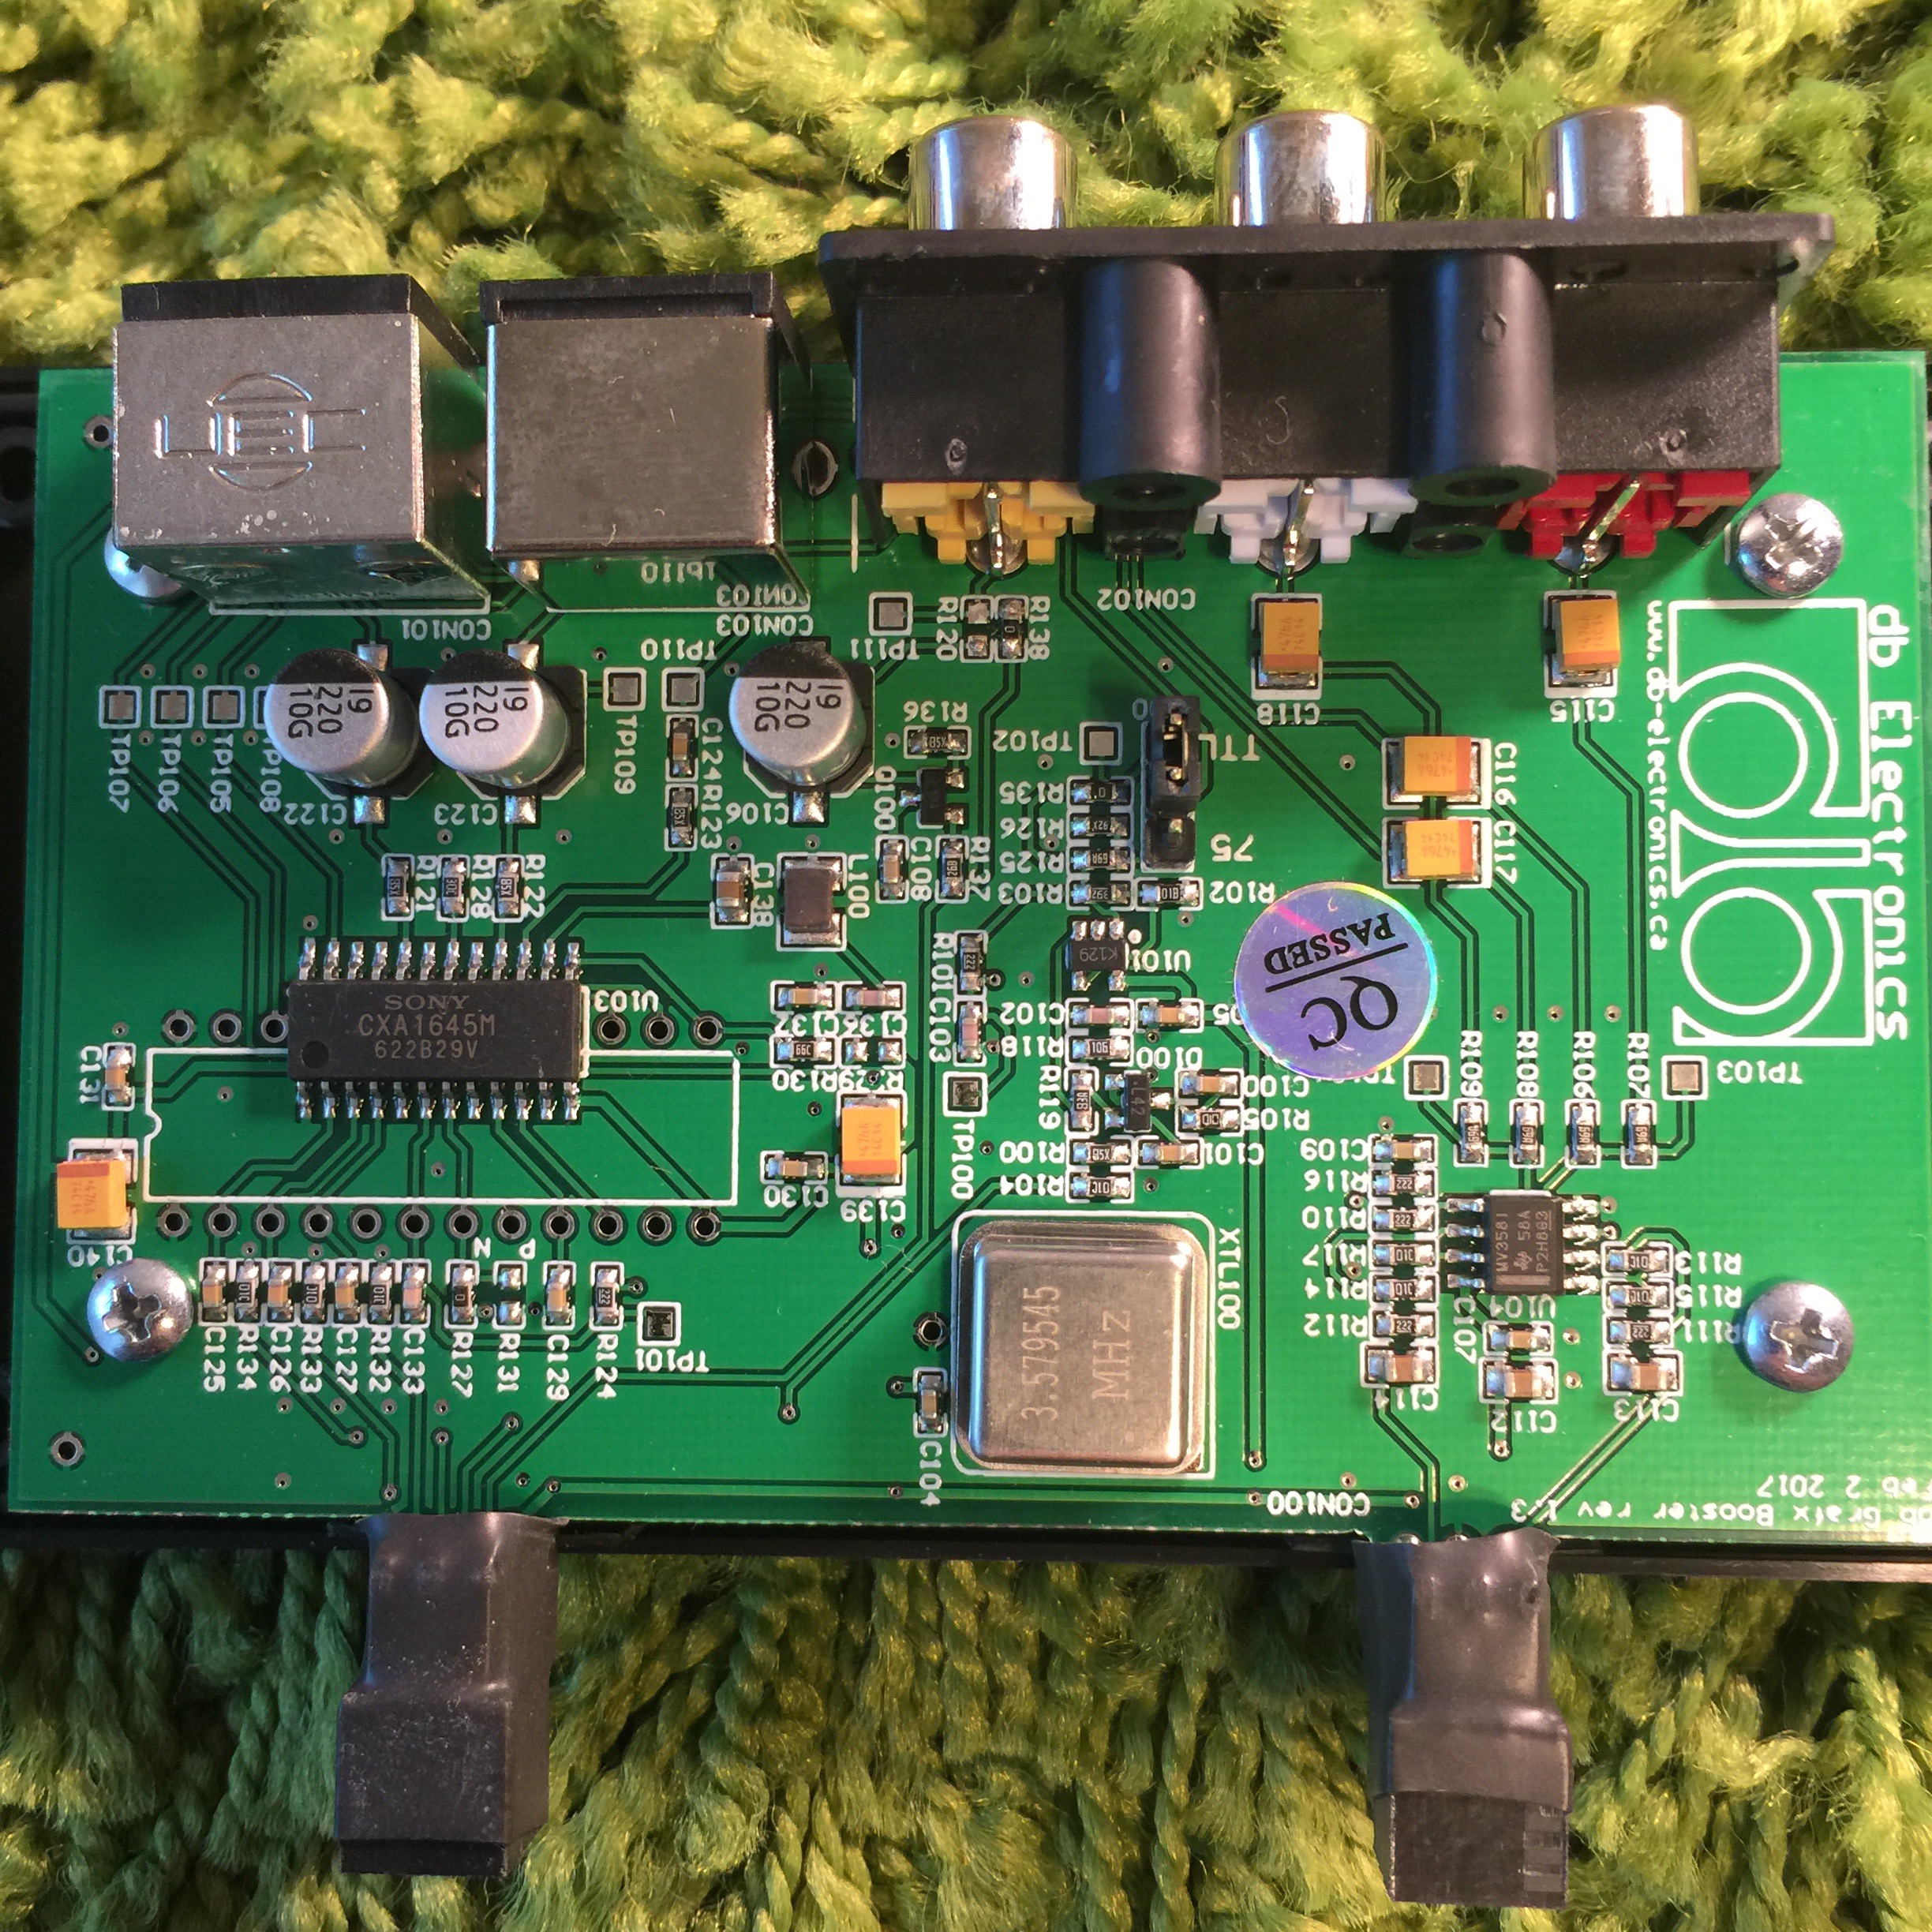
Everyone that owned a TG-16 also had a TurboBooster, right? I doubt that. If you wanted to use anything other than RF out, you needed the TurboBooster. It would get you composite output and stereo audio. They have since been hard to find in good working order or at all. There is a way to make a cable to plug into the expansion port on the back to get composite output but its just feels janky and a non-permanent solution. In comes the AV Block which I picked up from StoneAgeGamer earlier this year. This unit plugs into the TG-16 expansion port and gives you many output options due to its use of the Sony CXA1645 video encoder chip.

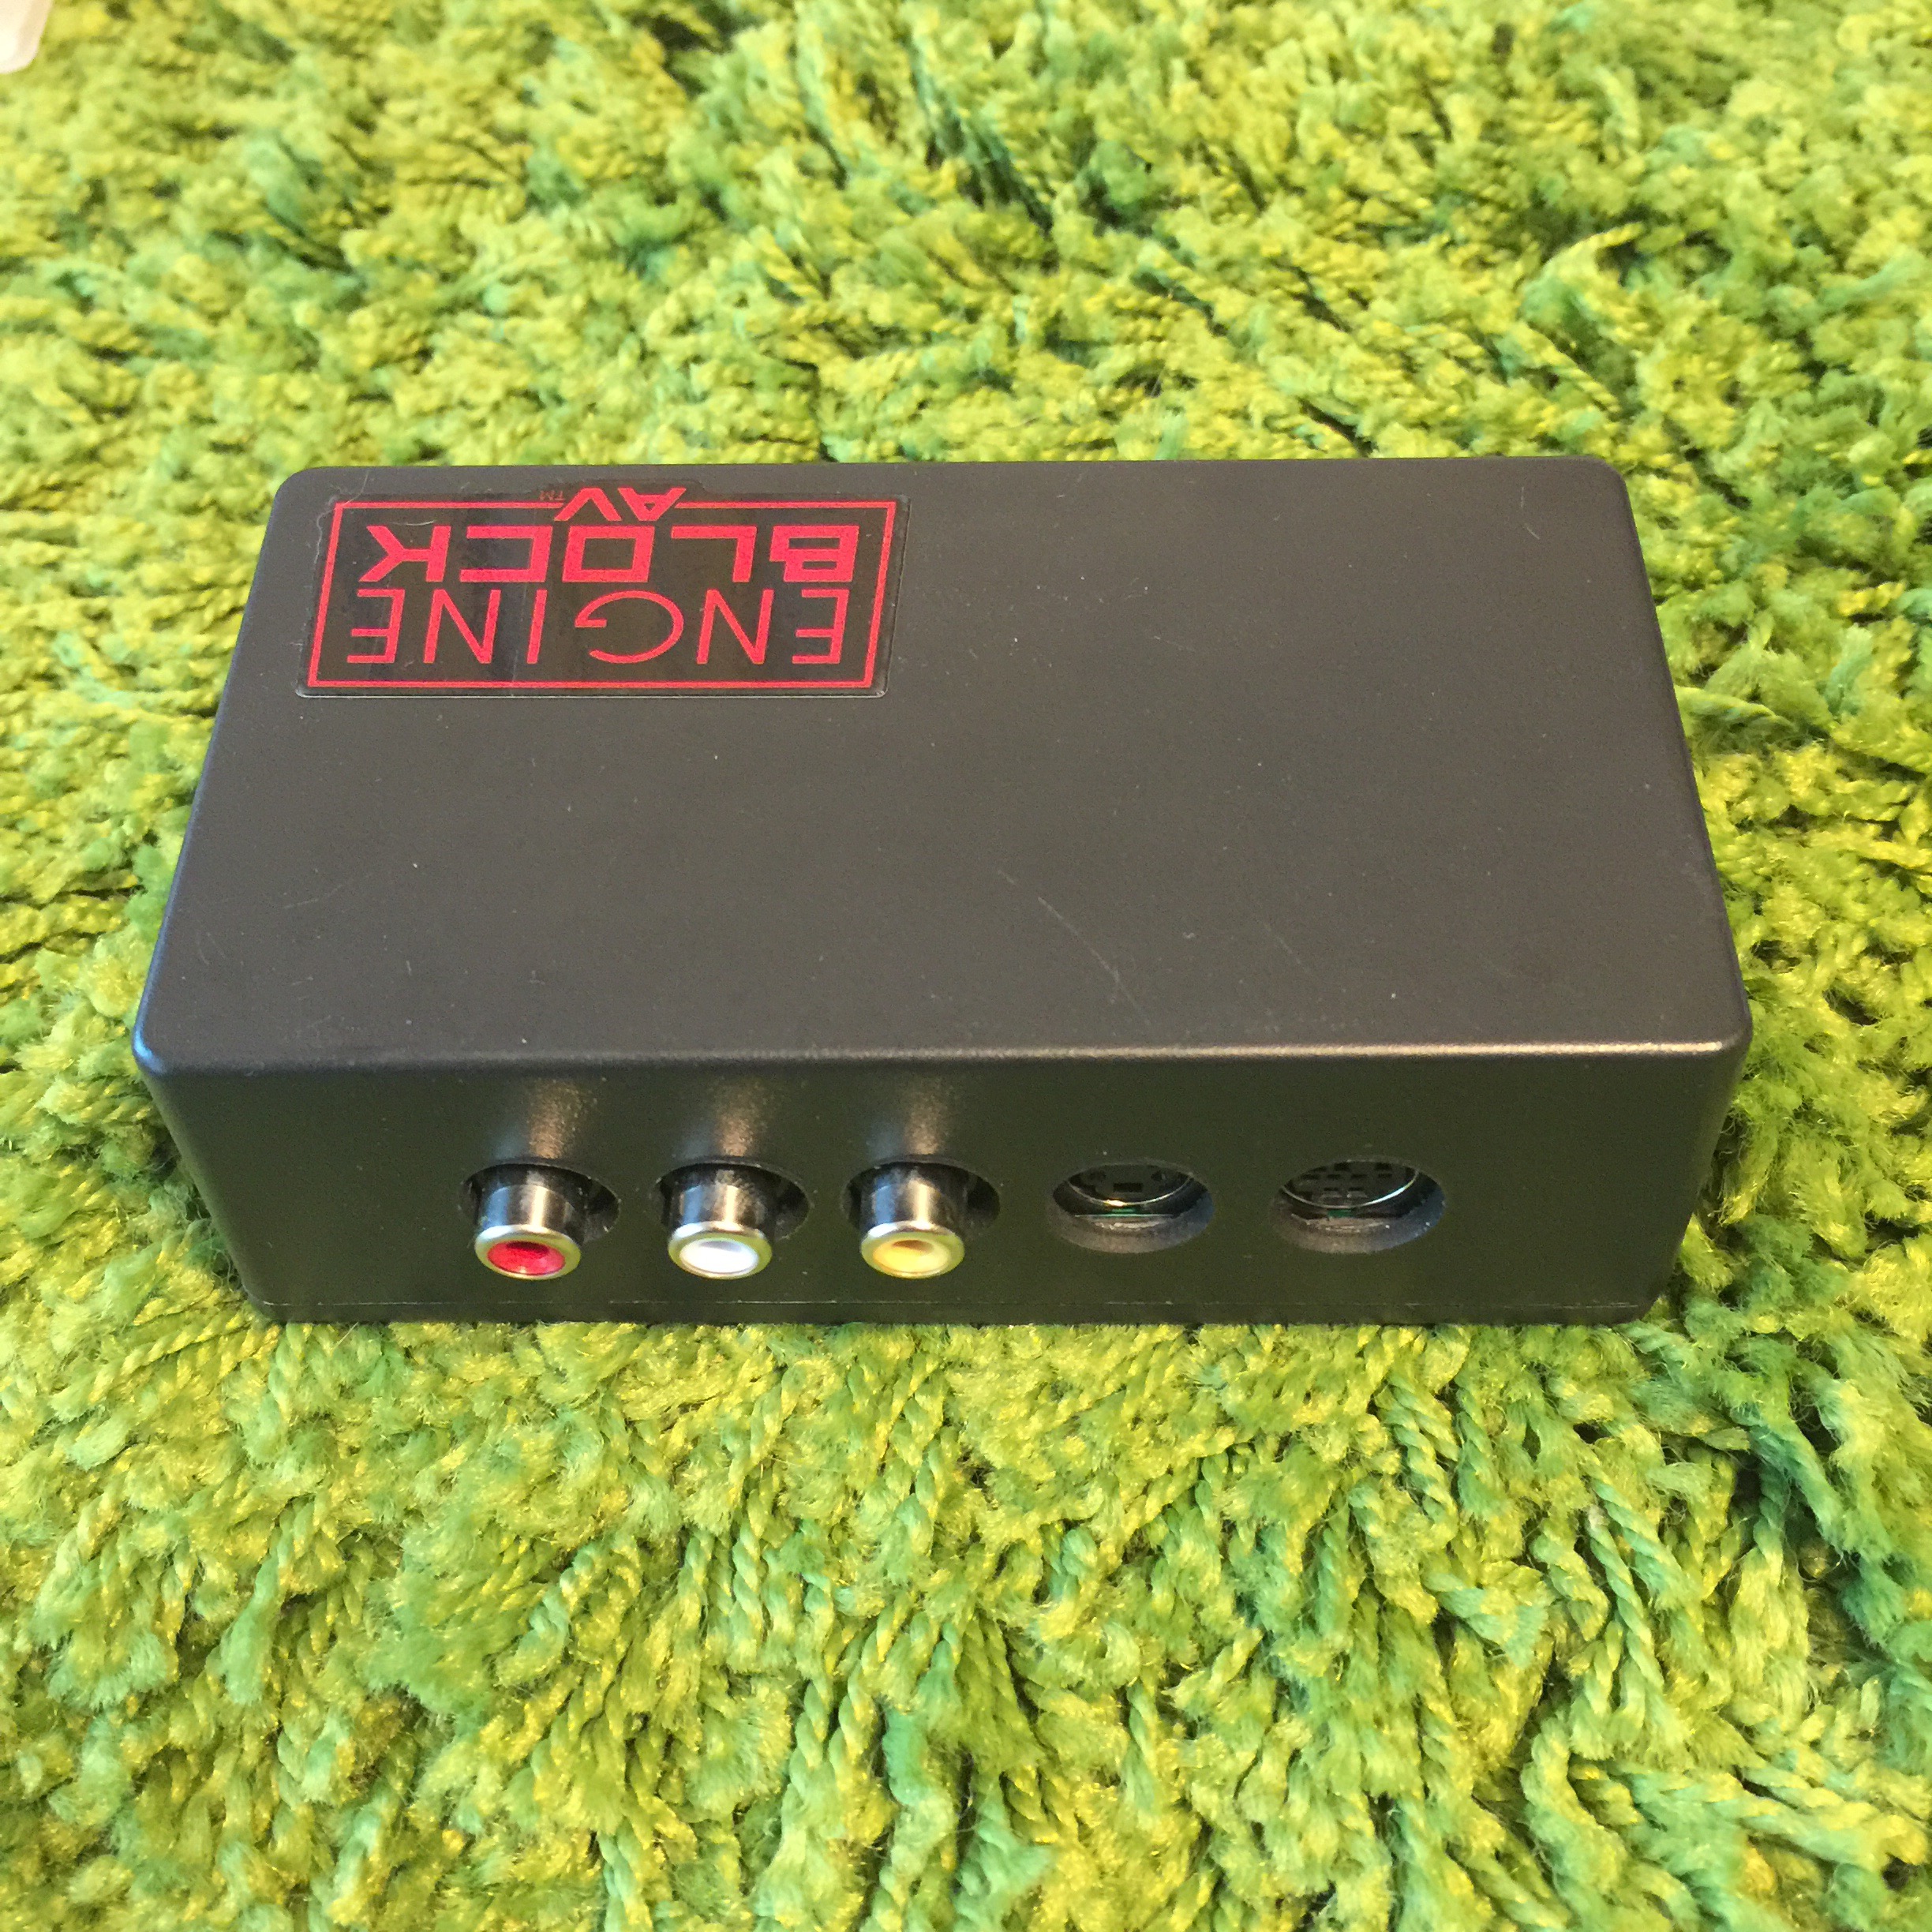
Three output connectors are found on the Engine Block AV each carrying the following signals: (Specs was taken from StoneAgeGamer)

  • Mini DIN9 (a.k.a. Sega Genesis 2 A/V connector)
    • RGB + CSYNC (i.e SCART)
    • Video level CSYNC
    • CVBS (a.k.a. composite video)
      • Compatible with out of the box yellow/white/red Sega Genesis 2 A/V cable
      • Transcoded from RGB by CXA1645
    • Stereo Audio Only
      • While the Sega Genesis 2 A/V pinout permits mono audio, it is not supported by the dbGrafx Booster (why the hell would you want mono audio?)
      • Amplified on dbGrafx Booster
  • S-Video connector (a.k.a. Mini DIN4)
    • Y/C Video
      • Compatible with standard S-Video cable
      • Transcoded by CXA1645
  • RCA Jacks (yellow/white/red)
    • CVBS (a.k.a. composite video)
      • Direct signal from console (i.e. same as original Turbo Booster)
    • Stereo Audio
      • Amplified on dbGrafx Booster


XBox One Internal HDD Upgrade

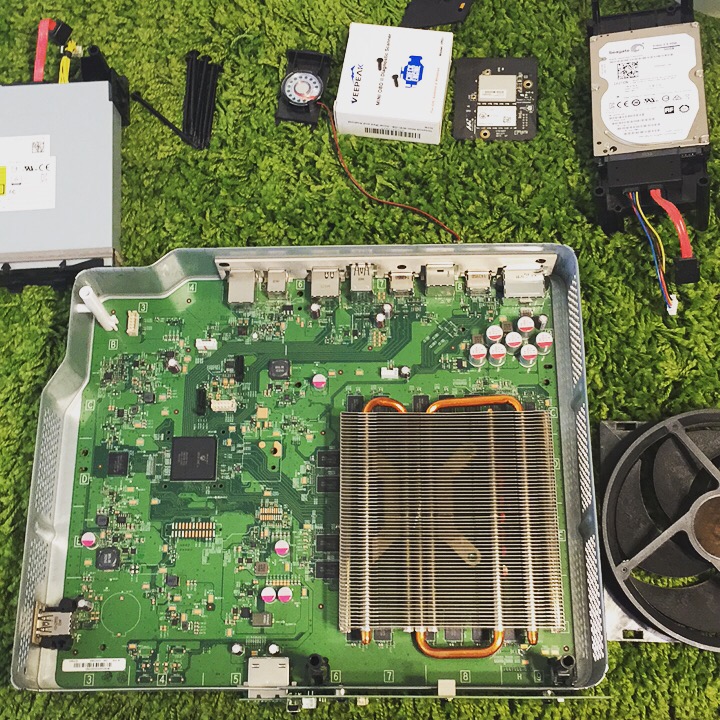
A few days ago I picked up a used Xbox One. This is the first Xbox One I have own since I have been a Sony PS4 guy since launch. I got excited and picked up some of the Xbox exclusives that I missed over the past few years. I quickly learned that the internal 500GB was not going to be enough to install the 10-15 games I picked up. I know I can throw an external HDD on it without issues but I am not a fan of putting an external HDD on a system that has an internal HDD that can be upgraded. After some Googling around I found it its possible without too much trouble. Here is what I did…

Removed the original HDD (Make sure to label it with a sticky note or something so it does not get mixed up with all your other loose dives laying around.. what? You don’t have that problem?)

Used a SATA to USB connector, I hooked up the original Xbox One HDD to my PC/laptop and copied the X:\ contents to a safe spot to use later. (Should be 2 folders named A & B and 1 file in the root) I placed mine at C:\XBOX\OLDHDD\X\

I bought a Seagate Slim external 2TB and removed it from the enclosure and hooked it up to my PC/laptop.

Download the XBOX One Drive Replacement Preparation Script (Created by xFix) and Extract to C:\XBOX

Open a command prompt “as administrator” and type C:\XBOX\xboxonehdd-master\win\create_xbox_drive.bat

Follow the onscreen prompts

When the script is done close the command window and copy the contents from C:\XBOX\OLDHDD\X\ to the newly created X:\

Slap the HDD back in the Xbox One and boot it up.

SD2Vita

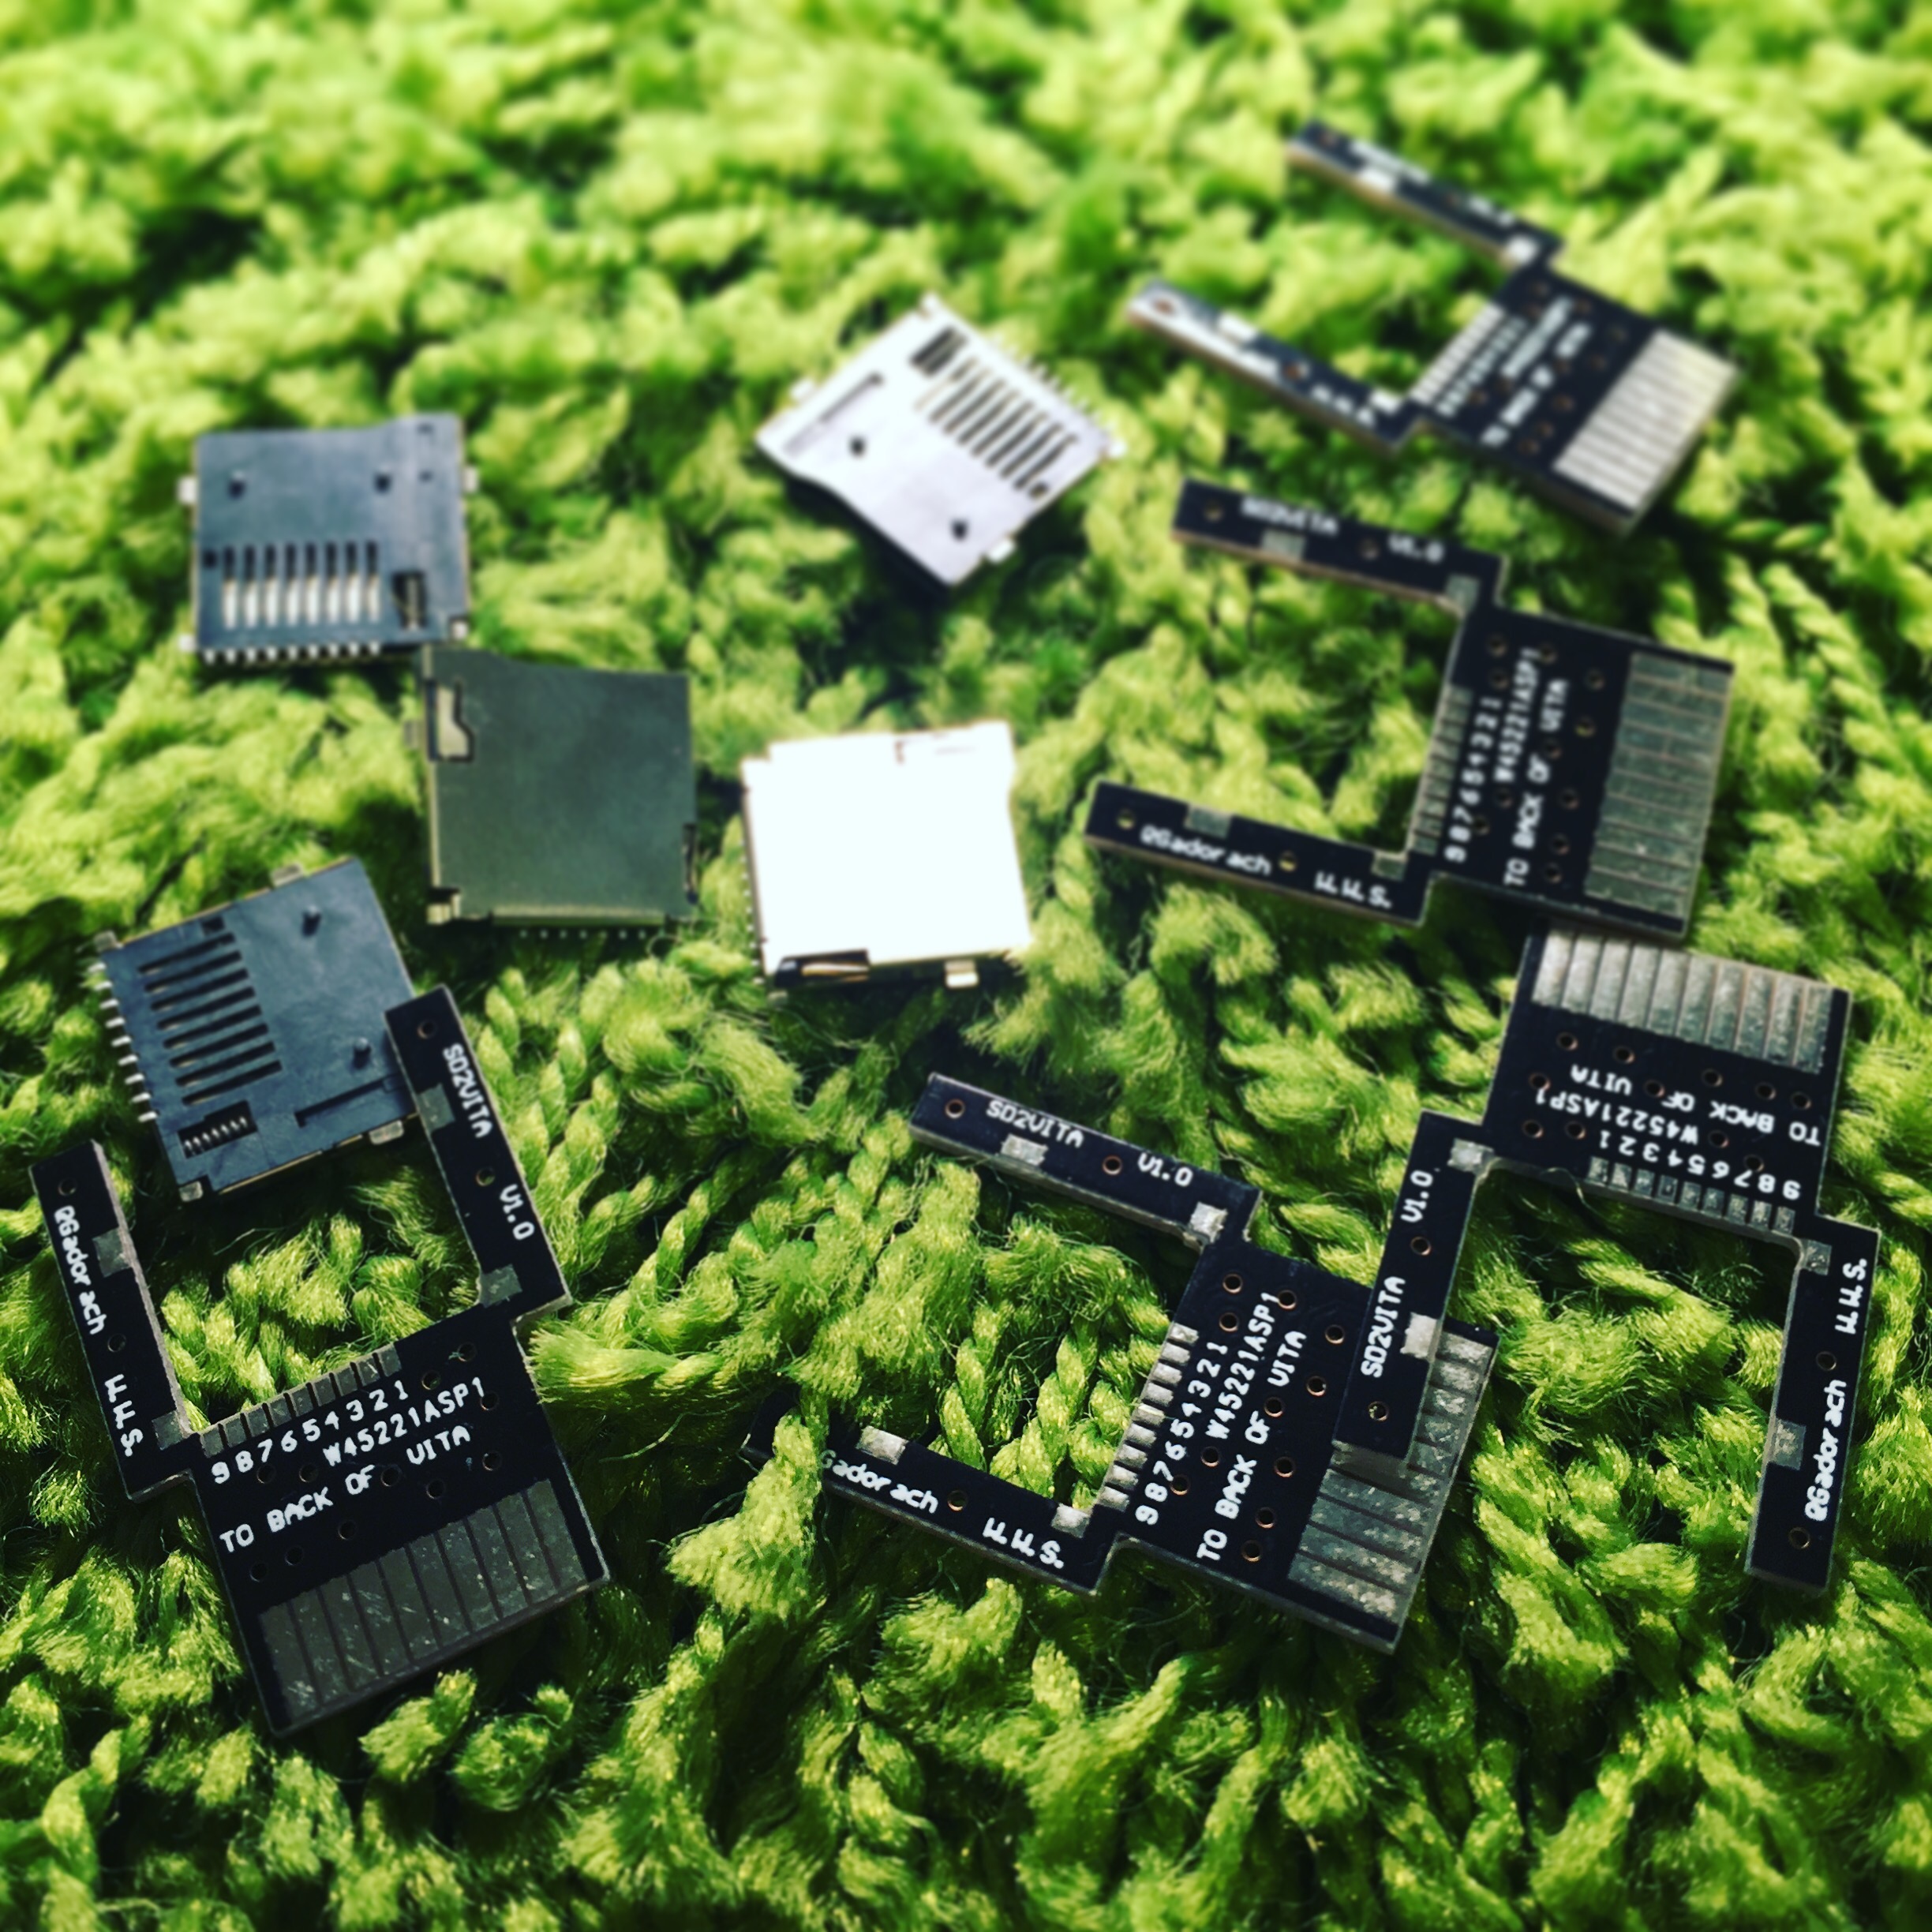
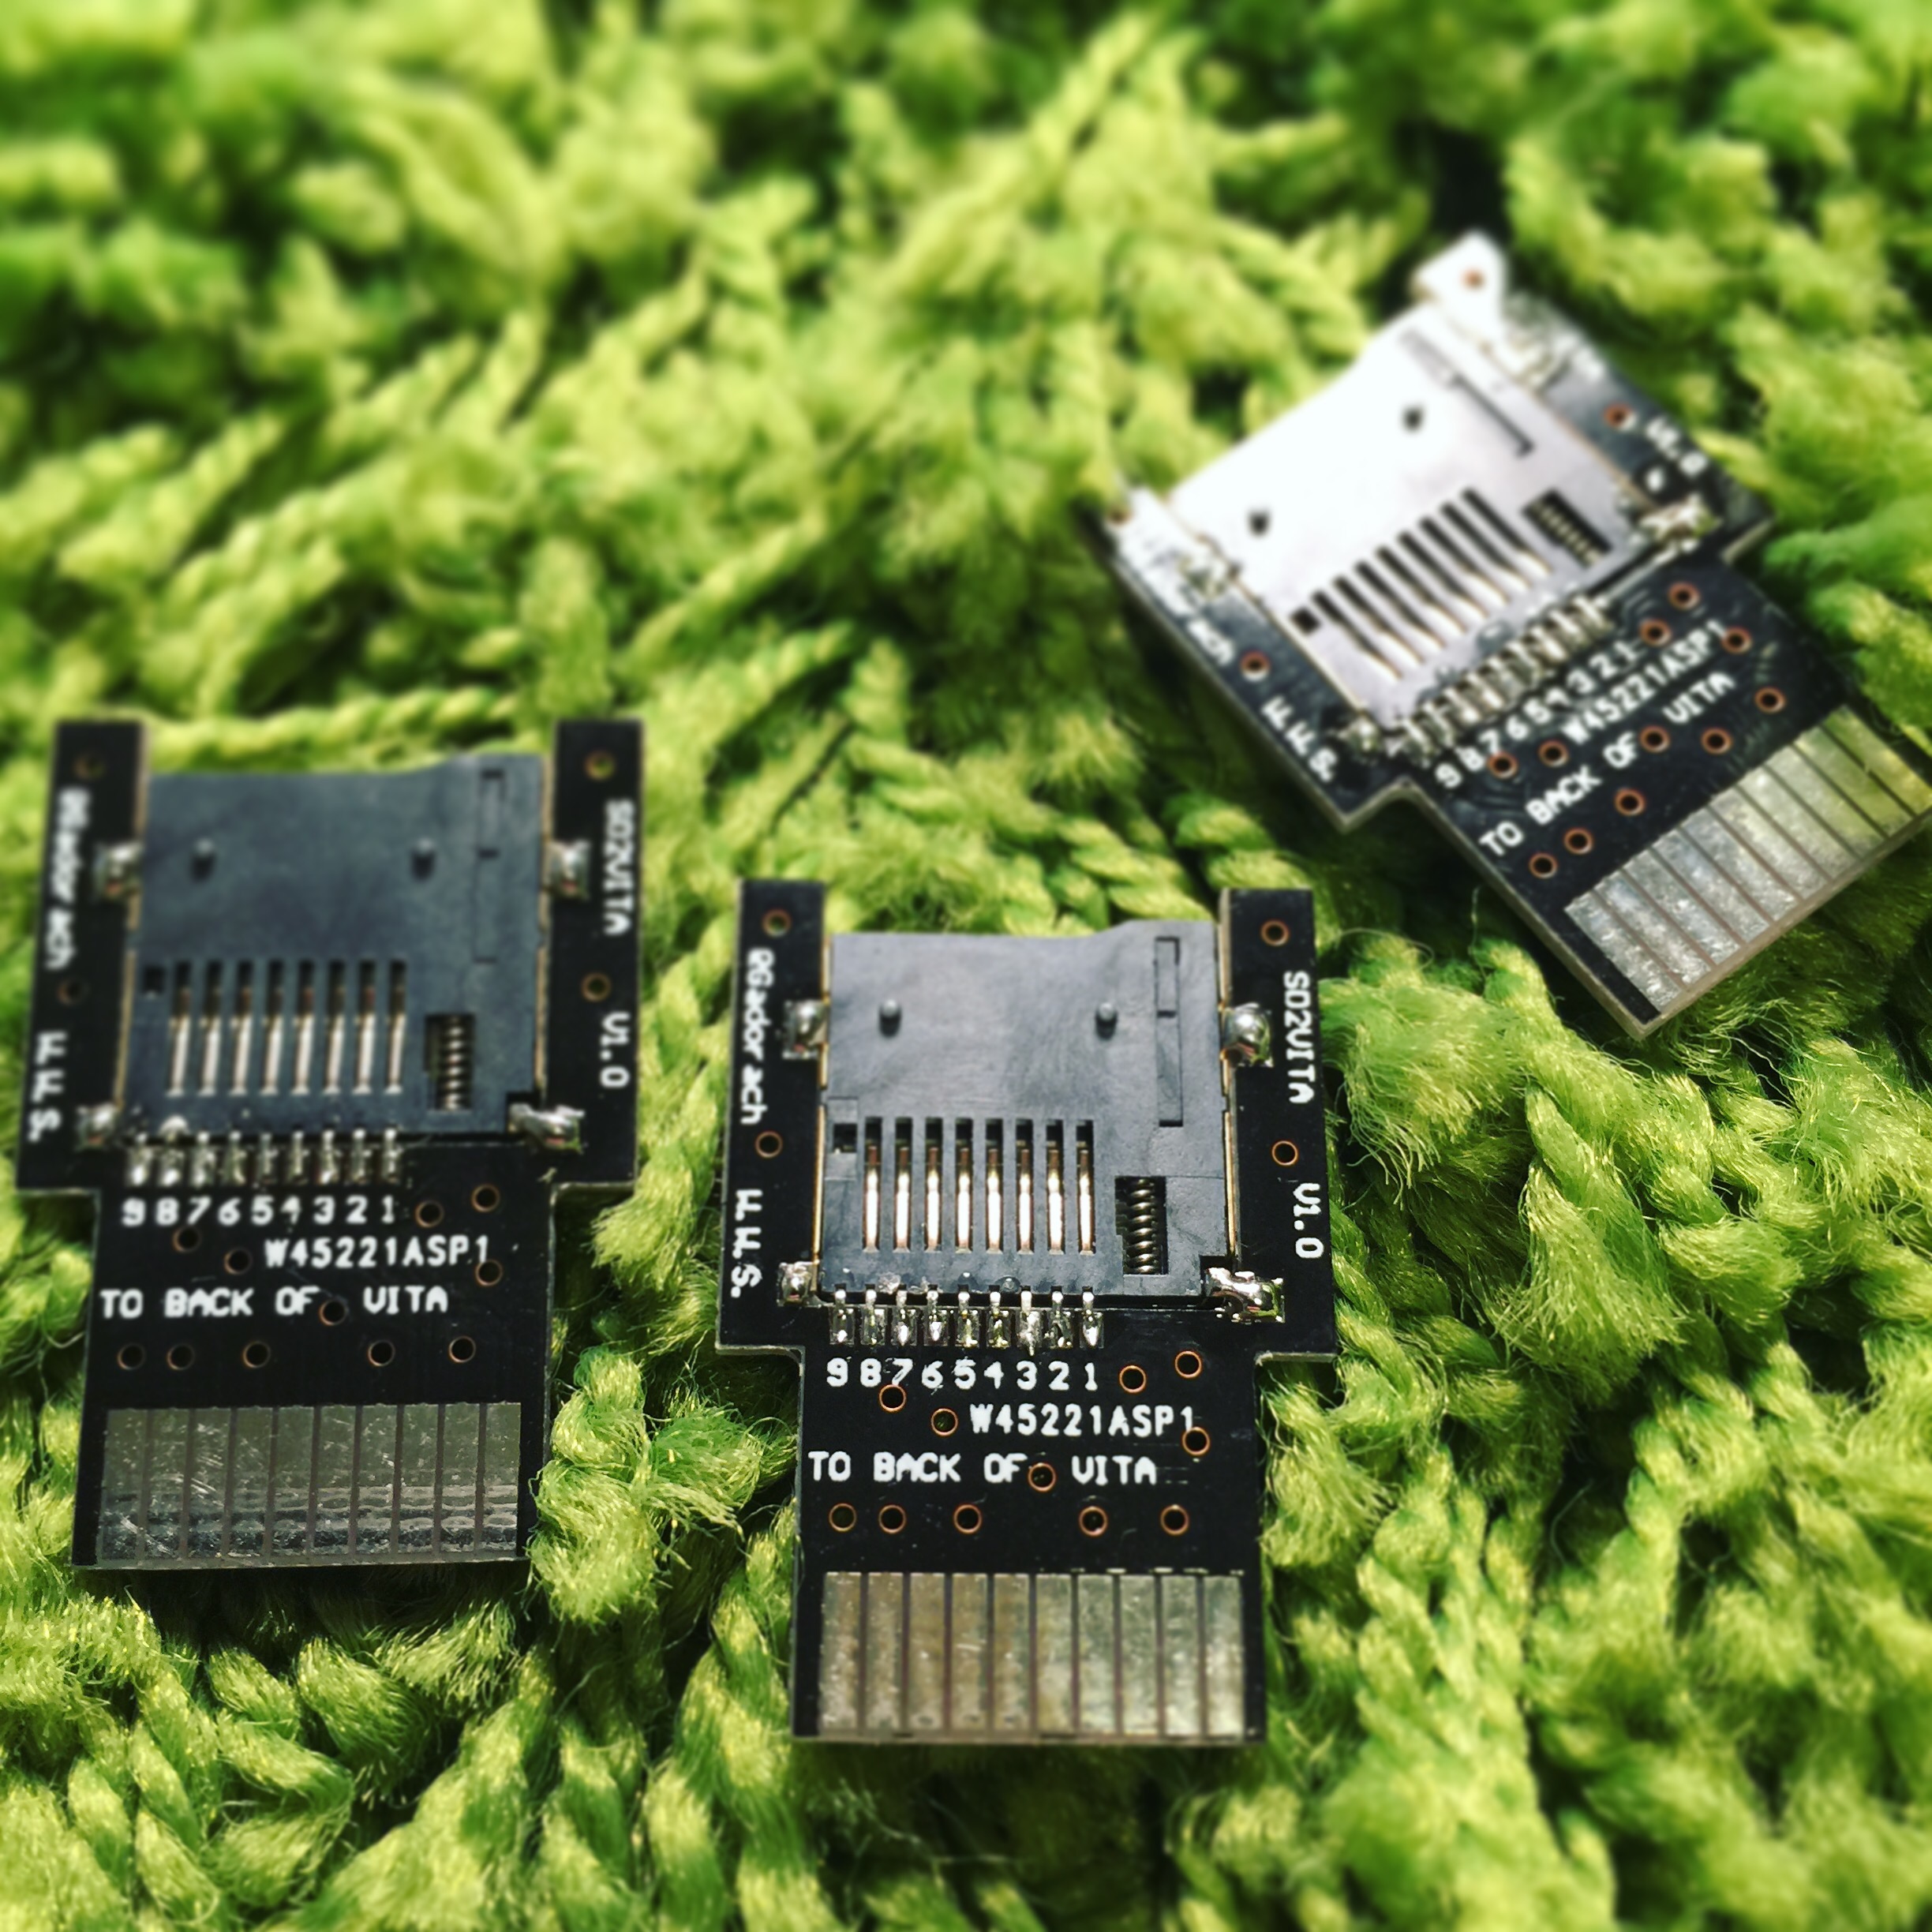
With the Sony Vita getting a full blown CFW (HENkaku Enso) I now have a need for more storage space more than ever. The Vita has an overpriced proprietary memory card that only goes up to 64GB. With the vita game sizes, we need the ability to have larger capacity cards. In comes the SD2Vita PCB. This PCB gives you the ability to use a microSD card and insert it into the Vita game card slot. You then need to load a driver with HENkaku Enso to mount this as usable storage. A very easy mod and well worth the effort.

I ordered the PCBs from PCBWAY and it cost about $15 shipped for 5 PCBs. I then ordered the micrSD slots from Amazon for about $2.

Stop Wii U from Updating automatically

If you have a CFW on your Wii U it is recommended that you block updates to it by changing the following: (Taken from Wiiu.guide)

The listed DNS servers will block various Nintendo URLs that the Wii U communicates with. In other words, these servers are built to prevent updates to your Wii U. You need to set two of them, because if one goes down – the other will kick in and work.

Step 1) Enter Sytem Settings from the system menu.

Step 2) Select ‘Internet’ for internet settings.

Step 3) Select ‘Connect to the Internet’

Step 4) Connect to the internet. If you have already configured an internet connection, Press ‘X‘ to display connections.

Step 5) Select your default connection

Step 6) Select ‘Change Settings’

Step 7) Find the DNS section and select it.

Step 8) Select ‘Don’t Auto-obtain’.

Step 9) Set both of the following to the ‘Primary DNS’ and ‘Secondary DNS’.

  • 168.235.092.108
  • 081.004.127.020

Step 10) Hit ‘Confirm’

Step 11) Press ‘B‘ to save

Update your CEX/DEX PS3 CFW

These are notes for me since I only do this 1 or 2 times a year and I always forget the process.

Download PUP
USB key root
Make folder PS3
Make folder PS3\UPDATE
Change the name of the downloaded PUP to PS3UPDAT.PUP and place it on the USB in the UPDATE folder.
Plug in USB key to your PS3
Go to Settings / System Update / Update VIA Storage Media
The Following update was found:
Version XXXX (Make sure this is the version you want to install)
Press OK
Accept User Agreement
Press Start

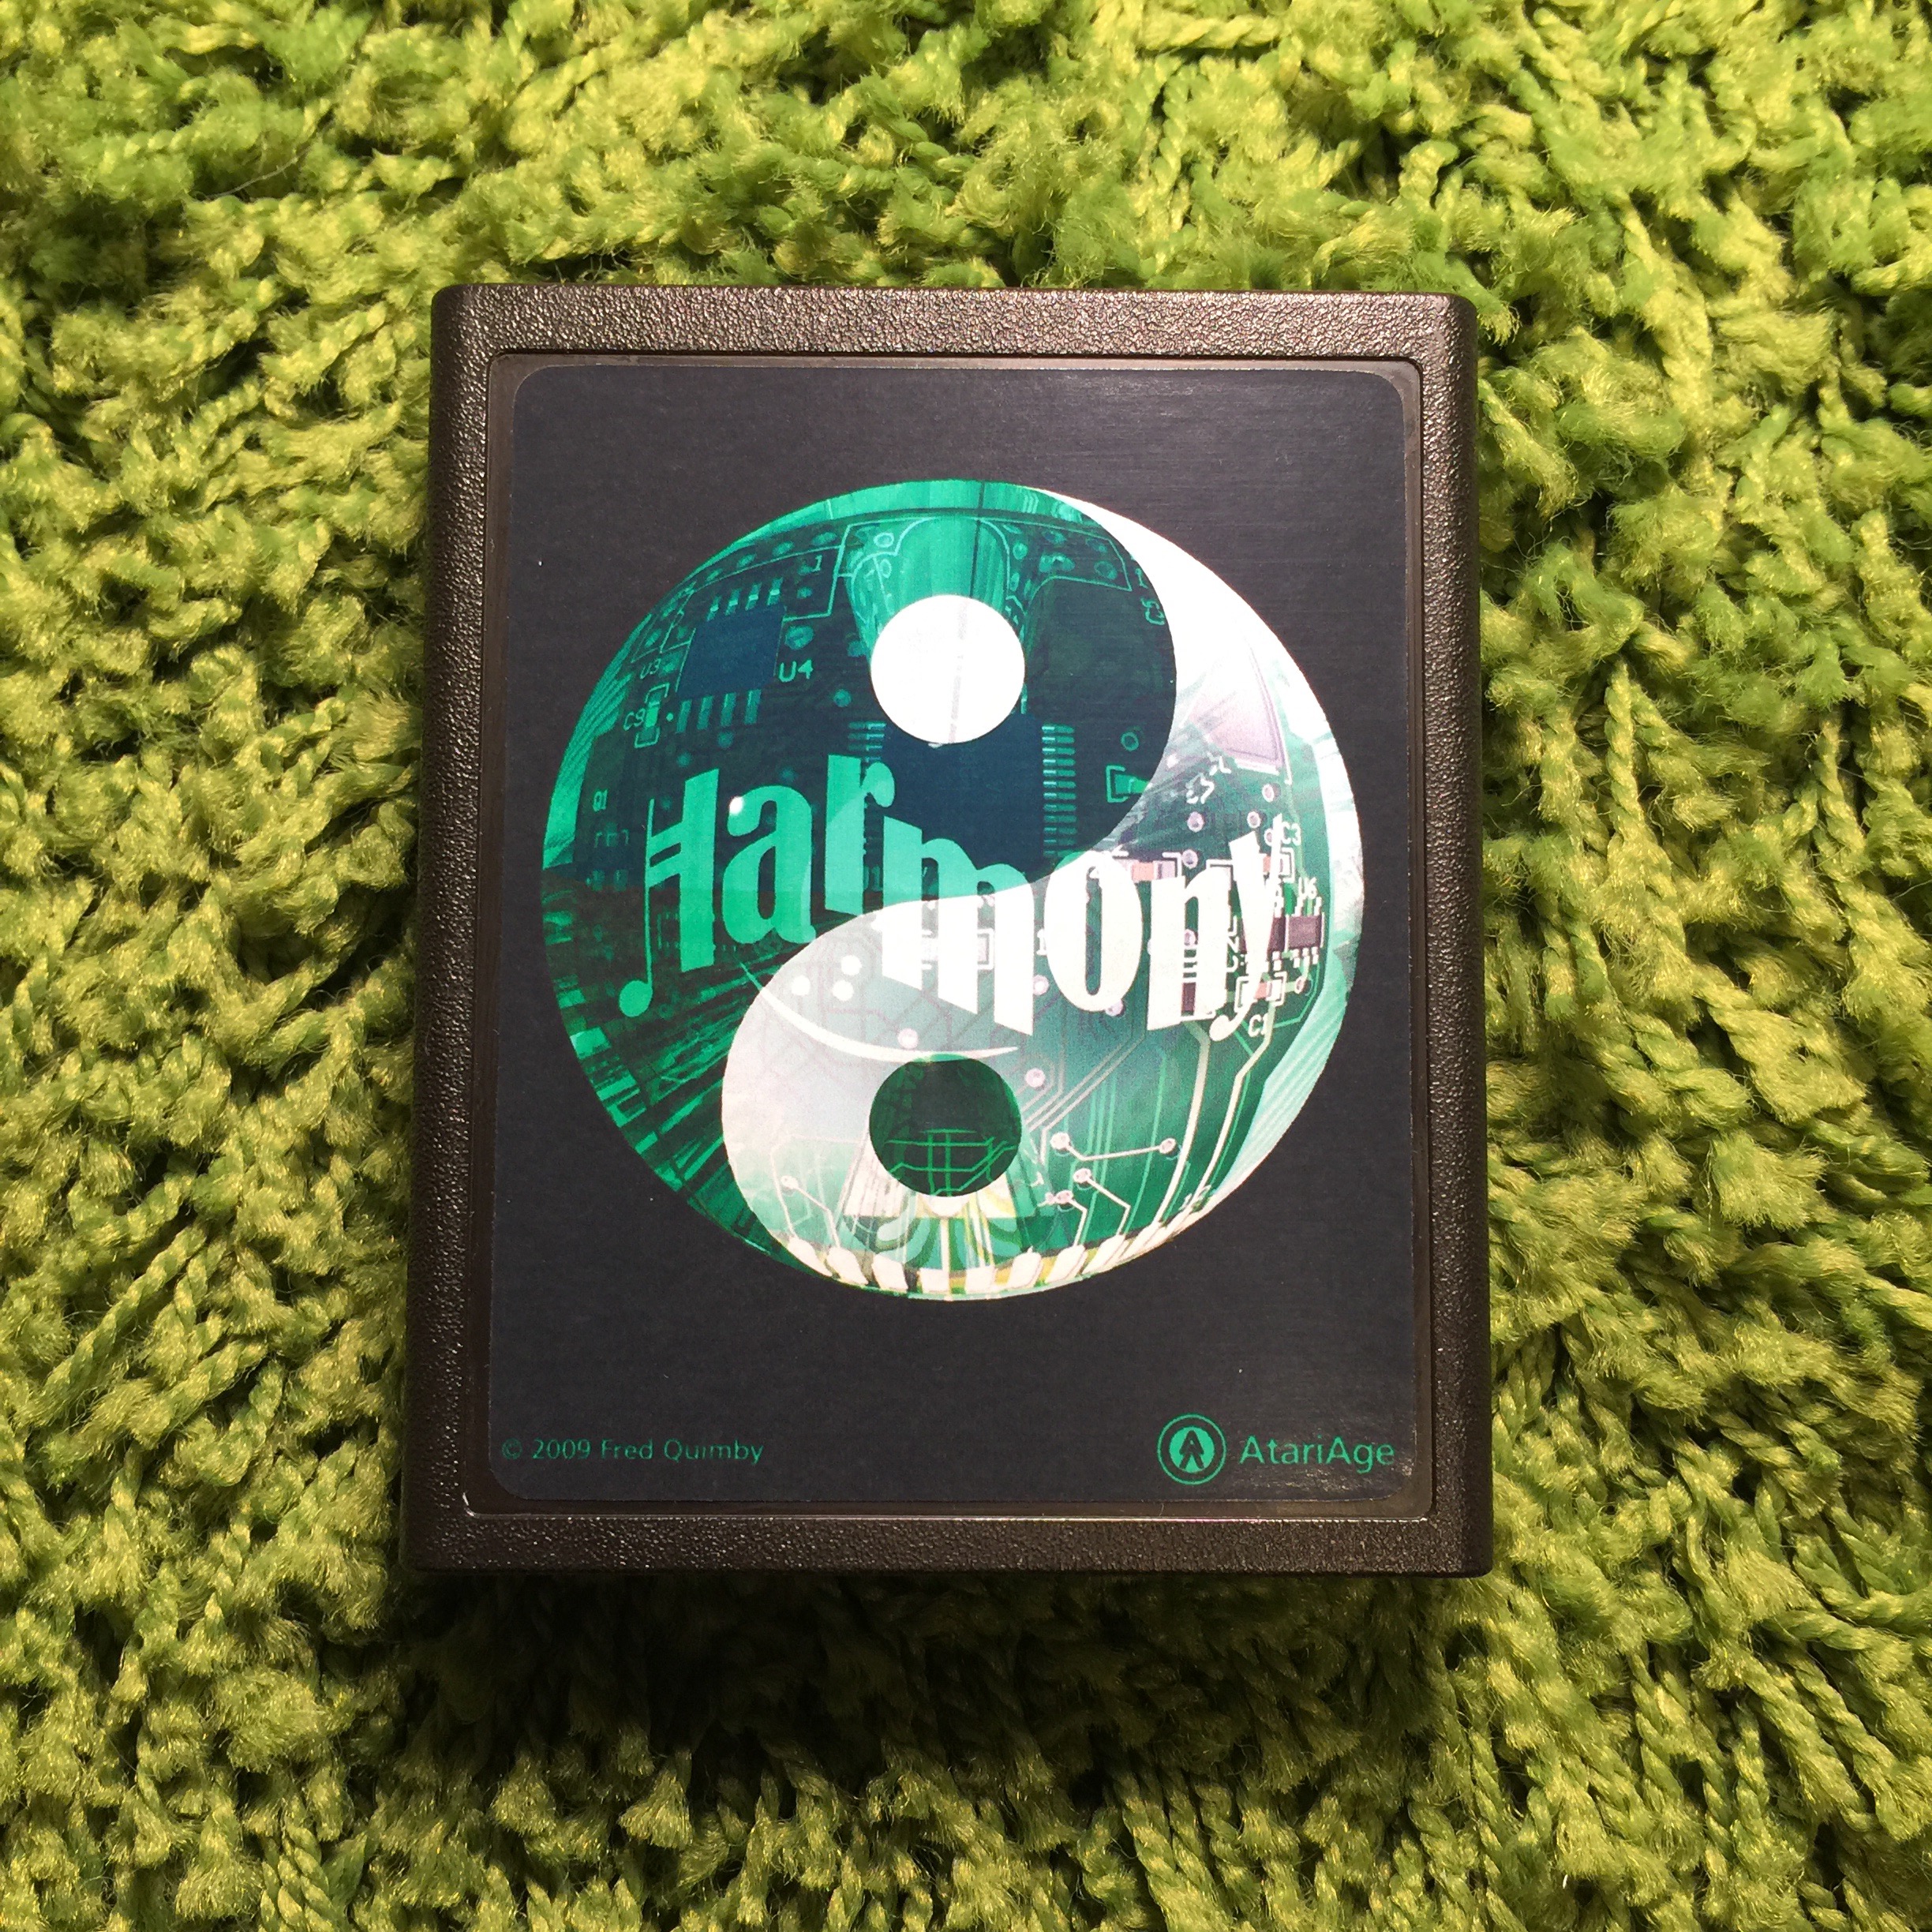
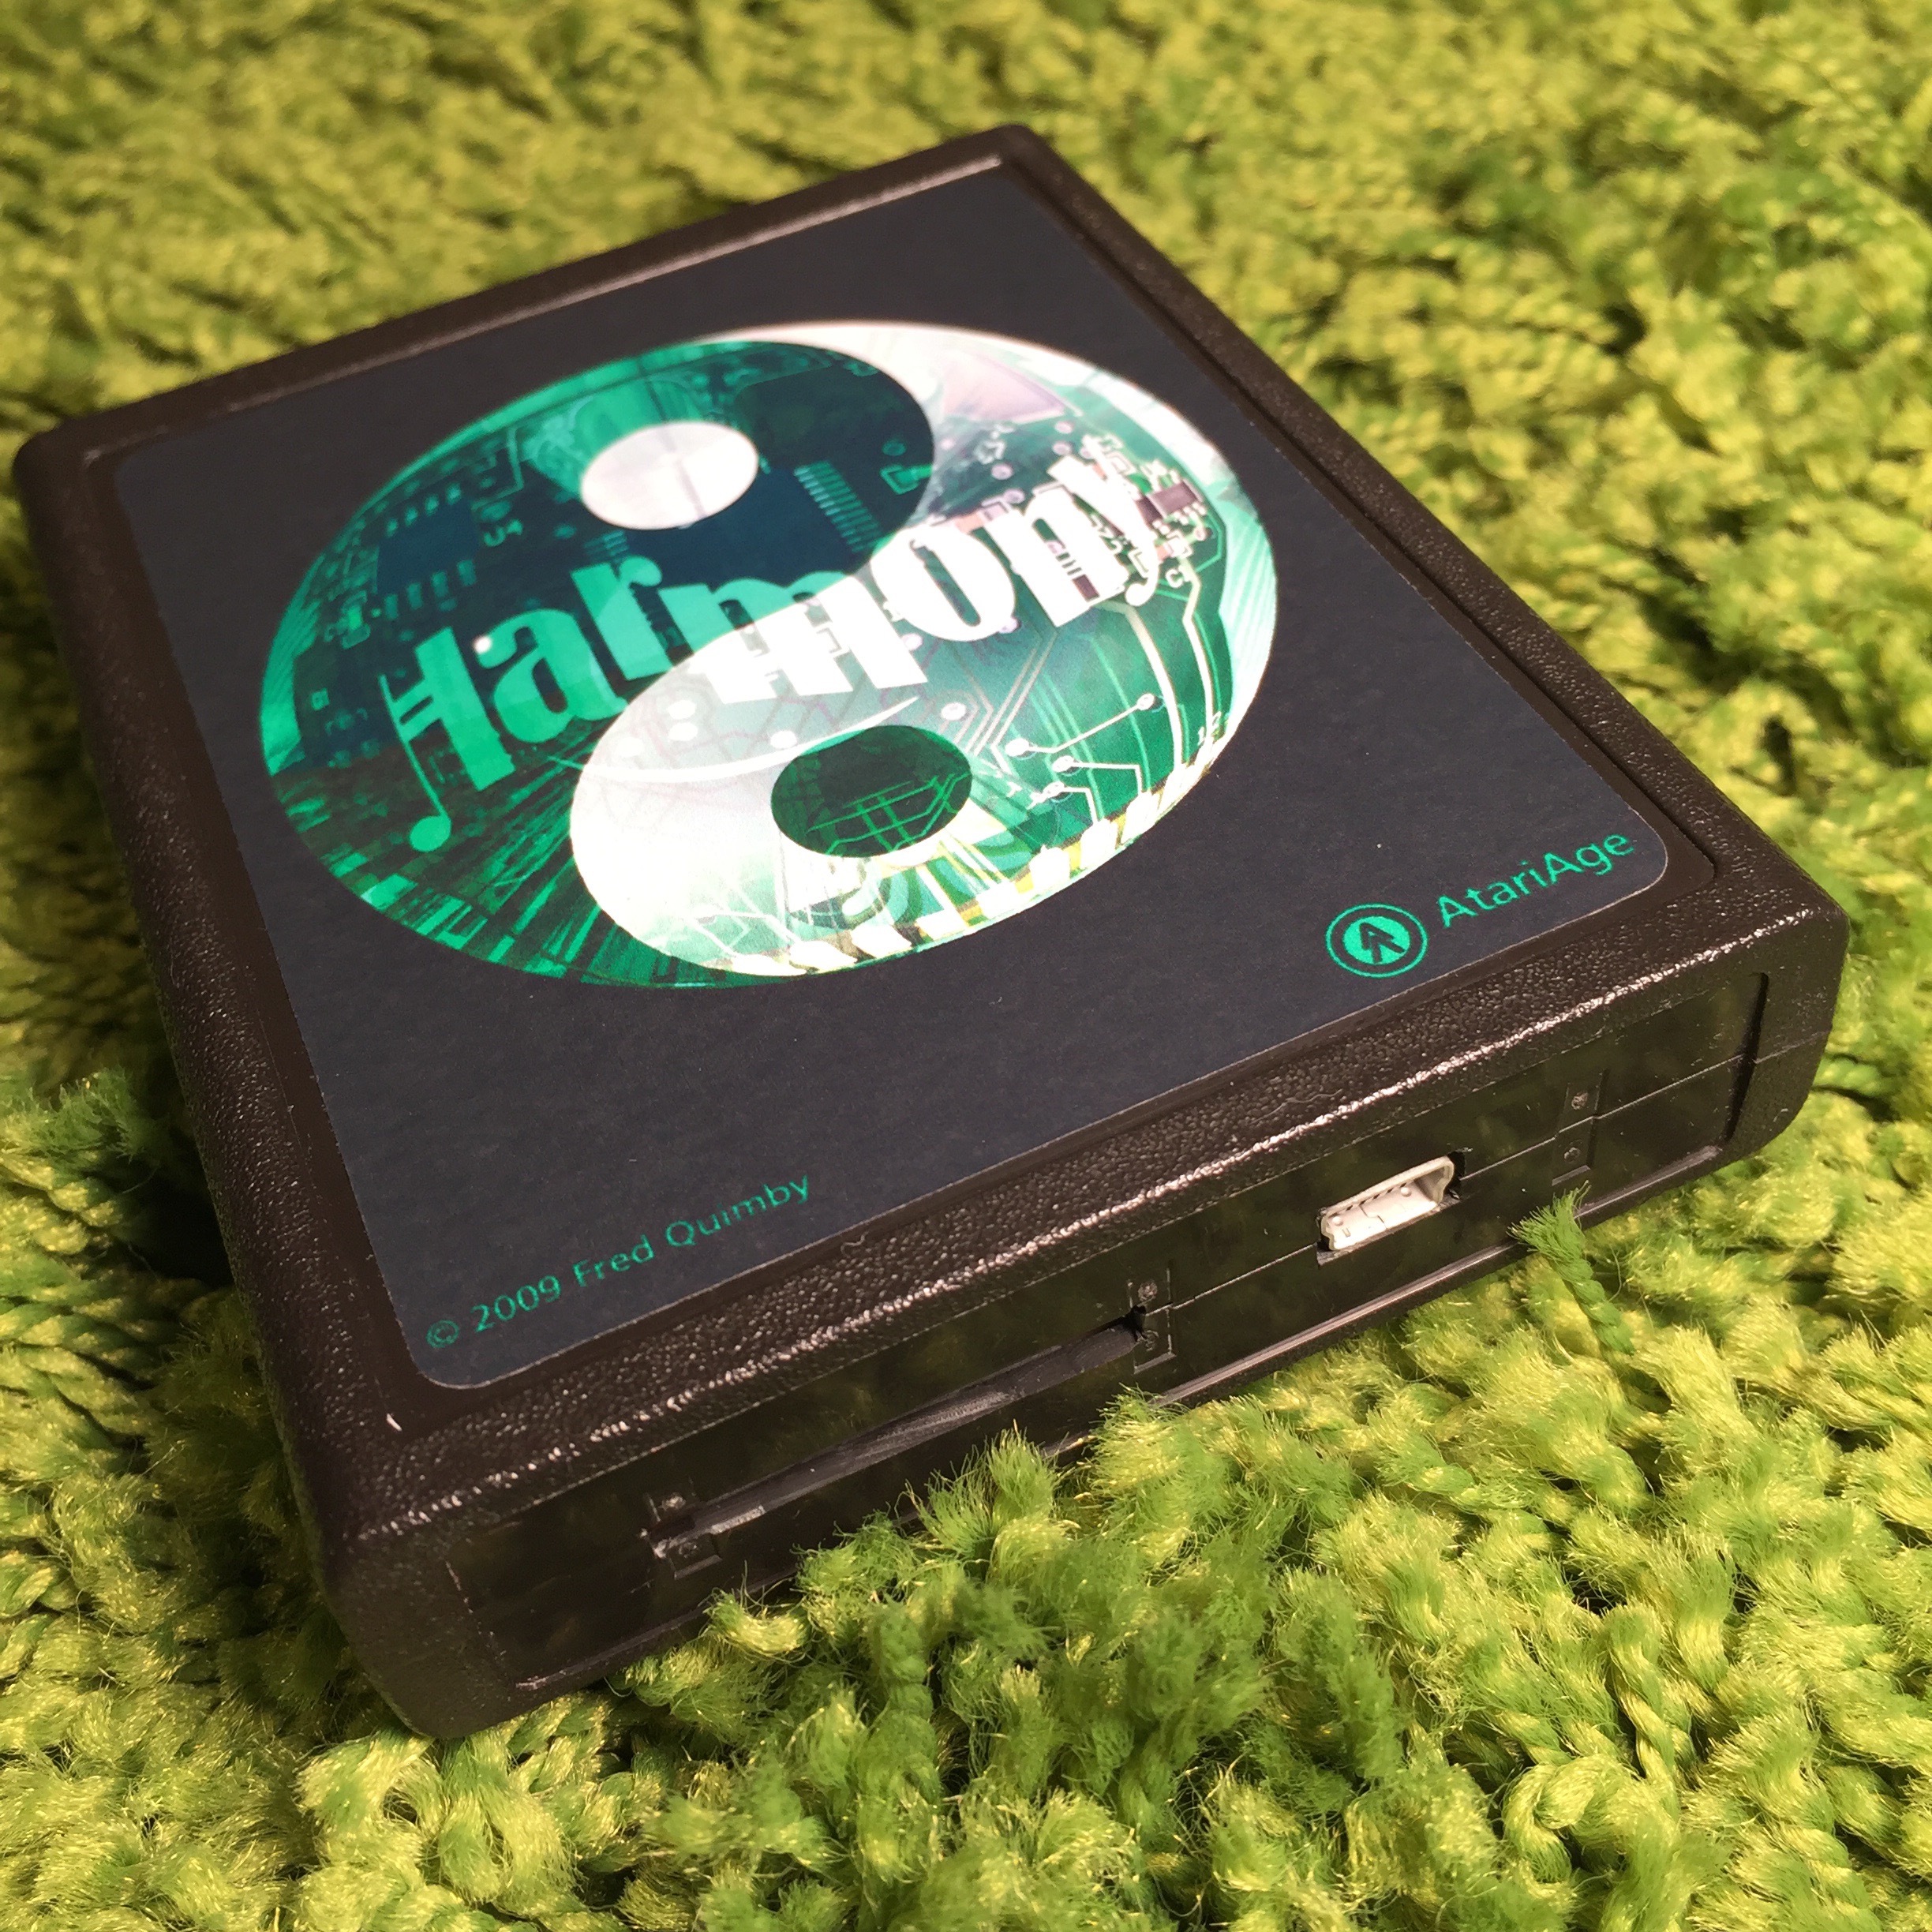
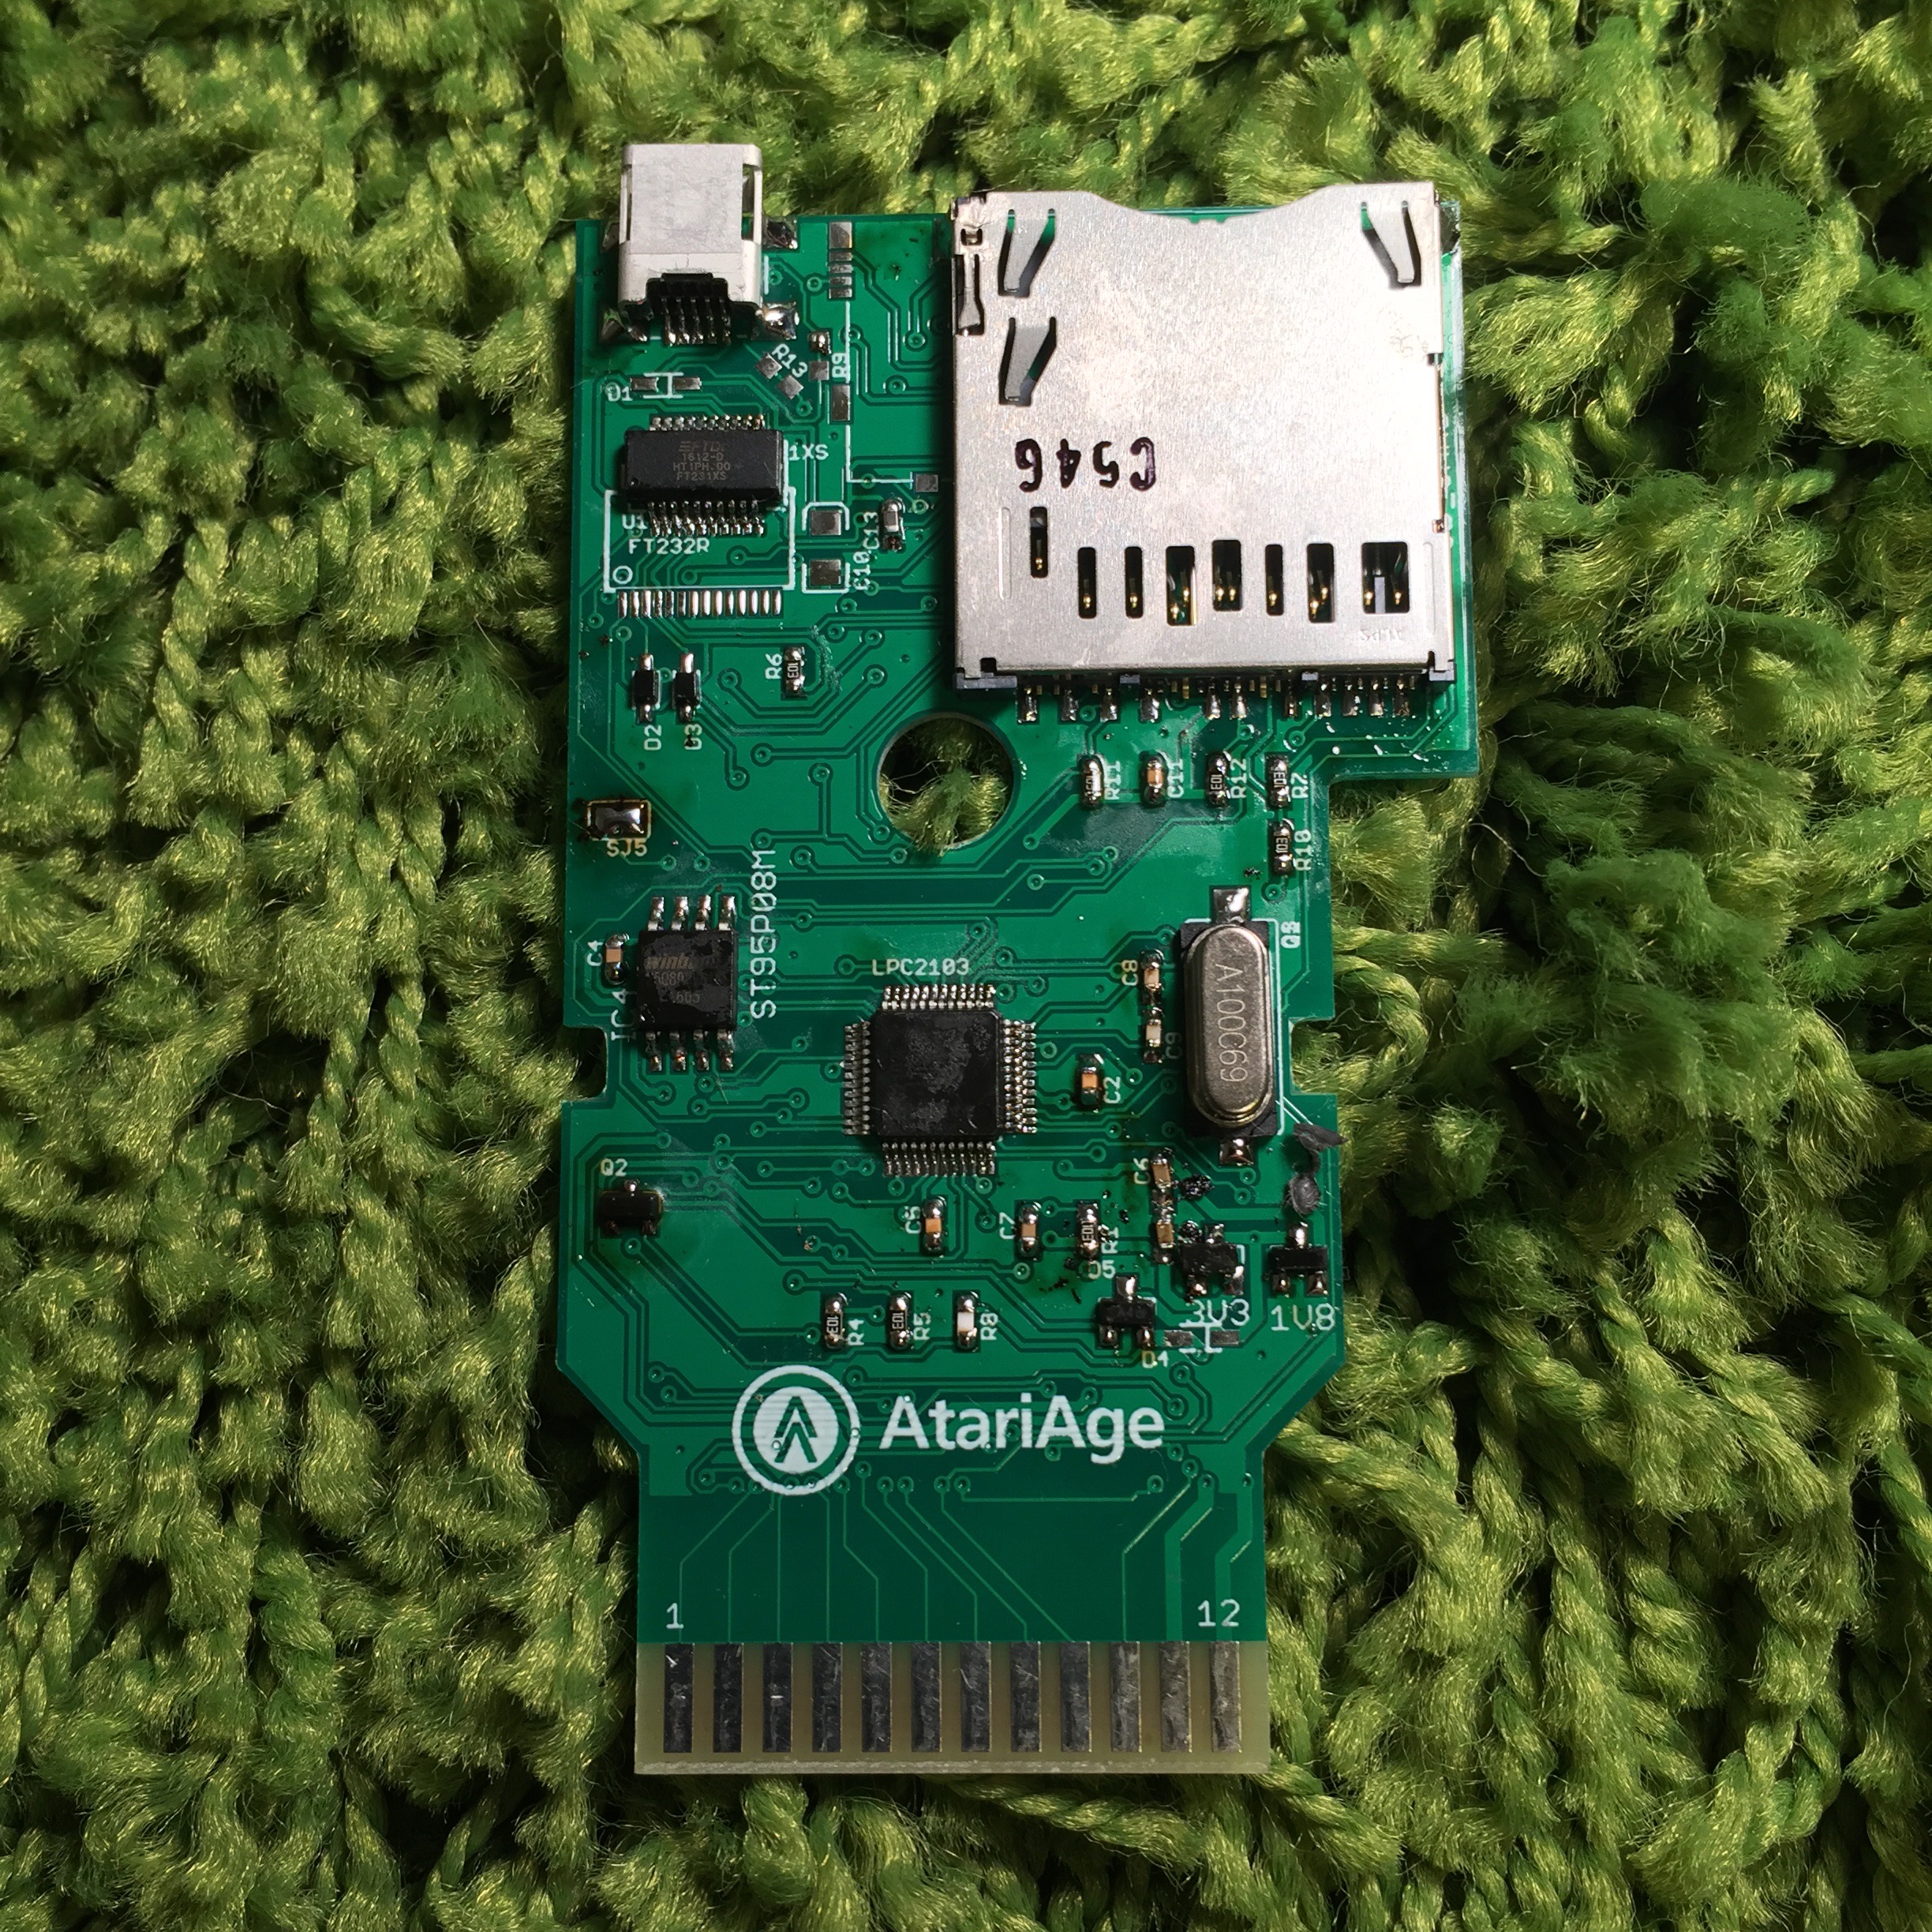
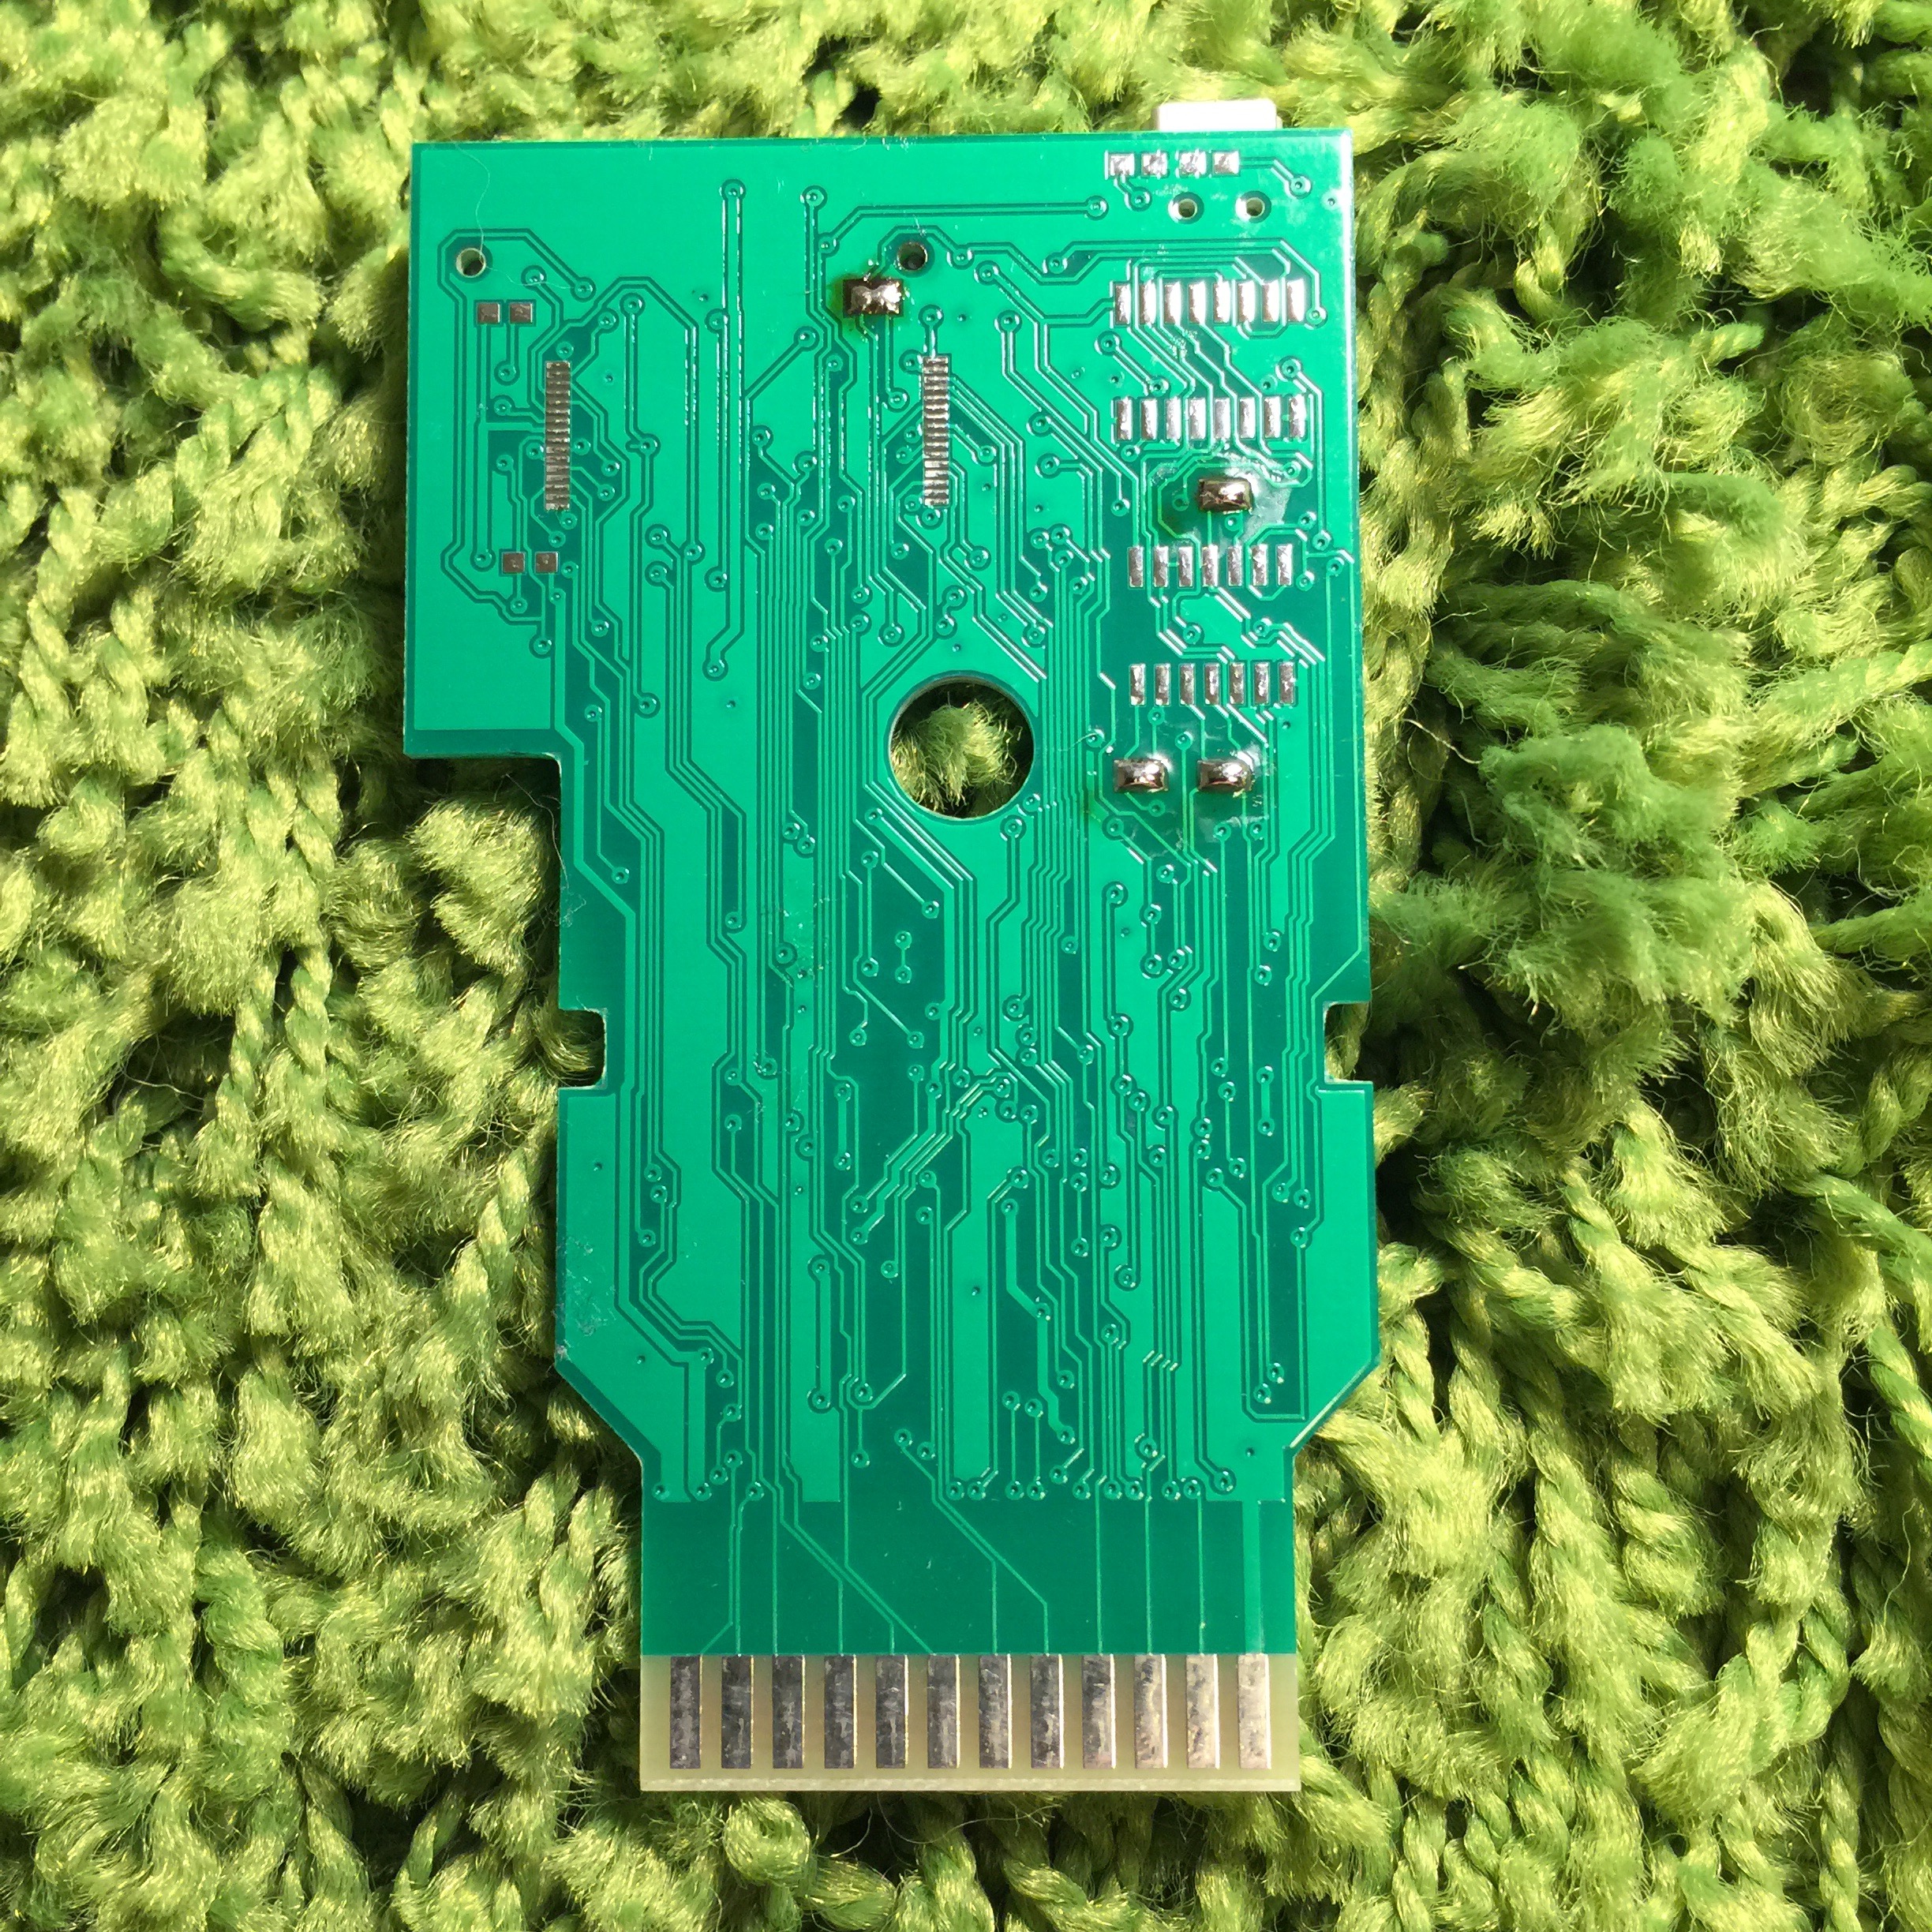
Harmony Cart

Information: Taken form the Harmony manual.

The Harmony cartridge is a programmable add-on for the Atari 2600 console that allows you
to load an entire library of games into a single cartridge and then select which title you want to
play from a friendly, on-screen menu interface. It features an SD card interface, making it simple
to access the large library of Atari 2600 software. The Harmony cartridge supports almost all of
the titles that have been produced for the Atari 2600. It can also be used to run your own Atari
2600 game creations on a real console. The Harmony cartridge is flash-upgradeable, and will be
updated to support future Atari 2600 developments.

I have not had time to play around with it yet but soon enough I will be playing some combat on a 13″ tube TV and loving every minute of it.

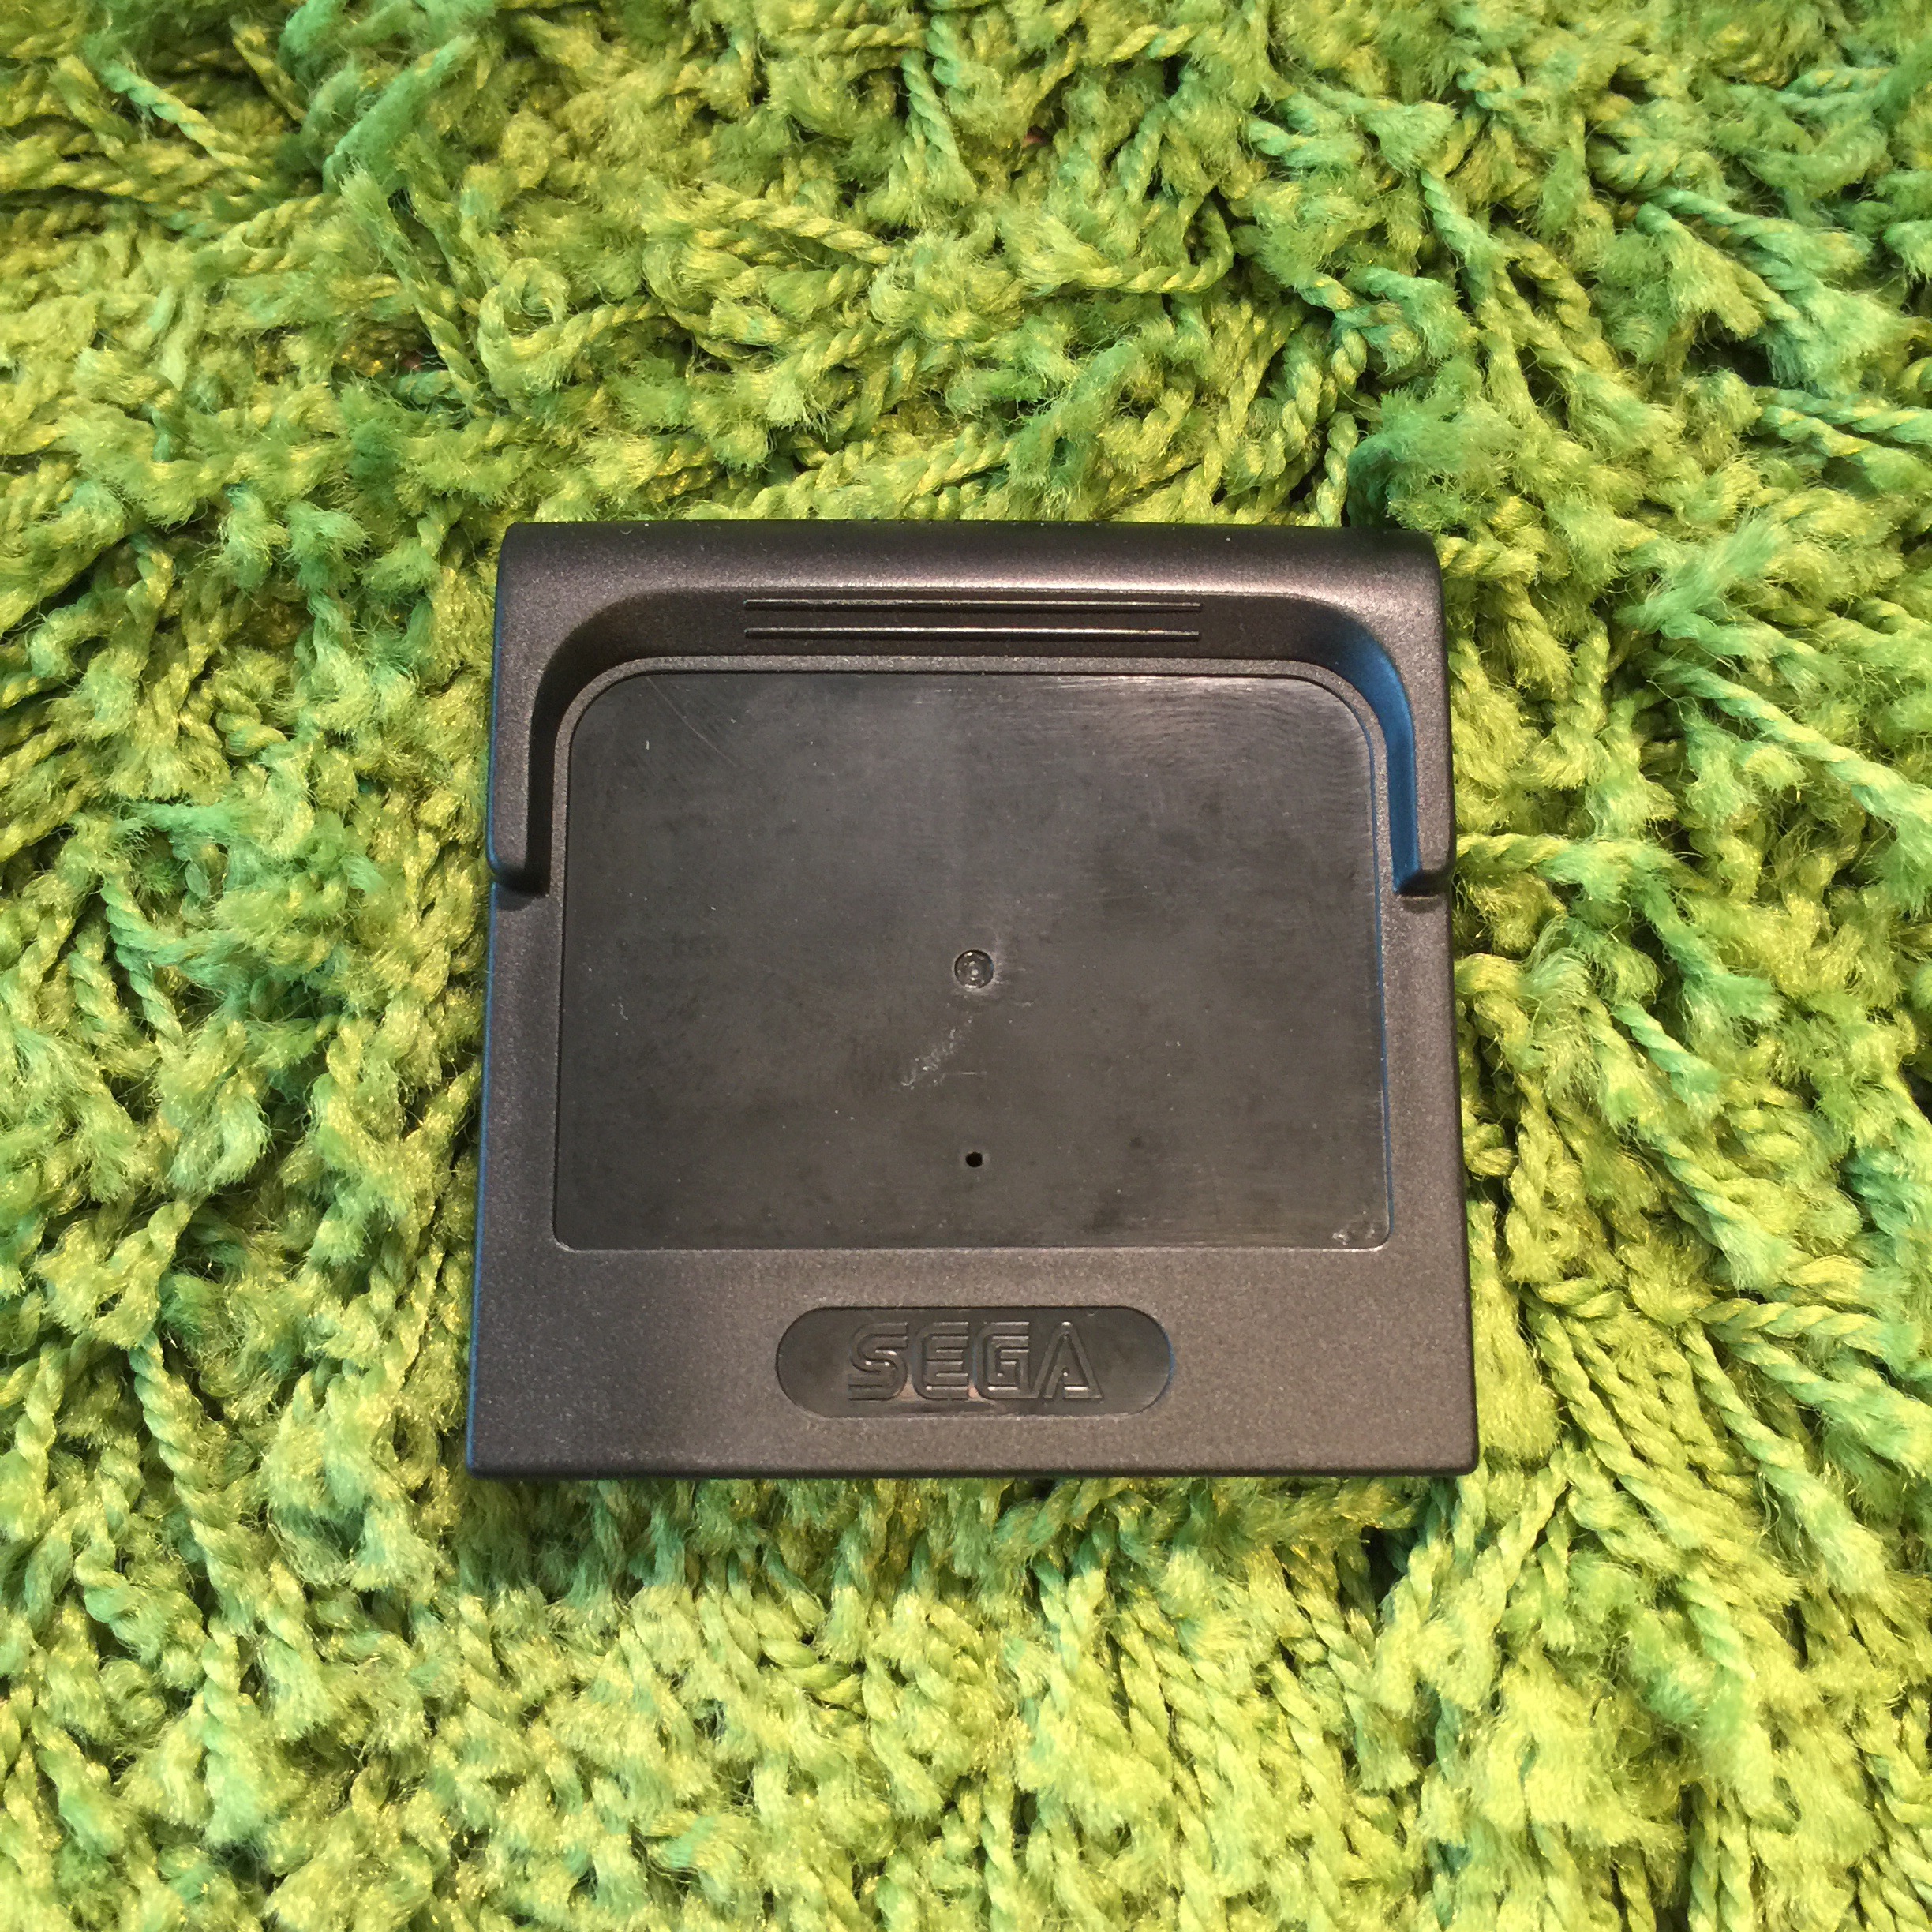
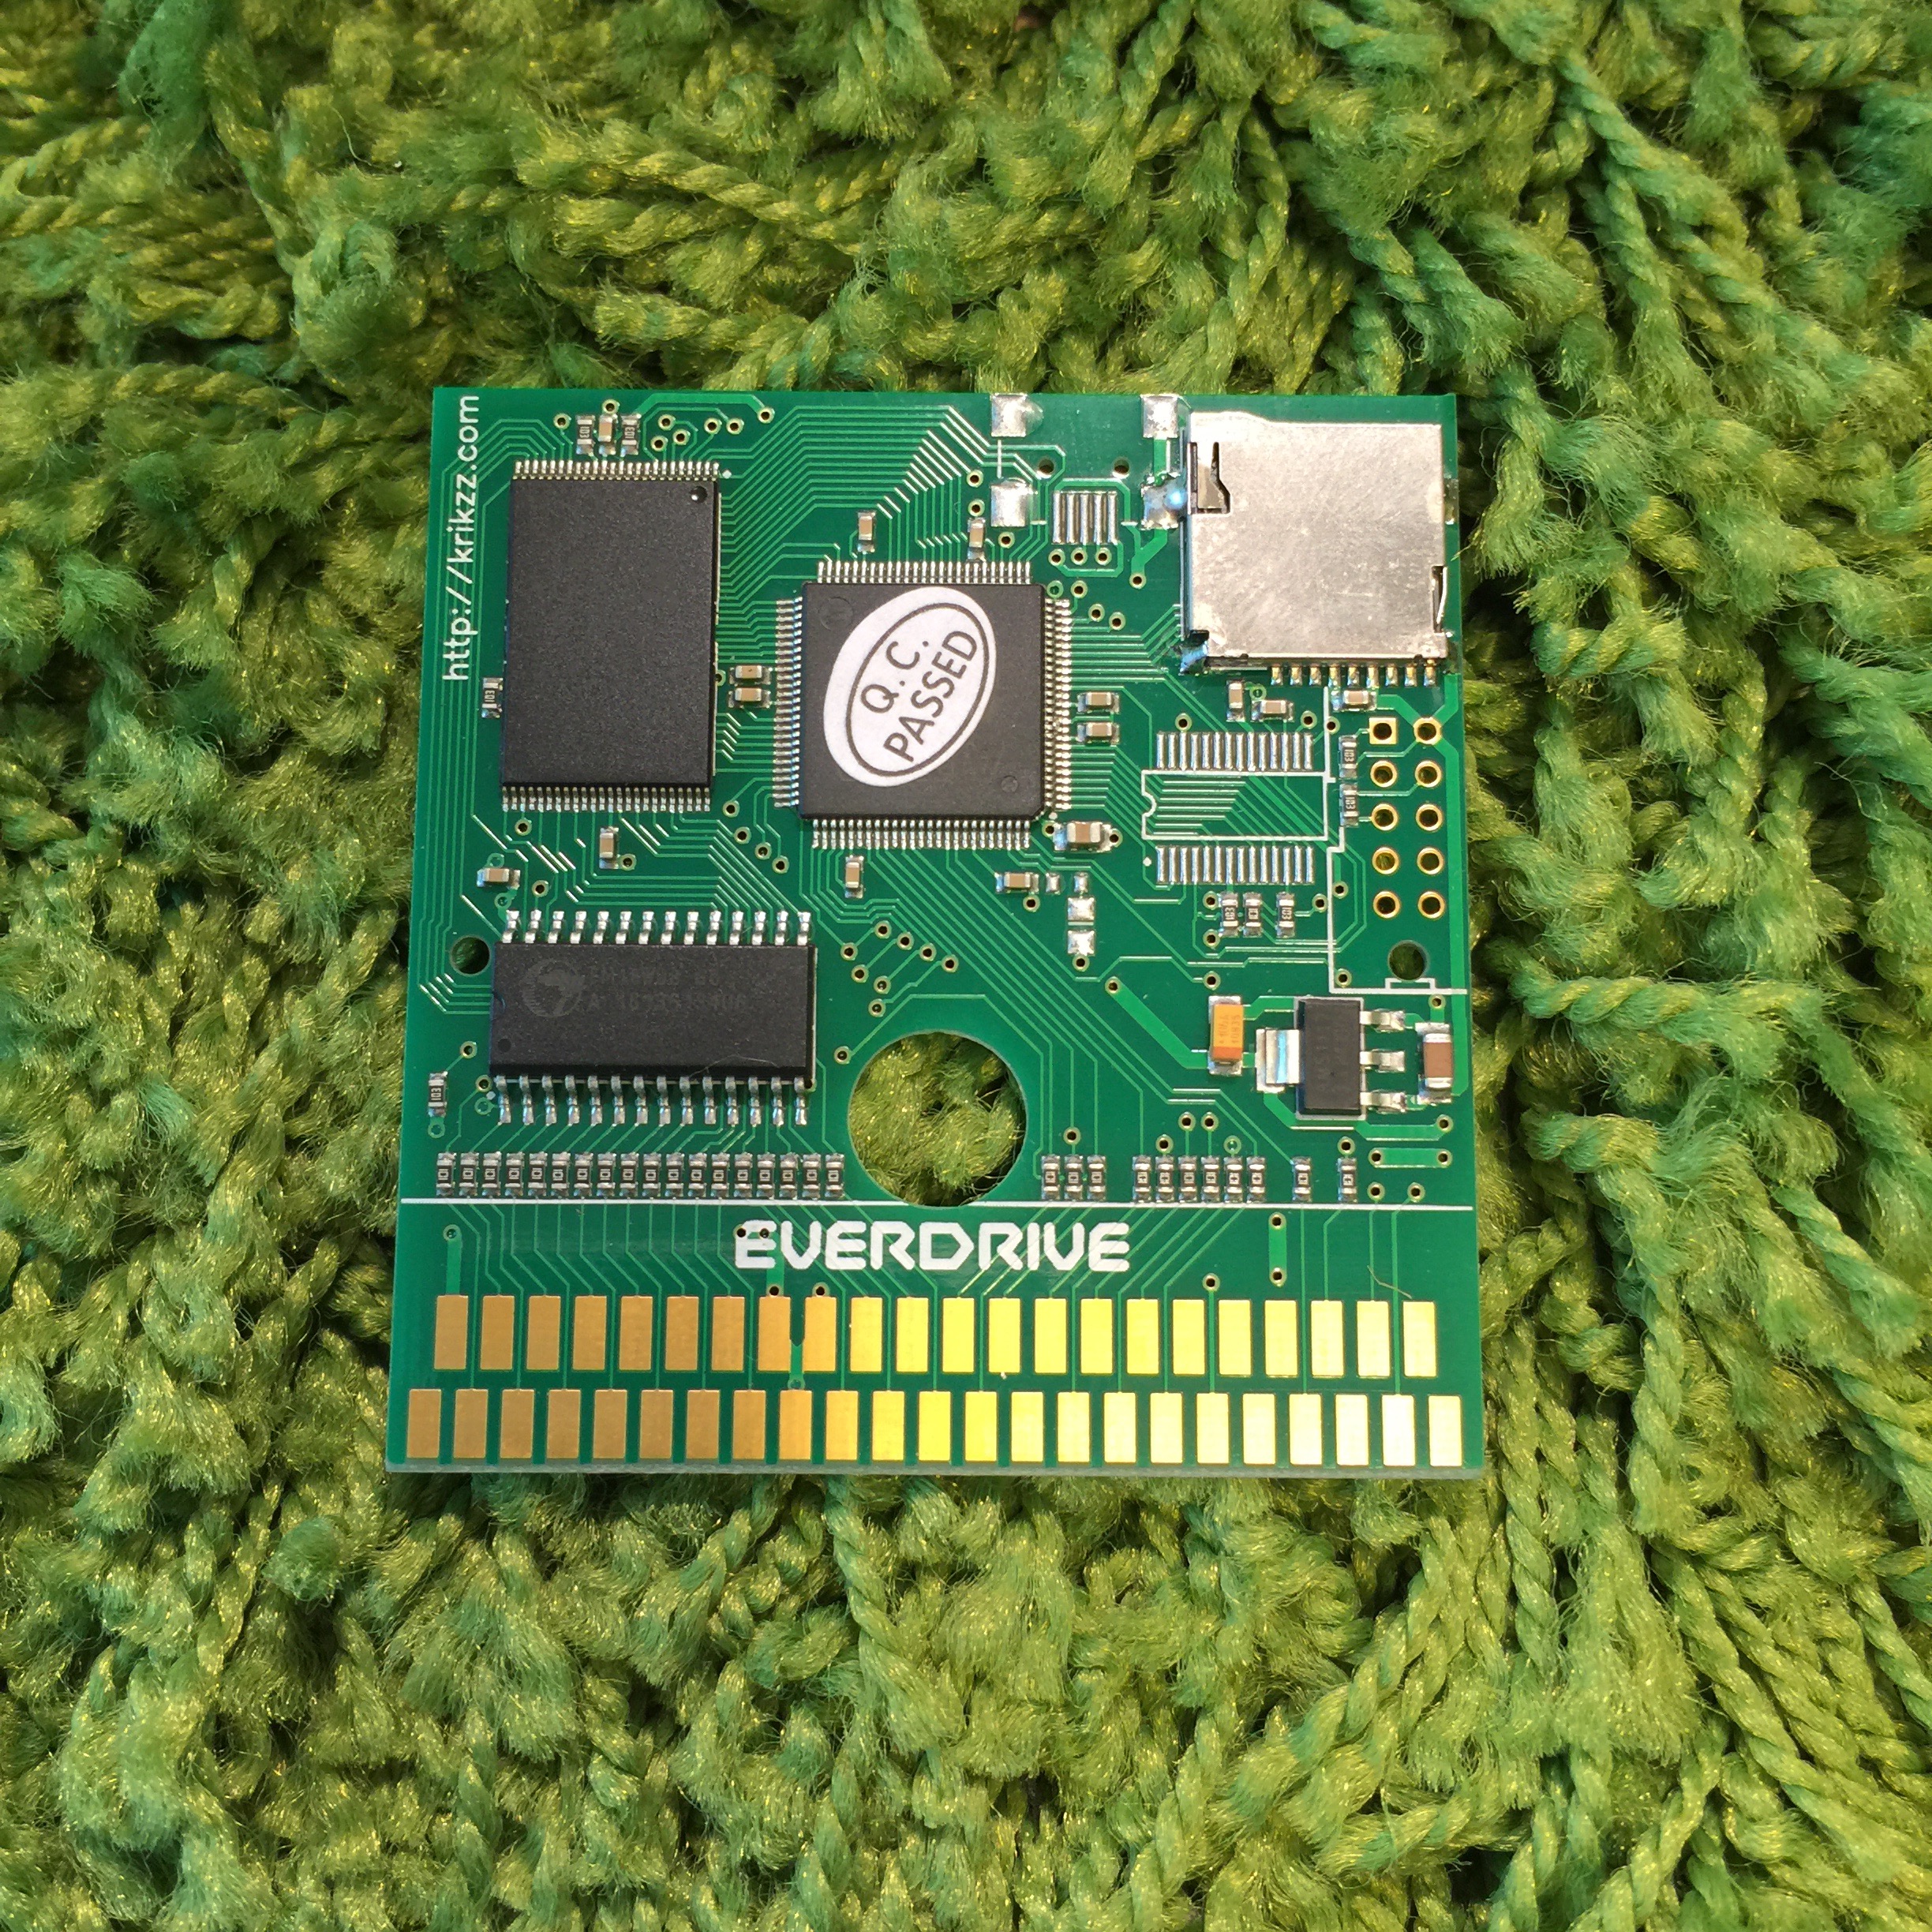
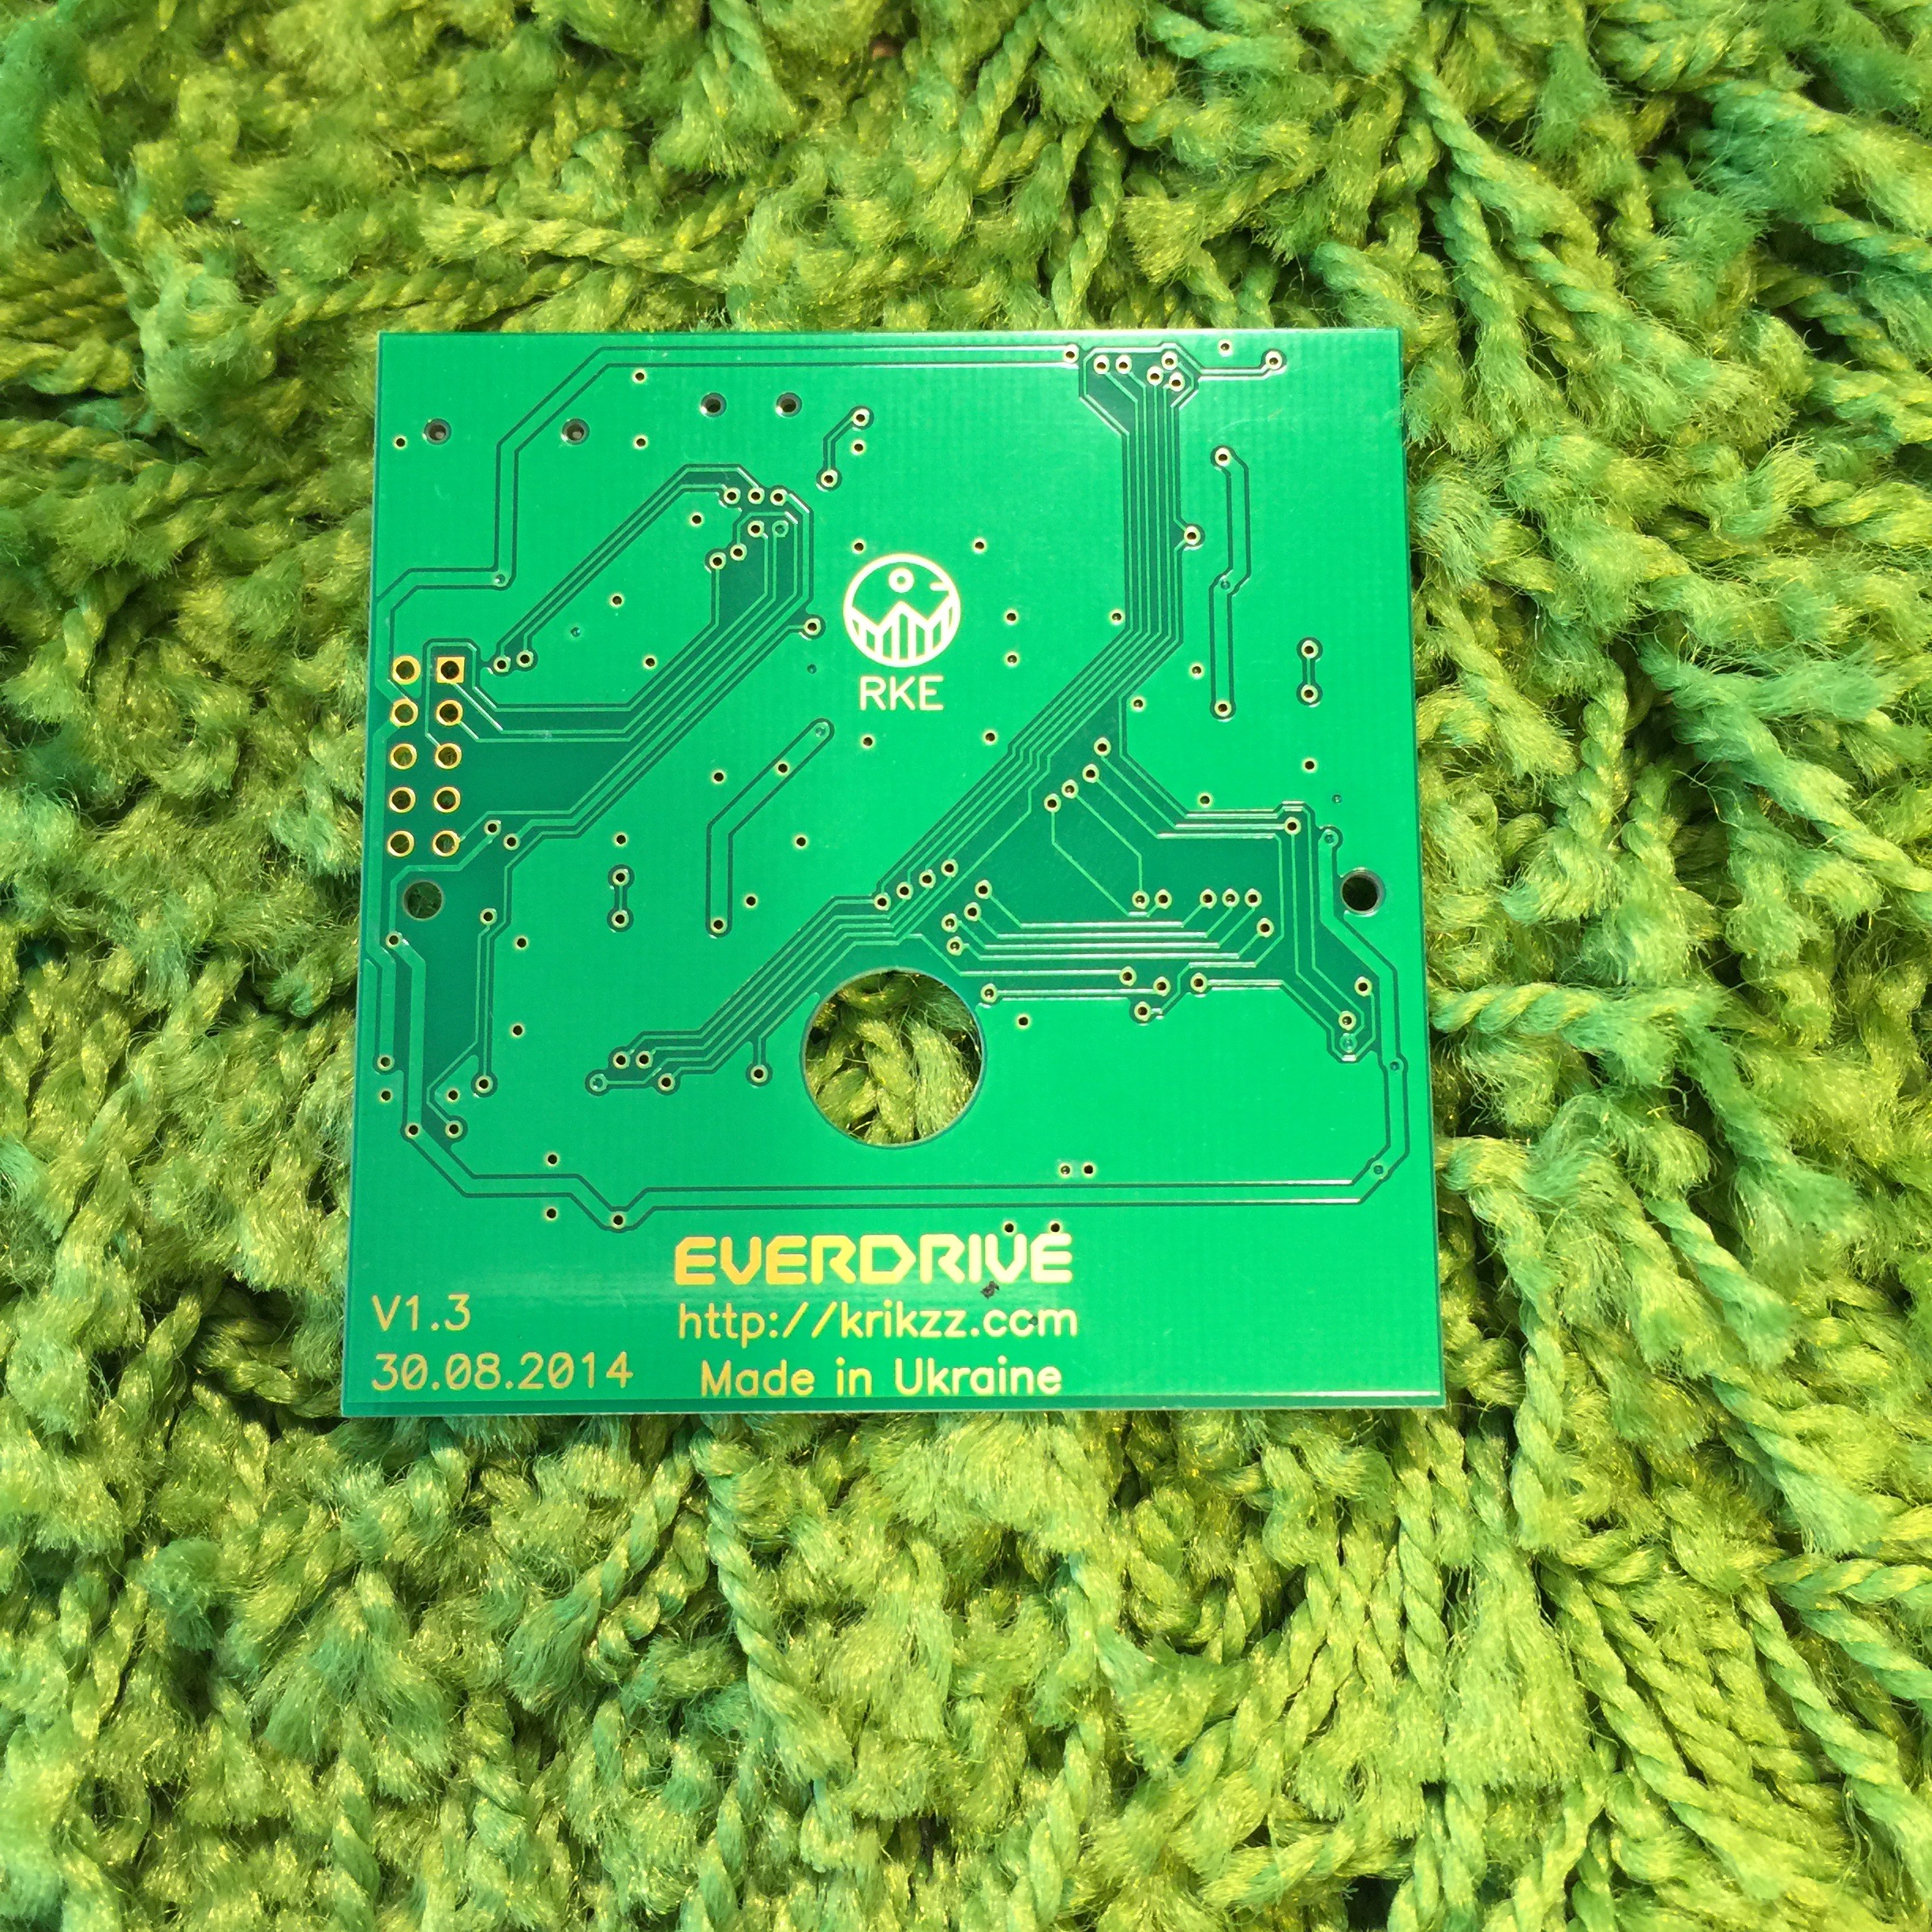
EverDrive-GG

Features list taken from StoneAgeGamer

Features:

  • FRAM for game saves (no battery required)
  • Max supported ROM size is 8Mbit (1Mbyte)
  • GameGear and SMS games are supported
  • Save RAM data can be stored or loaded from the SD card
  • Cartridge also can be used on Game Gear via the Master Gear Converter
  • Codemasters and Sega mappers are supported
  • SD/SDHC cards supported up to 32Gb
  • FAT32 support